Circular Saw Cuts Crooked: Easy Fixes For Straight Cuts
A circular saw cuts crooked when its blade, guide, technique, or workpiece alignment is not fully controlled.
When a circular saw cuts crooked, the problem is often simple to fix. A dull blade, weak support, a bent shoe, or pushing the saw too fast can all pull the cut away from your line. This guide explains how to find the true cause, correct it safely, and make straight cuts with confidence.
Why a Circular Saw Cuts Crooked
A circular saw needs three things to cut straight: a sharp blade, a stable base, and steady guidance. If one of these fails, the blade may wander or pull to one side. The cut can look fine at the top but angle away underneath.
The most common causes include:
• A dull or damaged blade
• A blade that is not tight or seated correctly
• A warped saw shoe
• Poor support under the board
• A crooked guide or fence
• Pushing the saw too fast
• Holding the saw at an angle
• Cutting wood that moves or pinches the blade
• Using the wrong blade for the material
A circular saw cuts crooked more easily when the operator relies only on the pencil line. Your hands must guide the saw, but the saw shoe must also stay flat on the material. Think of the shoe as the foundation of the cut. If that foundation tilts, the blade follows it.
Check the Blade First
The blade is the first part to inspect when a circular saw cuts crooked. Even a small amount of pitch, resin, or glue on the teeth can increase friction. A blade with missing, chipped, or bent teeth may also pull during the cut.
Unplug the saw or remove its battery before inspecting the blade. Look for these signs:
• Teeth that look rounded instead of sharp
• Missing carbide tips
• Burn marks on the wood
• Heavy buildup on the sides or teeth
• A blade that wobbles as it spins
• A bent blade plate
• The wrong tooth count for the job
A general framing blade works well for quick cuts in construction lumber. A fine-tooth blade is better for plywood, trim, and cabinet panels. A blade with too few teeth may tear the surface, while a blade with too many teeth can make the saw work harder and increase heat.
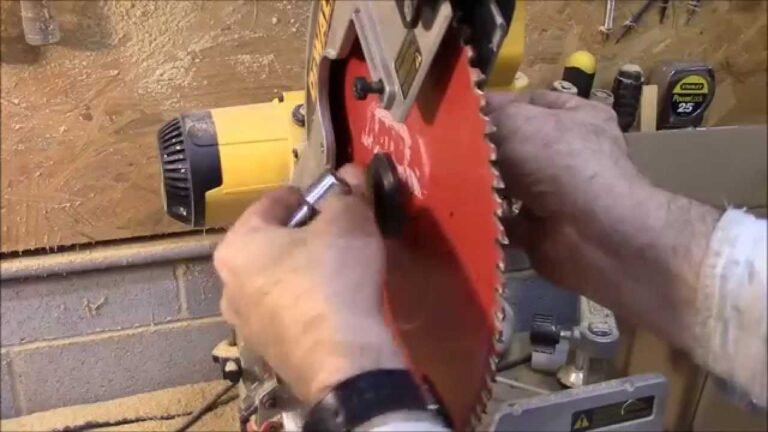
Make sure the blade is installed in the correct direction. The arrows on the blade should match the rotation arrow on the saw. Tighten the arbor nut as the manufacturer recommends. Do not add extra washers or use a blade with the wrong arbor size.
In my own shop, one of the most common mistakes was blaming the saw when the real issue was a dirty blade. After cleaning or replacing it, the same saw made straight cuts again. A clean blade is often the least expensive fix.

Inspect the Saw Shoe and Blade Alignment
The metal or plastic base of a circular saw is called the shoe. It should sit flat against the workpiece and remain square to the blade. If the shoe is bent, the blade may cut at an angle even when you follow the line carefully.
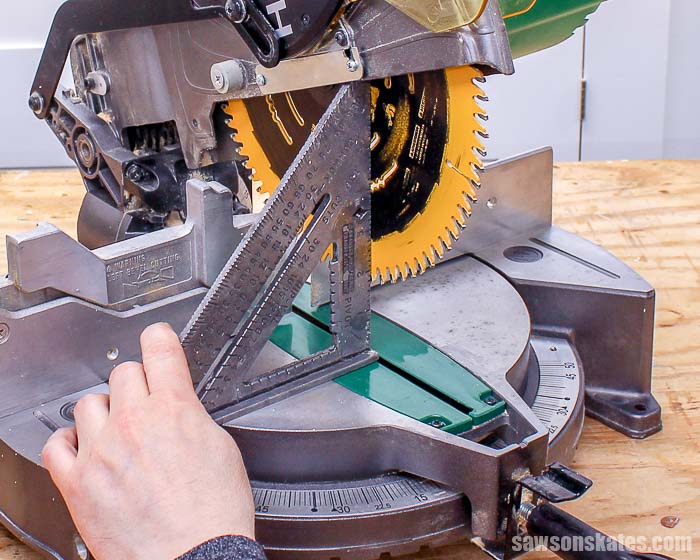
Place the saw on a flat surface with the blade hanging over the edge. Check whether the shoe rocks or has a visible gap. You can also inspect the 90-degree and 45-degree bevel settings.
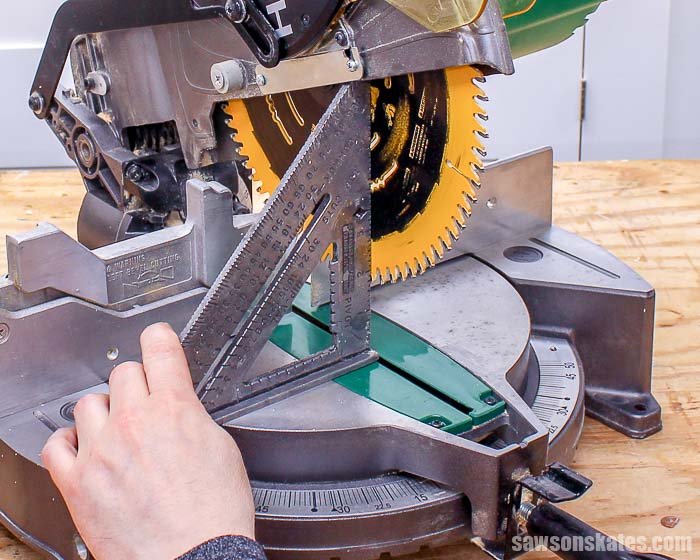
Use a square to check the blade:
- Unplug the saw or remove the battery.
- Set the bevel adjustment to 0 degrees.
- Place a framing square against the shoe.
- Compare the square with the blade.
- Rotate the blade by hand and check several points.
The blade should remain parallel to the edge of the shoe. If the blade shifts from side to side, check the arbor, blade washer, and arbor nut. A loose blade can create vibration and cause a circular saw to cut crooked.
Do not try to straighten a badly bent shoe with force. Replace damaged parts or have the saw checked by a qualified repair center. A small alignment error can become a large problem over a long cut.

Improve Workpiece Support
Poor support is a major reason a circular saw cuts crooked. A board that bends, drops, or closes around the blade can push the saw sideways. The blade may then bind, wander, or kick back.
Support the material close to both sides of the cut. For sheet goods, use a flat work surface, foam insulation, or a well-spaced cutting table. Make sure the support does not block the blade path.
For a long board, place supports along its length. The board should not sag during the cut. If the offcut falls too early, it can twist the material and pinch the blade.
Good support usually follows these rules:
• Keep the main piece stable.
• Support the offcut without trapping the blade.
• Keep the cut line clear of sawhorses.
• Clamp small or narrow pieces.
• Never hold the workpiece with your hand near the blade.
• Support both ends of long boards.
A useful test is to make the same cut on a firmly supported board. If the problem disappears, the saw may be fine and the support was the real cause.
Use a Straightedge or Track
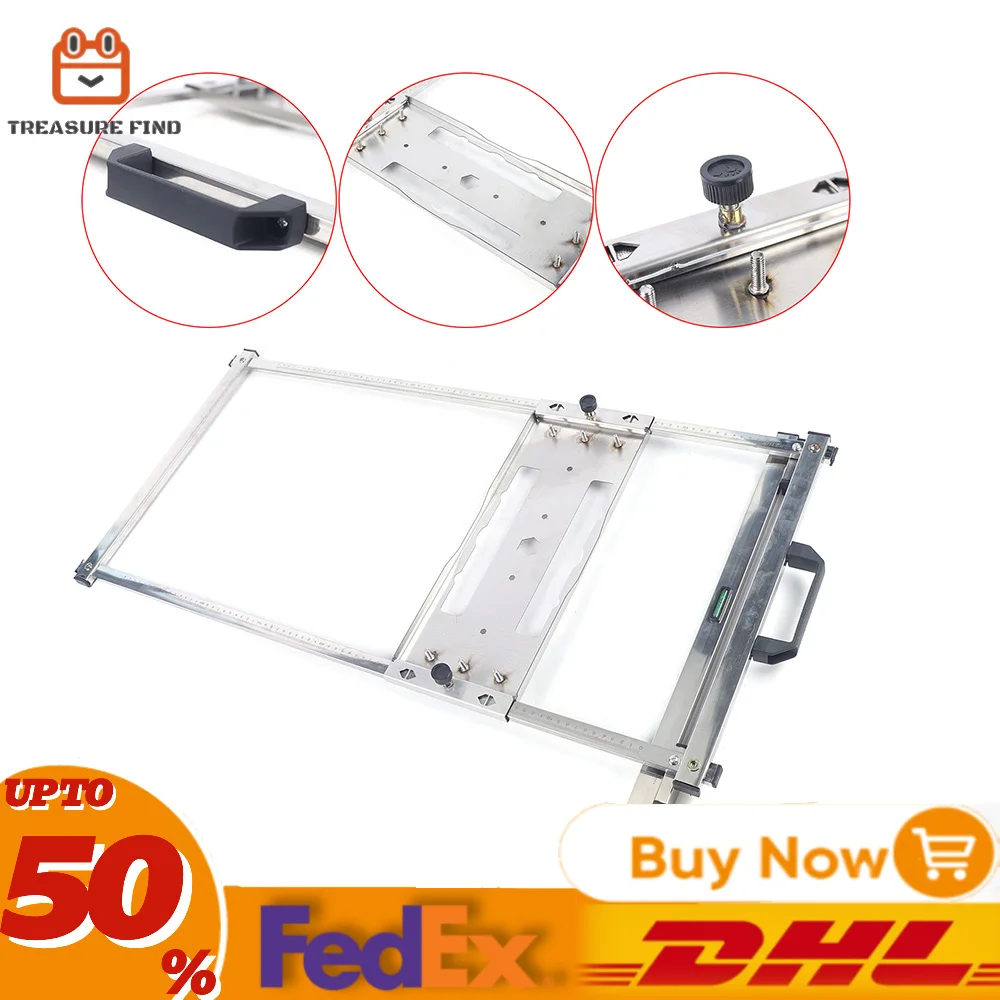
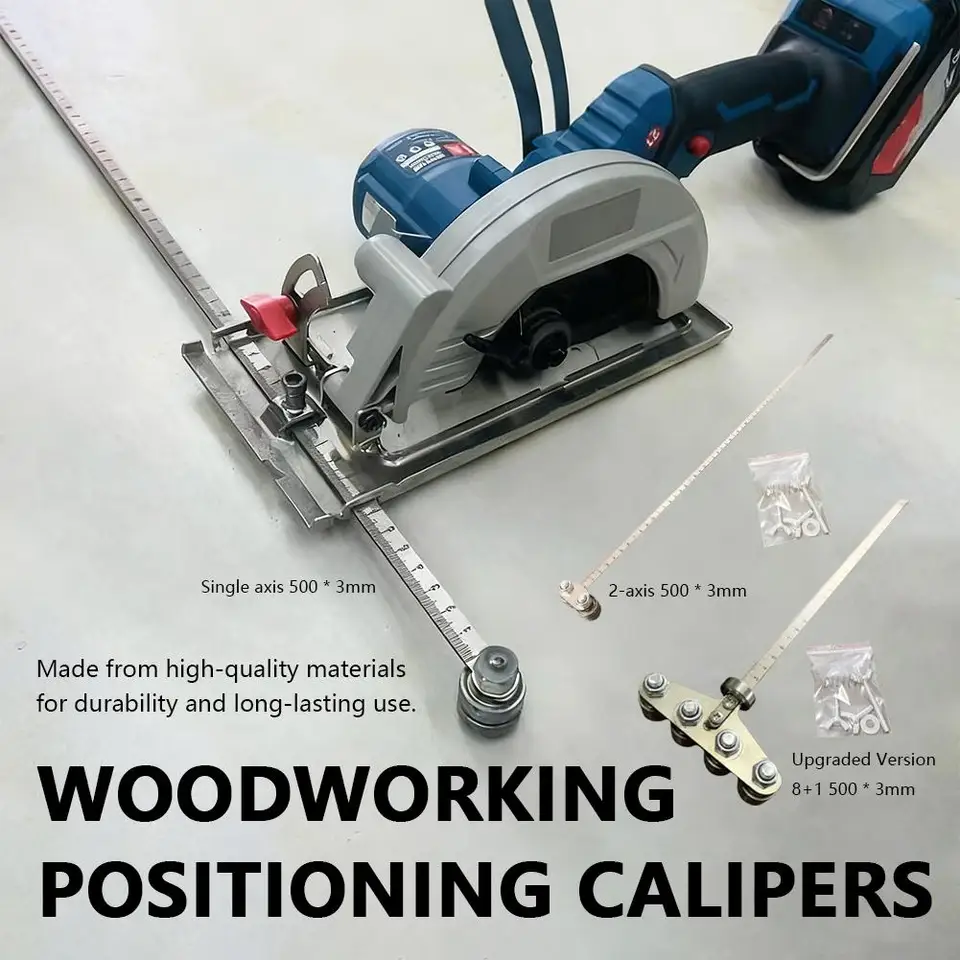
Following a pencil line by eye is harder than it looks. Even skilled woodworkers can drift during a long cut. A straightedge, guide rail, or track gives the saw a firm path and reduces hand movement.
Measure the distance from the edge of the saw shoe to the blade. Add or subtract that distance from your layout line, depending on which side of the guide the saw will run. Mark the guide position, then clamp it at both ends.
Before cutting, check that the guide is straight and cannot move. A guide that shifts halfway through the cut will still produce a crooked result.
A simple guide can be made from a straight piece of plywood or factory edge. Attach a narrow fence beneath it so the edge registers against the workpiece. This setup works well for repeated cuts and costs less than a powered track saw.
For the best result:
• Measure from the same reference edge each time.
• Clamp the guide securely.
• Keep the saw shoe pressed against the guide.
• Test the setup on scrap wood first.
• Watch the blade entry and exit points.
A guide does not correct a bent saw or a loose blade. It only controls the saw’s travel, so inspect the tool first.

Control Your Cutting Technique
A circular saw cuts crooked when it is pushed faster than the blade can remove material. The motor slows, the blade heats up, and the saw may pull sideways. Let the blade set the pace.
Hold the saw with both hands. Keep your shoulders relaxed and your wrists straight. Place one hand on the main handle and the other on the front grip. Keep the shoe flat on the material before squeezing the trigger.
Start the blade before it touches the wood. Then move forward with smooth, even pressure. Do not force the saw through knots or thick stock. If the motor sound drops, slow down and let the blade recover.
Avoid twisting the saw to correct a drifting cut. Twisting can bind the blade. Instead, stop safely, let the blade stop fully, and restart from a better position if needed.
When a circular saw cuts crooked near the end of a board, the usual cause is loss of support or loss of focus. Keep both hands on the saw until the blade clears the material. Do not reach for the offcut while the blade is moving.

Set the Correct Cutting Depth
The blade should extend only slightly below the workpiece. A common recommendation is to set the blade about 1/8 to 1/4 inch below the material, when practical. The exact setting depends on the saw and material.
Too much blade exposure increases friction and creates more opportunities for the blade to deflect. It also exposes more teeth below the workpiece, which increases the injury risk.
To set the depth:
- Unplug the saw or remove its battery.
- Place the shoe on the workpiece.
- Loosen the depth adjustment.
- Set the blade just below the material.
- Lock the adjustment firmly.
For a 2×4, the blade needs enough depth to pass through the board. For thin plywood, only a small amount should extend below it.
Check the depth again when moving between materials. A setting that works for framing lumber may be excessive for laminate, trim, or thin panels.
Choose the Right Blade and Speed
Blade selection affects cut quality, heat, tear-out, and control. The tooth count and tooth design should match the material.
Use a blade designed for the job:
• Framing blade for fast cuts in dimensional lumber
• Fine-finish blade for plywood and clean crosscuts
• Plywood or laminate blade for thin sheet goods
• Masonry blade for approved masonry materials
• Metal-cutting blade for compatible metal stock
Always follow the blade and saw manufacturer’s instructions. A standard wood blade should not be used on metal, masonry, or other materials unless it is specifically rated for that use.
A battery saw may struggle when the battery is low or the blade is too aggressive for the motor. A corded saw may slow when connected to a long, light-duty extension cord. Use the correct power source and avoid forcing the cut.
If a circular saw cuts crooked only in thick material, the blade may be flexing under load. A sharper, better-quality blade and slower feed speed often solve the issue.

Prevent Blade Pinching and Kickback
Blade pinching happens when the cut closes around the blade. The wood can stop the blade suddenly or push the saw sideways. This can make a circular saw cut crooked and may also cause kickback.
Never support a board in a way that allows the kerf to close. Keep the material stable and support the offcut correctly. For rip cuts, watch for internal stress in the wood. Some boards naturally bow or twist as they are cut.
Important safety habits include:
• Keep the blade aligned with the cut line.
• Stand slightly to the side of the saw, not directly behind it.
• Keep both hands on the saw.
• Wait for the blade to stop before setting the saw down.
• Do not pull the saw backward while the blade spins.
• Use eye and hearing protection.
• Keep the cord or battery clear of the cutting path.
Safety agencies and tool manufacturers stress the same basic point: control the saw, support the material, and never defeat the blade guard. If the guard sticks, repair the saw before using it.

Diagnose the Problem With a Test Cut
A short test cut can show whether the problem comes from the tool, material, or technique. Use straight scrap wood that is supported on a stable surface.
Make one cut by hand along a marked line. Then make a second cut with a clamped guide. Compare the results.
Use this simple diagnosis:
• Both cuts are crooked: inspect the blade, shoe, and alignment.
• The freehand cut is crooked but the guided cut is straight: improve technique or use a guide.
• The top is straight but the bottom is angled: check bevel alignment and blade deflection.
• The saw burns the wood: inspect the blade, depth, and feed speed.
• The saw pulls only in knots: slow down and check for blade damage.
• The saw vibrates: inspect the blade, arbor, washers, and bearings.
Measure the cut with a square rather than judging it by sight. Small errors are difficult to see on a long board but obvious when checked against a reliable square.
Fix a Circular Saw That Cuts Crooked
Once you know the cause, the repair is usually straightforward. Start with the simplest correction before replacing expensive parts.
Follow this order:
- Clean or replace the blade.
- Confirm the blade is installed correctly.
- Tighten the arbor nut properly.
- Check the shoe for damage or rocking.
- Confirm the bevel is set to 0 degrees.
- Reduce the cutting depth.
- Improve support under the material.
- Use a clamped straightedge.
- Slow the feed speed.
- Have the saw serviced if it still wanders.
Do not continue using a saw that has a damaged guard, exposed wiring, excessive vibration, or a blade that does not run true. A crooked cut is annoying, but a mechanical fault can be dangerous.
One lesson I learned early was to avoid changing several things at once. If you replace the blade, change the guide, and alter your technique together, you may not know what solved the problem. Test one correction at a time whenever conditions allow.
How to Make Straight Circular Saw Cuts
Straight cuts become much easier when the setup is planned before the trigger is pulled. Mark the cut clearly, measure from a known edge, and make sure the workpiece cannot move.
For a clean cut, use this process:
- Measure and mark the cut line.
- Place the workpiece on stable supports.
- Choose a blade that matches the material.
- Set the cut depth correctly.
- Check the bevel setting.
- Clamp a straightedge if the cut is long.
- Put on eye and hearing protection.
- Start the saw before entering the material.
- Keep the shoe flat and move at a steady pace.
- Let the blade stop before lifting the saw.
For repeated cuts, make a guide block or use a track. This reduces measuring errors and gives each piece the same result.
Remember that accuracy begins before the cut. A straight saw cannot fix a crooked layout line or unstable board.
Frequently Asked Questions About Circular Saw Cuts Crooked
Why does my circular saw cut crooked even with a new blade?
A new blade may not solve the problem if the shoe is bent, the bevel is misaligned, or the material moves during the cut. Check the blade alignment, support, and guide before assuming the saw is defective.
Can a dull blade make a circular saw cut crooked?
Yes. A dull blade creates more friction and needs more force, which can pull the saw away from the cut line. It may also burn the wood and increase the chance of blade deflection.
Should the circular saw blade be perfectly parallel to the shoe?
The blade should be properly aligned with the shoe and should not wobble. Small factory clearances may exist, but visible misalignment, rocking, or side-to-side movement requires adjustment or repair.
Is a guide rail necessary for straight circular saw cuts?
No, but a guide rail or clamped straightedge makes long, accurate cuts much easier. Freehand cuts can work well for rough construction, but a guide is better for cabinetry, trim, and sheet goods.
Why does my saw cut straight on top but crooked underneath?
This often points to bevel misalignment, blade deflection, or a shoe that is not flat. Check the blade at several points and use a square to compare the blade with the shoe.
What depth should I set on a circular saw?
Set the blade only slightly deeper than the workpiece when possible. About 1/8 to 1/4 inch below the material is a common starting point, but follow the saw and blade instructions for your specific job.
Why does the saw pull to one side during a cut?
The blade may be dull, dirty, damaged, or pinched by the wood. Excessive feed pressure, poor support, and internal tension in the board can also pull the saw sideways.
Conclusion
A circular saw cuts crooked because something is allowing the blade to wander. The most common fixes are simple: use a sharp blade, check the shoe and bevel, support the workpiece, set the correct depth, and guide the saw with steady pressure.
Start with a test cut and change one factor at a time. With a stable setup and safe technique, even a basic circular saw can produce clean, straight cuts. Try these checks on your next project, and share your results or questions with other woodworkers.