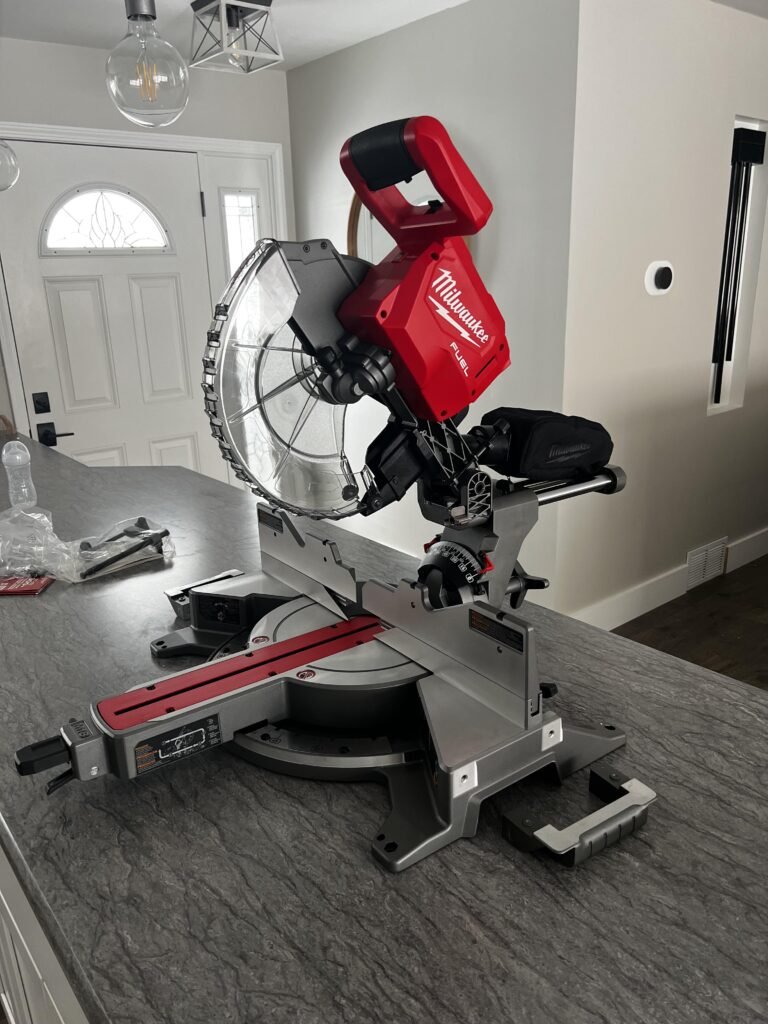
Miter Saw Brake Not Working: Causes And Easy Fixes
A miter saw brake not working usually points to worn brushes, a failed brake circuit, or a motor problem.
When a miter saw blade keeps spinning after you release the trigger, treat it as a safety fault, not a minor delay. This guide explains why the brake fails, how to test it safely, which repairs make sense, and when the saw should go to an authorized service center.

How a miter saw brake works
Most corded miter saws use an electric motor brake. When you release the trigger, the switch changes the electrical path and helps stop the motor quickly. The brake does not clamp the blade like a car brake.
The blade may still move for a short time. A brief coast is normal. A blade that spins for many seconds, stops much more slowly than before, or does not slow at all needs attention.
A miter saw brake not working can involve the trigger switch, motor brushes, armature, wiring, or a control part inside the motor. The exact design differs by brand and model, so the owner’s manual is the best guide for parts and test points.
Manufacturers design these brakes to improve safety and speed up work. However, an electric brake is not a substitute for safe handling. Keep your hands away from the blade until it stops fully.

Is a slow blade stop normal?
A small difference in stopping time does not always mean the brake has failed. Carbon brushes wear over time, and a new blade can also change the motor’s load. Dust, cold temperatures, and long extension cords may affect motor performance.
Still, a clear change deserves a check. Watch for these signs:
• The blade continues spinning for 10 seconds or more.
• The stopping time has become much longer than usual.
• The brake works only when you move or press the trigger in a certain way.
• The motor gives a spark, pop, buzz, or burning smell.
• The saw loses power when the trigger is released.
• The blade coasts even after the trigger is completely released.
Do not test the brake by touching the blade or holding a workpiece near it. Let the blade stop in the open air, with the saw head raised and the work area clear.

Common causes of a miter saw brake not working
Several parts can cause a miter saw brake not working. Some repairs are simple, while others require electrical training or replacement parts.
Worn carbon brushes
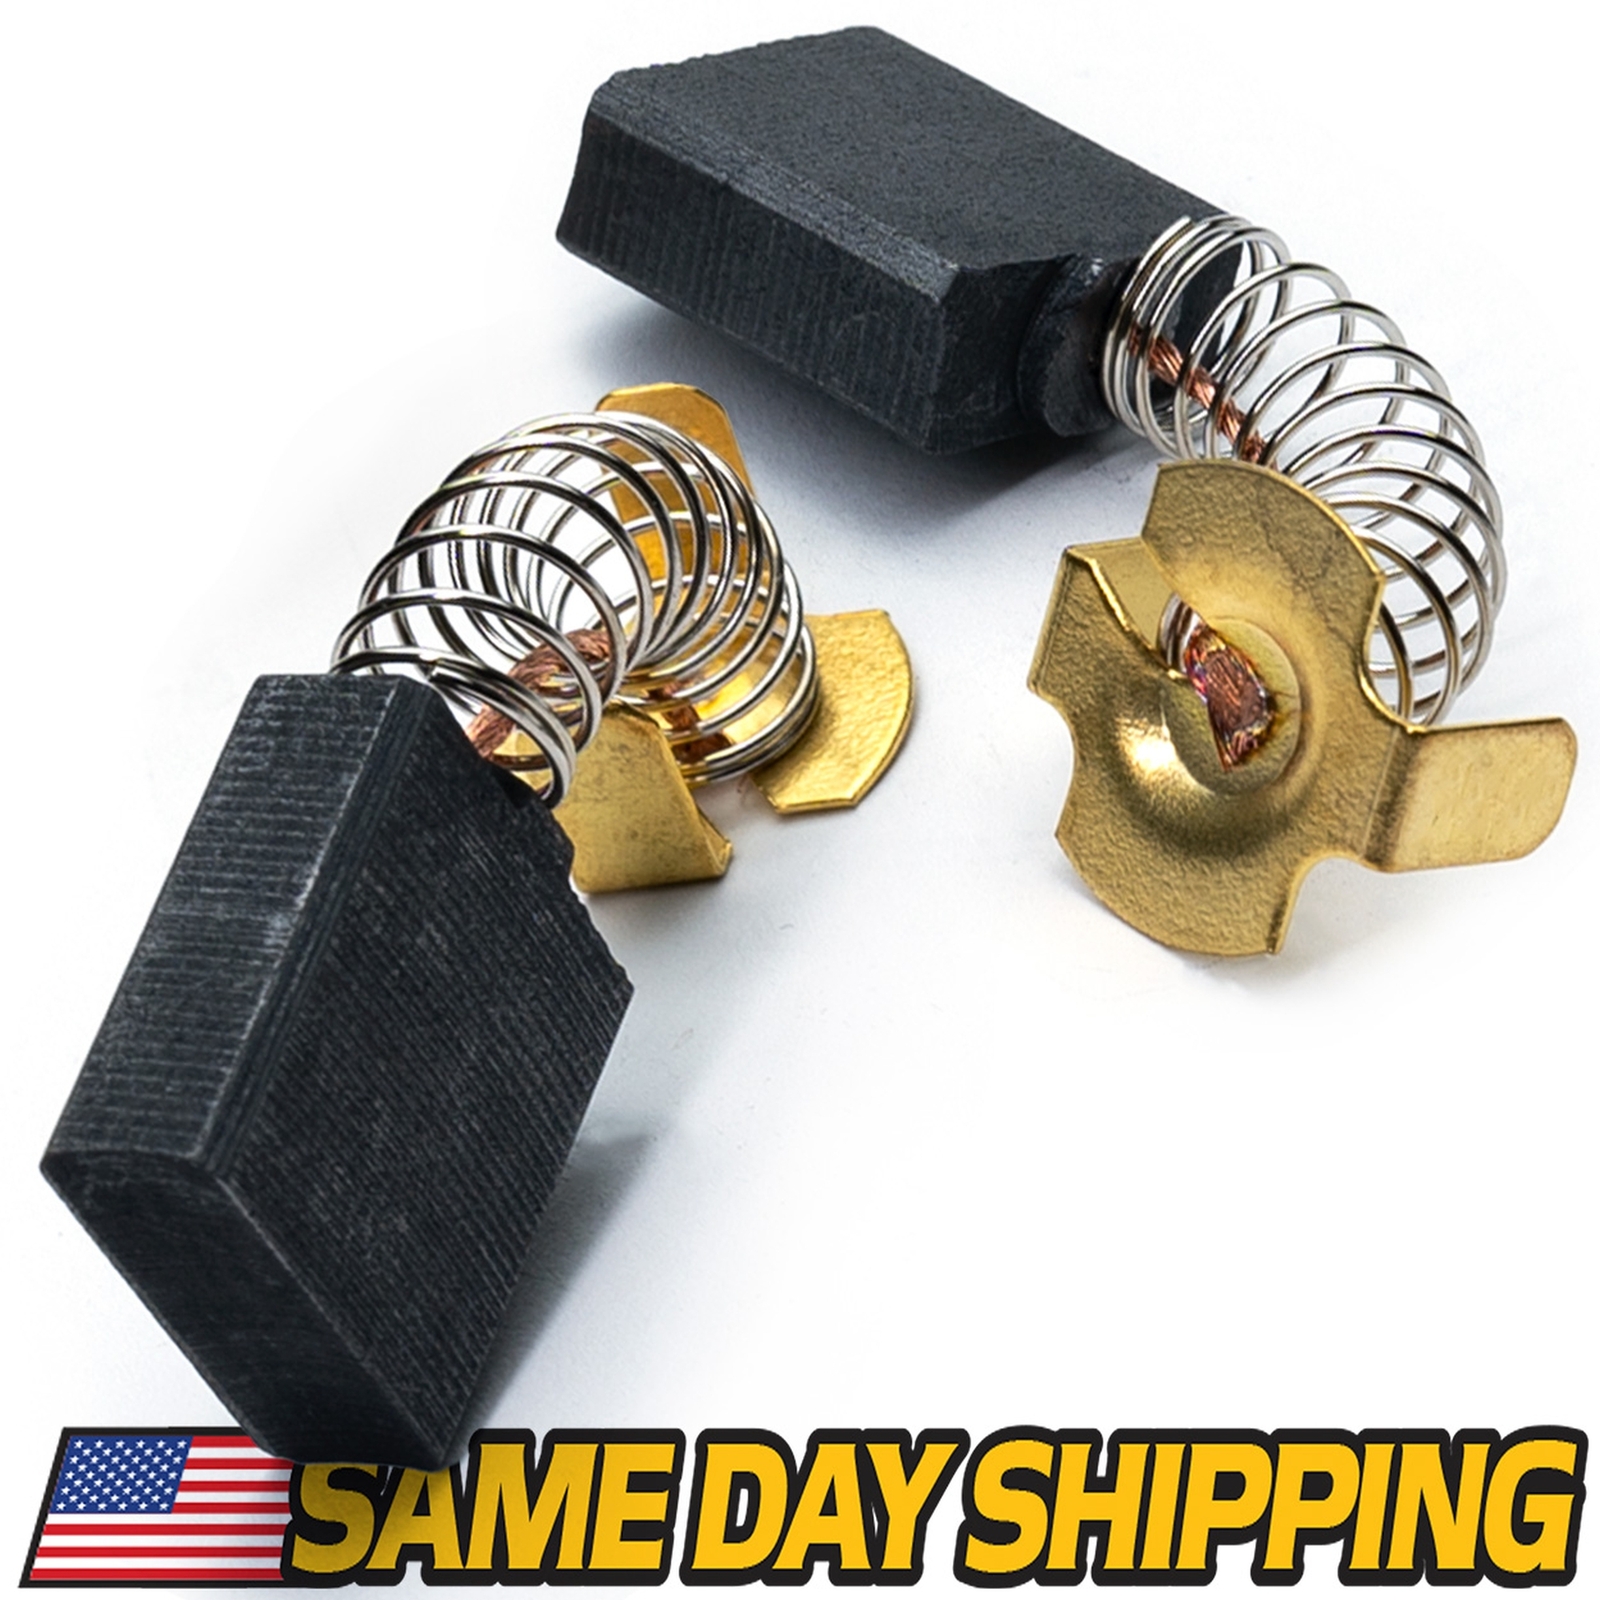
Many universal motors use carbon brushes to transfer power to the spinning armature. These brushes wear down and may lose steady contact with the commutator.
Worn brushes can cause weak braking, poor starting, extra sparks, or intermittent operation. Some brushes include a spring and a small wire lead. Replace them as a matched set when the manual calls for it.
Failed trigger switch
The trigger often controls both motor power and the braking circuit. Internal contacts can burn, wear, or become contaminated with dust.
A saw may still run while the brake function fails. This is why a working motor does not prove that the switch is healthy.
Damaged armature or commutator
The armature is the rotating part inside the motor. Its commutator has copper segments that work with the brushes.
Deep grooves, blackened copper, loose segments, or a burning smell can point to armature damage. In this case, replacing only the brushes may provide a short-term fix or may fail to solve the problem.
Loose or damaged wiring
Vibration can loosen a terminal. A sharp edge, heat, or repeated movement can damage insulation. Dust can also collect around connections.
Never assume a wire is safe because the saw still runs. A loose connection can create heat and arcing inside the handle or motor housing.
Brake control component failure
Some models use a dedicated electronic component or circuit to control braking. This part may be located near the trigger, motor, or control board.
If the switch and brushes test correctly, the brake control may need professional diagnosis. Do not bypass it. A bypass can remove the safety function and create an electrical hazard.
Heavy blade or motor load
A dull blade, wrong blade type, or cut that forces the motor can affect stopping behavior. A motor under unusual load may also produce more heat and brush wear.
This cause is less common than a switch or brush fault. It is worth checking after you rule out basic maintenance issues.

How to diagnose the problem safely
A safe diagnosis starts with isolation. A miter saw brake not working should never be tested with the guard removed or the blade held by hand.
1. Disconnect the power
Unplug the saw before inspection. If it is a battery model, remove the battery pack.
Do not rely on the trigger being off. Also remove the blade only if the manual explains the correct method and you have the proper tools.
2. Read the manual
Find the sections on brake operation, brush inspection, switch testing, and replacement parts. Manuals often show the normal stopping behavior and identify parts that users may replace.
Some warranty terms also require service by an authorized repair center. Opening the motor housing may affect coverage.
3. Inspect the outside
Look for:
• Cracked housing
• Melted plastic near the trigger
• Damaged power cord
• Blocked ventilation slots
• Excessive carbon dust
• Loose screws or terminals
• A burning odor
Do not spray cleaner, oil, or compressed air into the trigger unless the manual permits it. Liquid and fine debris can make the fault worse.
4. Check the blade by hand
With the saw unplugged, raise the head and rotate the blade carefully by its outer edge. It should turn smoothly without grinding or side play.
A rough bearing can make the saw unsafe, but it usually does not cause the electric brake itself to fail. It still needs repair before regular use.
5. Observe one controlled test
After the inspection, reconnect the saw only if there is no sign of damage. Keep the blade clear of all objects. Start the saw, release the trigger, and observe the stopping time from a safe position.
If you hear arcing, see heavy sparks, smell insulation, or notice smoke, disconnect power at once. Do not repeat the test.
6. Test electrical parts only with proper skill
A multimeter can help test continuity in some switches. However, resistance readings vary by design, and live voltage tests are dangerous.
If you are not trained to work around mains electricity, stop at the inspection stage. A repair shop can test the switch, brushes, armature, and brake circuit with the correct procedure.
How to fix a miter saw brake not working
The correct repair depends on the failed part. Always use the model number when ordering parts.
Replace worn brushes
If the manual provides brush access, unplug the saw and remove the brush caps or covers. Compare the old brushes with the manufacturer’s wear limit.
Replace both brushes together unless the manual says otherwise. Clean only as directed. Do not sand the commutator or install random brushes that merely fit the holder.
After installation, run the saw without a load for a short period if the manual recommends a bedding process. Stop if you see strong sparks or smell burning.
Replace a faulty trigger switch
A trigger replacement may restore both motor control and braking. Photograph wire positions before removal, but do not depend on the photo alone. Use the wiring diagram and terminal markings.
A switch is not a universal part. The correct switch must match the saw’s model, voltage, current rating, and brake design.
Repair damaged wiring
Replace damaged wires with the correct type and gauge. Use proper terminals and insulation. Twisting wires together or wrapping them with ordinary tape is not a safe repair.
Cord damage near the plug or handle can also require full cord replacement. Never use a saw with exposed copper.
Replace a motor or control part
An armature, field, electronic brake component, or complete motor assembly can cost a large part of the saw’s value. A trained technician should confirm the fault first.
This is especially important for a miter saw brake not working after a loud pop or a strong burning smell. Several parts may have failed at once.
Do not bypass the brake
Some online repair tips suggest changing the wiring so the saw keeps running without the brake. Avoid this advice.
The brake is part of the saw’s safety design. Bypassing it can increase blade coast time, create shock or fire risks, and possibly violate electrical and workplace safety requirements.

When should you stop using the saw?
Stop using the tool immediately if the miter saw brake not working is paired with any serious warning sign.
These signs include:
• Smoke or a strong electrical smell
• Visible arcing inside the handle
• A cracked power cord
• A trigger that sticks
• A blade that wobbles
• A guard that does not close
• A motor that surges or cuts out
• A brake that works only sometimes
Intermittent faults are not safer than constant faults. They can worsen without warning.
For job sites, follow your employer’s lockout and inspection rules. Workplace safety guidance treats damaged power tools as equipment that must be removed from service until repaired. Home users should follow the same principle.
A useful shop lesson is simple: if a tool changes behavior, do not “work around it” for one more cut. I have seen small switch problems become melted housings after users continued operating the saw. Early repair is usually cheaper and much safer.
How to prevent brake problems
Good maintenance can extend brush and switch life, although it cannot prevent every failure.
• Keep the motor vents clear of sawdust.
• Use a vacuum or soft brush as recommended by the manual.
• Do not overload the saw with thick or wet stock.
• Use a sharp blade made for the material.
• Keep the power cord away from the cutting path.
• Avoid forcing the blade through a cut.
• Store the saw in a dry place.
• Inspect the trigger, guard, cord, and blade before use.
• Replace worn brushes at the stated service limit.
• Use the correct extension cord size and length.
A dull blade makes the motor work harder. It also creates poor cuts and extra heat. Replacing a cheap blade is often smarter than stressing an expensive motor.
Do not lubricate the brake or motor unless the manufacturer specifically requires it. Many modern saws use sealed bearings and electrical parts that should remain dry.

Repair or replace the miter saw?
Repair makes sense when the problem is a switch, brush set, cord, or simple connection. These parts are often affordable and can restore a quality saw.
Replacement may be better when the motor, control board, armature, and housing are all damaged. Compare the repair estimate with the cost of a new saw that has available parts and a good warranty.
Consider these points:
• Age and condition of the saw
• Availability of genuine replacement parts
• Cost of professional labor
• Accuracy of the fence and miter scale
• Condition of the blade guard
• Safety features on a replacement model
• Your ability to obtain future service
A low-cost saw with a failed motor may not justify a major repair. A durable professional saw may be worth repairing because its fence, rails, and base can remain accurate for many years.
Safety standards and expert guidance
Power-tool safety guidance from organizations such as OSHA, the Consumer Product Safety Commission, and major tool manufacturers follows the same basic rule: inspect tools before use and remove damaged tools from service.
The exact brake stopping time is not universal. It depends on the model, blade, motor condition, power supply, and temperature. For this reason, use the manual’s instructions and compare the saw with its normal behavior rather than relying on one number.
A brake reduces coast time, but it cannot prevent every injury. Wear eye and hearing protection, secure the workpiece, keep both hands outside the danger zone, and wait for the blade to stop before raising the head or reaching near the cut.
Frequently Asked Questions About a Miter Saw Brake Not Working
Why does my miter saw blade keep spinning after I release the trigger?
The trigger switch, carbon brushes, armature, wiring, or brake control may be faulty. A short coast can be normal, but a major change in stopping time means you should stop using the saw until it is inspected.
Can worn brushes cause a miter saw brake not working?
Yes. Worn or damaged carbon brushes can reduce contact with the motor commutator and affect both motor power and braking. Replace them as a matched pair when the manufacturer allows user replacement.
Is it safe to use a miter saw if the brake does not work?
No. The saw may still cut, but the longer coast time increases the chance of contact with a moving blade. Unplug it, label it as unsafe, and repair or replace the faulty part before use.
Can I fix the brake by replacing the blade?
Usually not. A dull or heavy blade can affect motor load, but a failed electric brake is more often linked to the switch, brushes, wiring, or motor components.
How long should a miter saw blade take to stop?
There is no single time for every model. Check the owner’s manual and compare the current stop time with the saw’s normal operation; a sudden increase is a warning sign.
Should I bypass the electric brake?
Never bypass the brake. Changing the wiring can create shock, fire, and injury risks while removing an important safety feature.
When should I call a professional?
Call a qualified technician when the saw has smoke, heavy sparks, a burning smell, damaged wiring, or a suspected electronic control fault. Professional service is also the safest choice if you cannot confidently test electrical parts.
Conclusion
A miter saw brake not working is a safety problem that deserves prompt attention. The cause may be worn brushes, a bad trigger, damaged wiring, a failed armature, or a brake control component.
Start by disconnecting power and checking the manual. Inspect the cord, trigger, vents, blade, and brush access, but avoid live electrical tests unless you have proper training. Never bypass the brake or keep using the saw because it still cuts.
A careful inspection today can prevent a serious injury and a costly motor failure later. Follow the repair steps that match your skill level, use genuine parts, and contact a qualified service center when the fault is unclear.