Makita Drill Keeps Stopping: Quick Fixes That Work
A Makita drill keeps stopping when its battery, motor, trigger, contacts, or overload protection cannot deliver steady power.
A Makita drill keeps stopping for a reason, but the cause is not always serious. A weak battery can look like a bad motor, while a dirty contact can mimic a faulty trigger. This guide explains how to test each likely cause safely, avoid wasted parts, and decide when repair makes sense.
Why your Makita drill keeps stopping
A cordless drill needs four things to run well: power, a clean electrical path, a working control system, and a motor that can turn freely. If one part fails, the drill may stop at once, pulse on and off, or work only under light pressure.
The most common causes include:
• A low, worn, or overheated battery
• Dirty or loose battery contacts
• A blocked cooling path
• Too much pressure on the bit
• A worn carbon brush or motor
• A faulty trigger switch
• A damaged gear case or chuck
• Electronic overload protection
• A charger that does not fully charge the battery
Many Makita cordless drills use electronic protection. This system can stop the tool when it senses high current, excess heat, or a battery problem. The stop may feel sudden, but it can protect the motor and battery from costly damage.
A useful clue is what happens after the drill stops. If it runs again after a short rest, heat or overload is likely. If it only works when you move the battery, the contacts or battery fit may be at fault. If it stops when you pull the trigger, the trigger, motor, or battery may need testing.

Start with a safe inspection
Before testing a Makita drill, remove the battery. Take out the bit, inspect the chuck, and keep your fingers away from the trigger. Do not open a lithium ion battery pack or bypass its safety circuit.
Look for simple problems first:
- Check the battery for cracks, swelling, leaks, or burn marks.
- Check the drill body for melted plastic or a hot electrical smell.
- Look through the air vents for dust or packed debris.
- Turn the chuck by hand with the battery removed.
- Check that the bit is straight and properly secured.
- Inspect the battery rails and contacts for dirt or damage.
A drill that smells burnt, makes harsh grinding sounds, or becomes too hot to touch should not be used. Place it on a nonflammable surface and let it cool. A damaged lithium ion battery should be kept away from heat and taken to an approved battery recycling point.
Never spray oil into the motor vents. Oil can attract dust and damage electrical parts. Also, do not use water or a wet cloth near the battery terminals.

Test the Makita battery first
The battery is the first suspect when a Makita drill keeps stopping. Lithium ion packs can show a full charge on the charger but still lose voltage quickly under load. This happens when cells have aged or when the battery management system detects a fault.
Try these steps:
• Remove the battery and let it cool for 20 to 30 minutes.
• Charge it with the correct Makita charger.
• Clean the contacts with a dry, lint-free cloth.
• Test the drill with a known good battery of the correct voltage.
• Test the suspect battery in another compatible Makita tool.
A second battery is the fastest comparison. If the drill works normally with another pack, the original battery is likely weak or damaged. If both batteries cause the same stop, look at the drill, the workload, or the bit.
Do not judge battery health only by the charge lights. A pack may charge quickly because it has lost capacity. It may also shut down during drilling because one cell drops below its safe voltage.
Use only batteries that match the drill’s voltage and fit the correct Makita platform. Never force a battery into place. Do not connect loose cells, use homemade adapters, or defeat the battery protection system.
Signs of a weak battery
A failing battery often shows a pattern:
• The drill stops during hard drilling but runs at low speed.
• The battery becomes hot very fast.
• Runtime is much shorter than before.
• The charger reports an error.
• The drill works again after the battery rests.
• The battery case is swollen or cracked.
If the pack is swollen, do not charge or use it. Replacement is safer than repair. Lithium ion battery work requires special tools and training because a short circuit can cause fire.
Check for overload and overheating
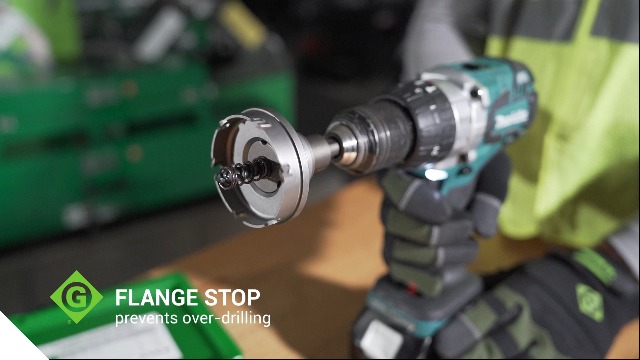
A Makita drill can stop when the bit binds, the material is too hard, or the user pushes too hard. This is common with large hole saws, auger bits, masonry bits, and long drilling sessions.
The drill motor is like a person riding a bike uphill. More load needs more energy. If the load stays too high, the protection system cuts power to prevent damage.
Reduce the load in these ways:
- Use the correct bit for the material.
- Start at a lower speed when the bit is large.
- Keep the bit sharp.
- Let the bit cut instead of forcing it.
- Clear chips from deep holes.
- Use the correct clutch and gear setting.
- Allow the tool to cool between heavy tasks.
Do not use the drill’s clutch as a substitute for proper technique. The clutch helps control screw driving, but drilling usually requires the drill setting or the correct high torque mode, depending on the model.
If the Makita drill keeps stopping after heavy use but runs again when cool, thermal protection is likely. Let the tool rest in a dry, shaded place. Do not cool it with ice, compressed liquid, or water. A fast temperature change can damage internal parts.
Clean and inspect the battery contacts
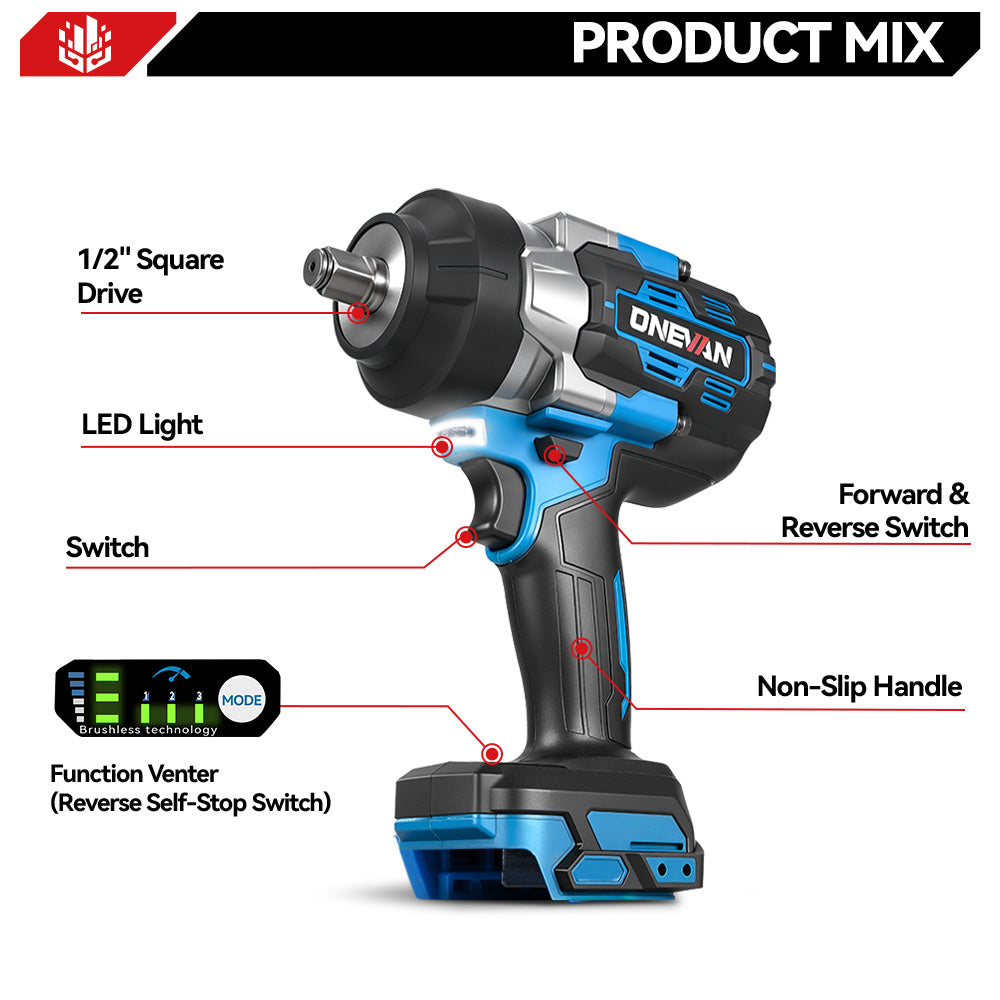
Dirty contacts can interrupt power for a moment. The drill may stop when you tilt it, press against the work, or move your hand. Sawdust, drywall dust, corrosion, and grease can all cause trouble.
Remove the battery before cleaning. Wipe the metal contacts on the drill and battery with a dry cloth. For stubborn dirt, use a small amount of electrical contact cleaner on a cloth, then let the parts dry fully before fitting the battery.
Do not bend the contacts sharply. Do not scrape them with a knife. A damaged contact can create a poor connection and heat under load.
After cleaning, insert the battery until it locks firmly. Check for side-to-side movement. A battery that feels loose may have worn rails, a broken latch, or a damaged housing.
If gently pressing the battery upward makes the drill run, stop using the tool until the fit is repaired. A loose connection can arc, create heat, and damage both the battery and drill.

Inspect the trigger and speed control
The trigger controls power and speed. Inside it are electrical contacts and, on many models, an electronic speed control circuit. If the drill stops when you hold the trigger in one spot, the trigger may be worn.
Common trigger symptoms include:
• Power cuts out when you lightly move the trigger.
• The drill only runs at full speed.
• The drill pulses instead of running smoothly.
• Reverse works but forward does not, or the reverse is true.
• The trigger feels loose, sticky, or unusually hot.
First, remove the battery and press the trigger several times. It should move smoothly and return fully. Do not spray general lubricant into the trigger. It can damage the switch or attract dust.
Trigger replacement varies by model. Some drills use a complete switch module, while others include electronic controls in the same unit. Use the exact model number from the drill label when ordering parts.
If you do not work with electrical repairs, let a qualified technician test the switch. A trigger fault can be simple, but incorrect wiring can damage the control board or create a shock and fire risk.

Check the motor, brushes, and gears
Older corded Makita drills and some serviceable models use carbon brushes. Worn brushes may cause weak power, intermittent stopping, sparking, or a motor that runs only when the tool is tapped. Brush access differs by model, so check the product manual before opening the housing.
A brush may be the cause when:
• The drill has many hours of use.
• The motor sparks more than usual.
• Power changes when you move the tool.
• The drill smells strongly of burnt carbon.
• The motor sounds rough or uneven.
Brush replacement is not a cure for a damaged armature, commutator, field, or electronic controller. If new brushes wear quickly or the motor still cuts out, the motor assembly may need professional testing.
A grinding sound points more toward the gears, bearings, or chuck. A seized chuck can place heavy load on the motor. With the battery removed, turn the chuck by hand. It should rotate with normal resistance, not feel locked or gritty.
Do not continue using a drill with grinding gears. Small metal fragments can spread through the gear case and turn a minor repair into a full replacement.

Consider the bit, chuck, and material
Sometimes the tool is fine, but the drilling setup is not. A dull bit creates more friction and makes the motor work harder. A bit that is too large for the selected speed can also trigger protection.
Match the setup to the job:
• Use a sharp wood bit for wood.
• Use a masonry bit with the correct impact setting when the model supports it.
• Use a metal bit with cutting fluid when suitable for the material.
• Use a pilot hole before a large hole.
• Avoid side pressure on the bit.
• Keep the bit aligned with the surface.
A chuck that slips can make the drill sound as if it is stopping. Mark the bit with a pencil, tighten the chuck correctly, and check whether the mark moves during use.
For large holes, a drill with more torque may be needed. A compact 12 volt tool may not be the right choice for a large hole saw in thick hardwood. Choosing the wrong tool is not a personal failure; it is like using a kitchen knife to chop firewood.

Reset the drill after a protection shutdown
Some Makita drills resume after a simple reset. Remove the battery and let the tool cool. Check the bit, chuck, vents, and battery contacts. Then install a charged battery and test the drill without load.
If it runs, use a small bit in scrap material. Increase the load slowly. If the drill stops again under light pressure, the fault may be inside the tool or battery rather than caused by normal overload.
Do not repeatedly pull the trigger to force a start. This can increase heat and place more stress on the controller. A protection shutdown is a warning, not a challenge to overpower the tool.
The exact reset behavior differs by model. Check the manual for your drill’s voltage, protection features, and service instructions. Product families can look similar while using different switches, controllers, and battery systems.
When to repair or replace the drill
A basic diagnosis may take only a few minutes, but internal repair can require special tools. Repair is often worthwhile when the drill is a higher-end model, the battery system is still current, or the fault is a switch, contact, or brush.
Replacement may make more sense when:
• The housing is cracked near the motor or battery mount.
• The control board has burn marks.
• The gear case grinds badly.
• Several major parts have failed.
• The drill is old and replacement parts are hard to find.
• A new tool costs less than safe professional repair.
Use an authorized service center or a qualified power tool technician for internal faults. Ask for a diagnosis and estimate before approving work. Keep the model and serial information available.
One repair lesson applies to nearly every Makita drill keeps stopping problem: replace the part only after testing the system. Buying a new battery, trigger, and motor without testing can cost more than a professional inspection.
A practical troubleshooting order
Use this order when a Makita drill keeps stopping:
- Remove the battery and inspect the tool for damage.
- Let the battery and drill cool.
- Charge the battery with the correct charger.
- Test a known good battery.
- Clean and inspect the contacts.
- Check the bit, chuck, gear, and speed setting.
- Test the drill with no load.
- Test it in soft material with light pressure.
- Listen for grinding, sparking, or unusual motor noise.
- Stop and seek service if the fault remains.
Write down what happens. Note the battery used, time before stopping, material, bit size, heat, noise, and whether the drill restarts. These details help a technician find the fault faster.
Do not use a multimeter on battery terminals unless you understand the pack’s design and safe test method. Voltage alone does not prove that a lithium ion battery is healthy. Load testing and cell analysis require proper equipment.
How to prevent future stoppages
Good care reduces both sudden shutdowns and long-term wear. Keep the drill clean, use the right bit, and avoid forcing the motor through tough material.
Follow these habits:
• Store batteries in a cool, dry place.
• Avoid leaving batteries in a hot vehicle.
• Charge packs with the correct charger.
• Remove the battery before cleaning or changing bits.
• Keep vents clear.
• Let the tool cool after demanding work.
• Do not drop the drill or battery.
• Use the correct gear and clutch setting.
• Replace dull bits.
• Inspect the battery latch and contacts often.
Heat is a major enemy of batteries and electronics. Short breaks during heavy work can protect the tool and improve its service life. A few seconds of patience is cheaper than a new motor.
Frequently Asked Questions of Makita drill keeps stopping
Why does my Makita drill stop when I apply pressure?
The battery may be weak, or the drill may be entering overload protection. Try a fully charged, compatible battery and use a sharp bit with less pressure.
Why does my Makita drill work again after it cools down?
This pattern often points to thermal protection or an overheated battery. Let both parts cool naturally, then reduce the load and check that the vents are clear.
Can a bad Makita battery make the drill stop?
Yes. An aging battery can lose voltage under load, even if its charge indicator shows full. Test the drill with a known good battery to separate a battery fault from a tool fault.
Why does my Makita drill stop when I move the battery?
Dirty contacts, worn battery rails, or a damaged latch may be interrupting power. Remove the battery, inspect the fit, clean the contacts, and stop using the tool if the battery remains loose.
Is a faulty trigger the reason my Makita drill keeps stopping?
It may be, especially if the drill cuts out when you move or partly release the trigger. A trigger that feels sticky, loose, hot, or inconsistent should be tested or replaced by a qualified person.
Should I keep pressing the trigger after the drill stops?
No. Repeatedly pressing the trigger can add heat and stress to the motor and controller. Find out whether the cause is overload, temperature, battery condition, or an internal fault first.
Is it safe to use a swollen Makita battery?
No. Do not charge, use, open, or crush a swollen battery. Keep it away from heat and arrange safe disposal through a local battery recycling service.
Conclusion
A Makita drill keeps stopping most often because of a weak battery, overload, heat, dirty contacts, a worn trigger, or an internal motor problem. Start with safe checks that cost nothing, then compare the drill with a known good battery and a light load.
Pay attention to patterns. A tool that restarts after cooling needs a different fix from one that stops when the battery moves. Use the advice above to diagnose the problem carefully, and contact a qualified repair center when the fault involves the motor, controller, battery cells, or damaged wiring.
Take a few minutes to record the symptoms before buying parts. If this guide helped, share your Makita model and the symptoms in the comments so other tool users can compare solutions.