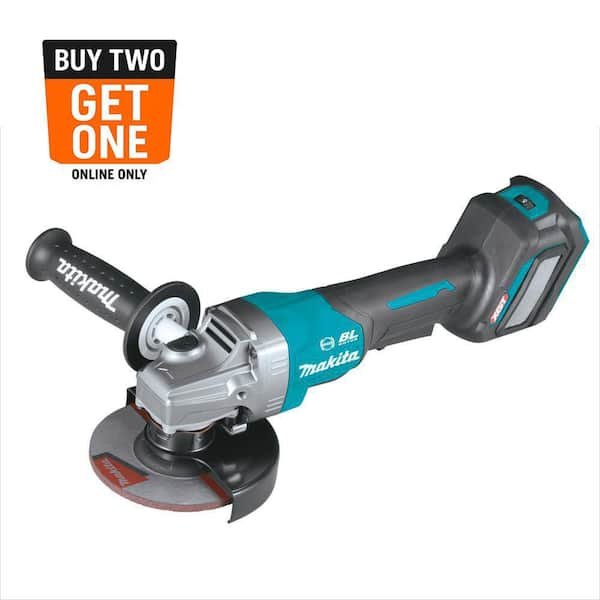
Makita Grinder Switch Stuck: Quick Fixes And Safety Tips
A Makita grinder switch stuck usually points to debris, worn contacts, spring damage, or a jammed switch mechanism.
A stuck switch can make a reliable Makita angle grinder feel unsafe in seconds. I have seen this problem turn a simple cutting job into a careful bench repair, especially when dust packs around the trigger or lock button. This guide explains why a Makita grinder switch stuck condition happens, how to test it safely, when cleaning may help, and when switch replacement is the wiser choice.
Why Is My Makita Grinder Switch Stuck?
A Makita grinder switch may stick because fine dust, metal chips, grease, or damaged plastic blocks its movement. The switch can also wear out after years of use, particularly on grinders used for concrete, masonry, tile, or heavy grinding.
The switch is more than a simple button. It controls power to the motor and often includes a lock-on feature, trigger, spring, and internal electrical contacts. If one part binds, the switch may stay on, stay off, or move without controlling the grinder.
Common causes include:
• Dust packed around the trigger or slide switch
• A broken or weak return spring
• A cracked switch housing
• Burned or welded electrical contacts
• A bent lock button
• A loose wire inside the grinder
• A damaged cord or plug
• Moisture or corrosion inside the switch
A Makita grinder switch stuck in the “on” position is especially serious. Never keep using the tool by plugging and unplugging it. That removes the normal control and can create a shock, fire, or unexpected-start risk.
Safety Checks Before Troubleshooting
Unplug the grinder before touching the switch, opening the housing, or removing the wheel. If the tool is cordless, remove the battery and place it away from the work area. Do not rely only on the switch being in the off position.
Wear safety glasses when inspecting the tool. Small metal chips can fall from the guard or switch area. If the grinder was recently used, let it cool before checking it.
Use this safe order:
-
Disconnect power completely.
-
Remove the grinding wheel or cutting disc if it can be done safely.
-
Check that the spindle is not locked by a damaged accessory.
-
Inspect the switch from the outside.
-
Test the switch movement without forcing it.
-
Stop if you smell burning, see melted plastic, or find damaged wires.
A grinder is a high-speed tool. The wheel can reach thousands of revolutions per minute. Safety agencies consistently advise disconnecting portable power tools before service and removing damaged tools from use. That advice matters here because a stuck switch can cause an unexpected start.

Quick External Inspection
Start with the simple checks. Look for dust, chips, or hardened material around the switch opening. A flashlight can help you see whether the trigger or slider is sitting at an unusual angle.
Move the switch gently with one finger. Do not use pliers, a screwdriver, or excessive force. If the switch feels gritty, stops halfway, or fails to spring back, the internal mechanism may be damaged.
Also check the power cord and plug. A damaged cord can make the grinder stop and start, which some users mistake for a stuck switch. Look for:
• Cuts or crushed sections in the cord
• Exposed copper
• A loose plug
• Burn marks near the plug
• A loose strain relief at the grinder
For cordless Makita grinders, inspect the battery contacts and battery release area. A battery that does not seat correctly can cause intermittent power, but it will not normally make the mechanical switch stick.
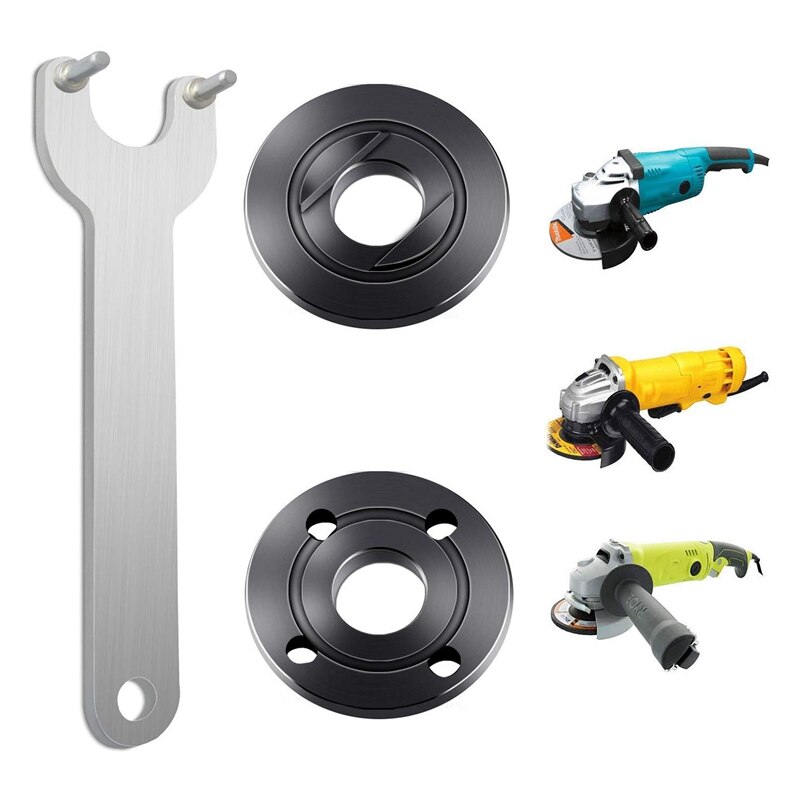
How to Clean a Makita Grinder Switch
Cleaning may fix a Makita grinder switch stuck because of surface dust or small debris. It will not repair burned contacts, broken springs, cracked parts, or a switch that has become electrically welded.
Use a soft brush or clean, dry compressed air. Hold the grinder so debris falls away from the tool. If using compressed air, use moderate pressure and wear eye protection. Very high pressure can push abrasive dust deeper into the switch or motor.
Follow these steps:
-
Disconnect the cord or remove the battery.
-
Brush loose debris from the switch opening.
-
Blow short bursts of dry air around the switch.
-
Move the switch gently several times.
-
Check whether it returns fully to its normal position.
-
Inspect the area again for cracks or loose pieces.
Avoid spraying water, penetrating oil, or general-purpose cleaner into the switch. Liquid can damage electrical contacts and trap more dust. Some lubricants also attract abrasive particles, creating a paste that makes the problem worse.
In my workshop experience, dry cleaning often helps when a grinder has been used on drywall, brick, or concrete. The key lesson is to clean from the outside first. Opening the tool too soon can spread dust into the motor and make a small problem larger.

Checking the Switch Housing and Lock Button
Many Makita grinders use a slide switch or trigger with a lock feature. The lock button can become stuck if its plastic edge is cracked or if debris collects under it.
Look for uneven gaps around the switch. A switch that sits lower on one side may have a broken guide or damaged housing. Do not operate the grinder if the housing is cracked, loose, or missing screws.
A lock-on switch should not remain engaged when the switch is released. If it does, the spring or internal latch may have failed. This is not a safe condition, even if the grinder still runs normally.
Check for these warning signs:
• The switch does not click into position
• The switch moves but feels loose
• The lock button stays pressed
• The grinder starts when the battery is inserted
• The motor continues after the switch is released
• The switch becomes hot during use
A Makita grinder switch stuck in any of these ways should be treated as a failed control until proven otherwise.
Testing the Switch With a Multimeter
A multimeter can help confirm an electrical switch fault, but only after the tool is fully disconnected. If you are not comfortable working inside power tools, skip this test and use an authorized repair center.
Remove the grinder cover only if the model’s service instructions allow it and you understand how the parts fit. Take clear photos before disconnecting wires. Never test resistance on a tool that is plugged in or connected to a battery.
With the switch isolated from the circuit:
• Set the meter to continuity or resistance mode.
• Test the switch in the off position.
• Test it again in the on position.
• Compare the result with the switch’s expected operation.
A good switch should change state in a clear and repeatable way. A switch that shows continuity in the off position, no continuity in the on position, or unstable readings may be defective.
A continuity test does not prove that a switch can safely handle the grinder’s full current. A switch may pass a basic test yet fail under load because of burned contacts or internal heat damage. Use the test as a clue, not as the only basis for repair.

When the Switch Needs Replacement
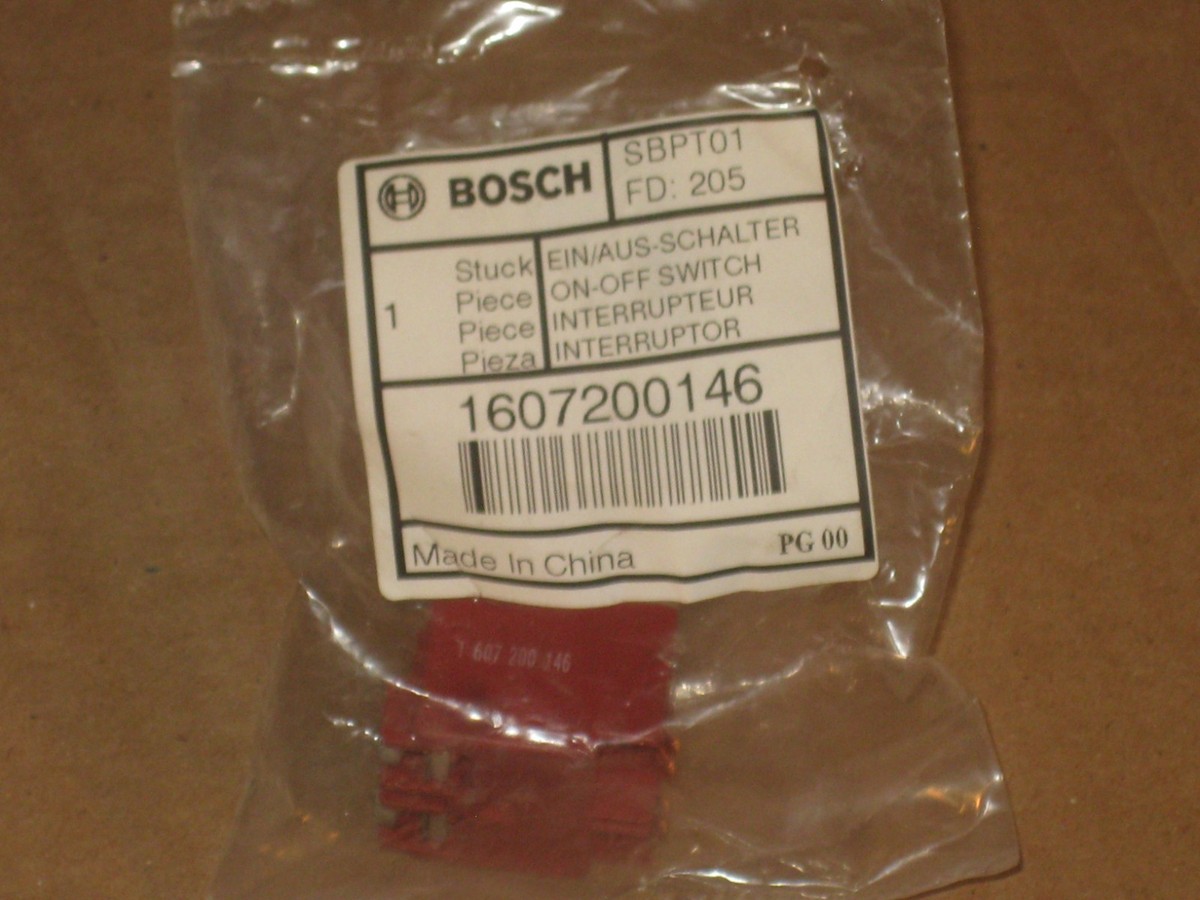
Replace the switch when cleaning does not restore smooth movement or when the internal contacts, spring, latch, or housing are damaged. A replacement should match the exact Makita model and voltage type.
Find the model number on the tool label or battery platform. Makita grinders can look similar while using different switch designs. A switch from another model may fit the housing but have the wrong electrical rating or terminal layout.
Before ordering a part, confirm:
• Exact grinder model
• Corded or cordless design
• Voltage rating
• Switch style
• Terminal arrangement
• Lock-on function
• Replacement part number
Do not bypass the switch. Do not join wires together to keep the grinder running. This removes a vital safety control and may cause the motor to start whenever power is connected.
If the switch is part of a sealed control assembly, replacing the complete assembly is often safer than attempting to repair its internal parts. A qualified repair technician can also check the motor, field, armature, cord, and electronic brake system for related damage.
Common Mistakes to Avoid
A Makita grinder switch stuck problem often becomes more expensive because of rushed troubleshooting. The most common mistake is forcing the switch. Plastic tabs and small springs can break easily, turning a dirty switch into a full replacement job.
Avoid these errors:
• Plugging the grinder in repeatedly to “see if it works”
• Spraying oil or cleaner into the switch
• Testing continuity while power is connected
• Using the grinder with a switch that stays on
• Installing a switch with a different rating
• Removing the wheel without securing the spindle
• Reassembling the tool with loose wires
• Ignoring a burning smell or melted plastic
Another mistake is blaming the switch when the real issue is a damaged cord, battery contact, or electronic controller. A careful inspection saves time and reduces the chance of replacing the wrong part.
Repair or Replace the Grinder?
Repair makes sense when the grinder is otherwise in good condition and the replacement switch is available. A switch repair may cost much less than a new professional grinder.
Replacement may be more practical when the tool has several problems, such as a damaged cord, loud bearings, weak motor power, heavy sparking, or a cracked housing. Older grinders may also have limited parts support.
Use this simple guide:
• Clean switch, smooth movement, no electrical damage: test and monitor
• Sticky switch with damaged spring or latch: replace the switch
• Burned contacts or melted housing: stop using and replace the assembly
• Damaged cord plus switch failure: seek a full inspection
• Multiple major faults: compare repair cost with a new grinder
A professional repair shop can confirm the fault and perform insulation, continuity, and load checks. This is especially useful for corded tools used on job sites, where a hidden electrical fault can create a serious hazard.
How to Prevent a Stuck Grinder Switch
Prevention starts with dust control. Do not place the grinder on a dusty surface with the switch facing down. After each job, brush the tool clean and keep ventilation openings clear.
Store the grinder in a dry case or cabinet. Keep it away from rain, condensation, welding sparks, and metal grinding dust. Moisture and abrasive particles are a poor mix for electrical switches.
Helpful habits include:
• Unplug the grinder before cleaning
• Use a soft brush after every dusty job
• Keep the switch area free of packed debris
• Inspect the cord before use
• Avoid forcing the trigger or slider
• Use the correct wheel and guard
• Replace worn accessories promptly
• Follow the model’s instruction manual
Do not cover the vents during use. A hot motor can increase wear on internal parts and may contribute to switch or controller damage. Good airflow is as important as a clean switch.
Frequently Asked Questions About Makita Grinder Switch Stuck
Why is my Makita grinder switch stuck in the on position?
Dust, a failed return spring, damaged plastic, or welded electrical contacts can hold the switch on. Disconnect power immediately and do not use the grinder until the switch is cleaned, tested, or replaced.
Can I use WD-40 on a stuck Makita grinder switch?
It is best not to spray WD-40 or other liquid products into the switch. The liquid can contaminate electrical contacts and collect more dust, so use a dry brush and controlled air instead.
How do I reset a Makita grinder switch?
There is usually no electrical reset for a mechanically stuck switch. Disconnect the tool, check for debris, and gently move the switch; if it still binds, replace the switch or have the tool inspected.
Is a Makita grinder switch stuck because of the motor?
Usually, a motor problem does not physically stop the switch from moving. However, a motor fault can cause burning, overload, or controller damage, so unusual noise, smoke, or heavy sparking requires professional testing.
Can I replace a Makita grinder switch myself?
You can replace it if you have the correct part, understand safe tool disassembly, and can reconnect every wire correctly. Disconnect all power first, and use a repair center if the housing, wiring, or electronic controller is damaged.
Why does my cordless Makita grinder start when I insert the battery?
The switch or electronic control may be stuck in the active state. Remove the battery and stop using the grinder until the switch and controller are inspected.
Conclusion
A Makita grinder switch stuck condition should never be ignored. Start by disconnecting power, inspect the switch for debris, clean it with a dry brush and moderate air, and look for broken plastic, weak springs, damaged wires, or burned contacts.
If the switch still binds or the grinder starts unexpectedly, replace the correct switch assembly or contact a qualified repair professional. A few careful minutes now can prevent an uncontrolled start, damaged workpiece, or serious injury. Use these steps during your next inspection, and share your repair experience or questions in the comments.