Ryobi Impact Driver Not Working: Fixes & Troubleshooting
A Ryobi impact driver not working usually has a drained battery, dirty contacts, stuck trigger, or an internal fault.
A Ryobi impact driver can stop suddenly, run weakly, or refuse to turn even when the battery looks charged. After troubleshooting many cordless tools, I know the best approach is to start with simple power checks before opening the tool. This guide explains why your Ryobi impact driver is not working, how to test each part safely, and when repair or replacement makes more sense.

Why Is My Ryobi Impact Driver Not Working?
A Ryobi impact driver depends on several parts working together. The battery supplies power, the contacts transfer it, the trigger sends the power to the motor, and the motor drives the impact mechanism. A fault in any one of these areas can make the tool appear completely dead.
The most common causes include:
• A dead or weak 18V battery
• Dirty, damaged, or loose battery contacts
• A battery that is too hot or too cold
• A trigger that is stuck or damaged
• A forward and reverse selector set in the center position
• A motor brake or electronic control fault
• Worn carbon brushes in an older model
• A damaged motor, circuit board, or wiring connection
• A jammed chuck or impact mechanism
Before testing the tool, remove the battery and inspect it for cracks, swelling, leaks, or burn marks. Do not use a damaged lithium ion battery. Also remove the driver bit before carrying out any checks.
Check the Battery First
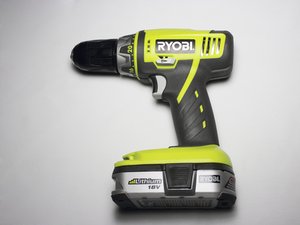
When a Ryobi impact driver is not working, the battery should be your first suspect. A battery may show a green light on the charger but still fail under load. The charger checks battery conditions, but that does not always prove the pack can deliver enough current to run the motor.
Try these steps:
-
Remove the battery from the driver.
-
Press the battery fuel gauge button.
-
Check whether one or more indicator lights appear.
-
Install the battery on another compatible Ryobi tool.
-
Test a known good battery in the impact driver.
-
Charge the original battery with the correct Ryobi charger.
If another battery works, the driver is likely fine and the original battery needs attention. If no battery works, continue checking the tool itself.
A lithium ion battery can enter a protection mode after overheating, overloading, or deep discharge. Let a hot battery cool at room temperature for about 30 minutes. Never place it in a freezer, near a heater, or in direct sunlight to force a temperature change.
Battery age also matters. A pack used for several years may lose capacity even if it still charges. Under heavy load, its voltage can drop too far, causing the tool to stop or pulse.

Inspect the Battery Contacts
Dirty contacts are a small problem with a big effect. Dust, sawdust, metal filings, and moisture can block the electrical connection between the battery and tool. This is one reason a Ryobi impact driver not working may suddenly start again after the battery is removed and reinstalled.
Remove the battery and inspect both sets of contacts. Look for:
• Dirt or packed dust
• Green or white corrosion
• Bent metal terminals
• Burn marks
• Loose plastic around the battery slot
Use a dry, soft brush to remove loose debris. You may also use a clean cotton swab with a small amount of electrical contact cleaner. Allow the cleaner to dry fully before inserting the battery.
Do not scrape the contacts with a knife or force them outward. A damaged terminal can create poor contact or a short circuit. If the contact is badly burned or loose, the tool may need professional service.
A useful test is to install the battery and gently move it without pressing the trigger. If the tool flickers, beeps, or starts and stops, the battery connection may be loose. Stop using it until the connection is repaired.
Make Sure the Trigger and Selector Work
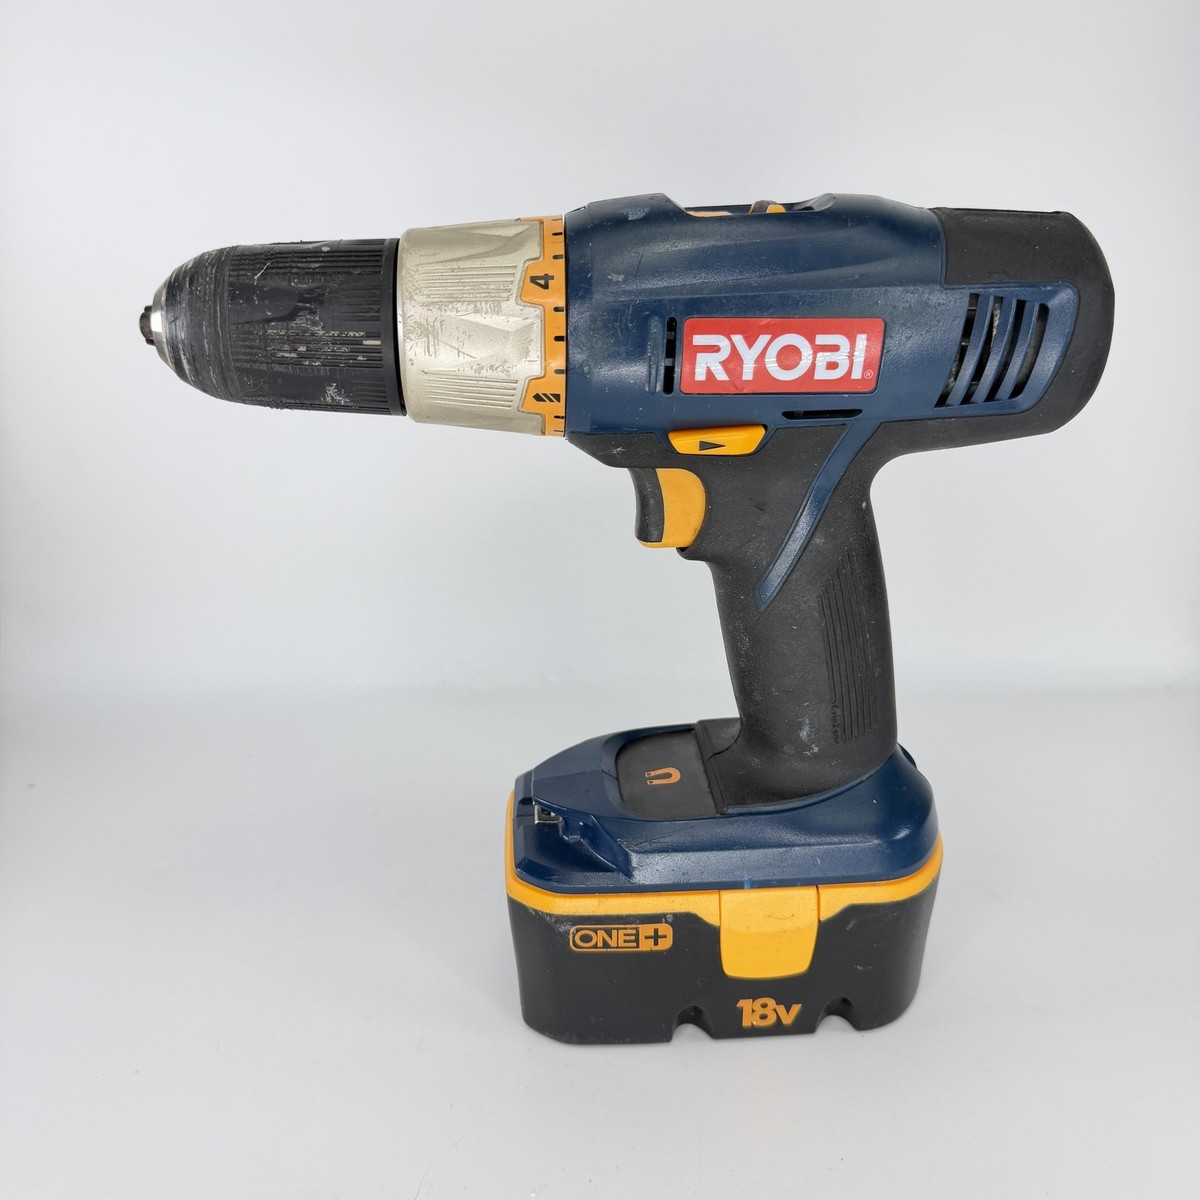
The direction selector is easy to overlook. Most Ryobi impact drivers have a forward, reverse, and center lock position. When the selector sits in the center, the trigger is disabled.
Move the selector fully to the left or right. Then press the trigger gently. Do not force it if it feels stiff, cracked, or stuck.
Check for these signs:
• The trigger does not move
• The trigger moves but produces no sound
• The trigger works only when pressed at one angle
• The tool runs briefly and stops
• The speed changes without a steady trigger press
A stuck trigger may contain dust or debris. Remove the battery and use compressed air in short bursts around the trigger area. Keep the air nozzle far enough away to avoid driving dust deeper into the housing.
Do not spray oil into the trigger. Oil can damage electronic parts and attract more dust. If the trigger feels loose or the tool runs unpredictably, replace the trigger assembly or have the driver inspected.
In one common workshop case, the tool seemed dead because the selector was half way between forward and reverse. A firm, full movement of the switch solved the problem in seconds. Always check this before assuming the motor has failed.
Look for Overheating or Overload Protection
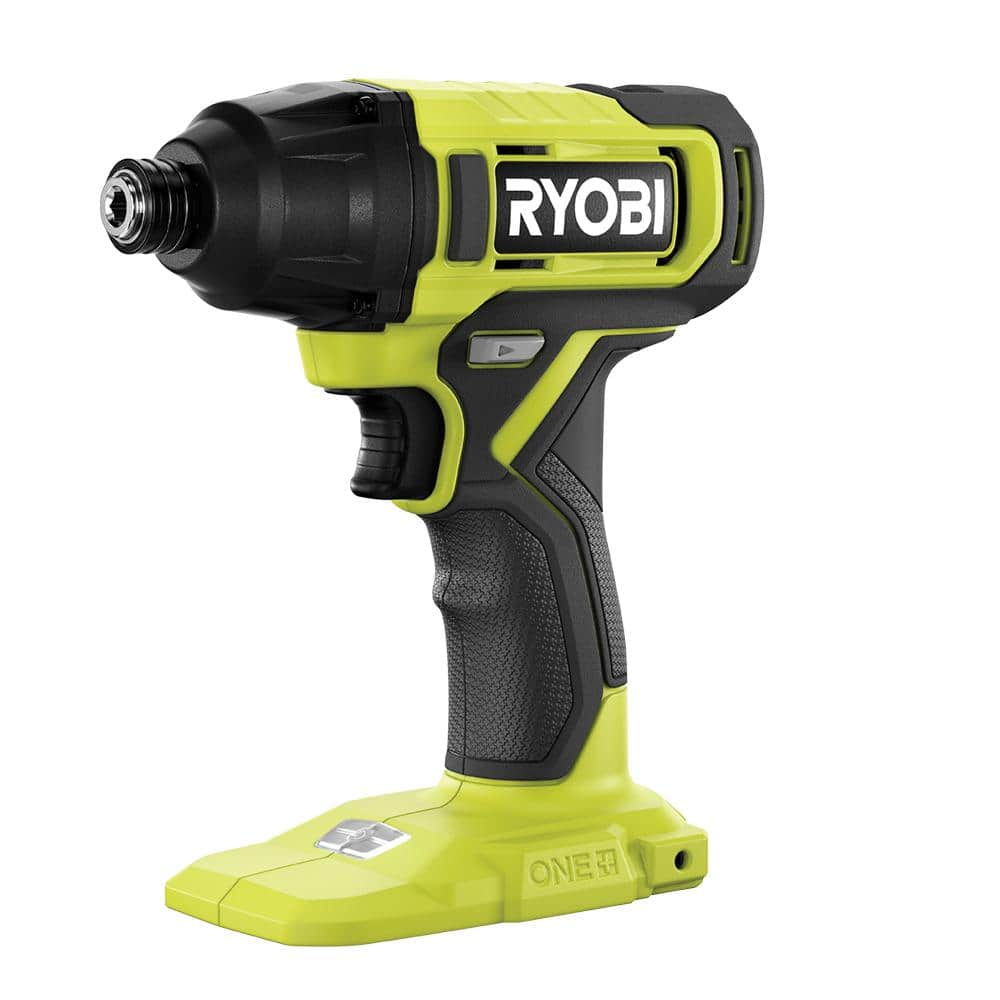
A Ryobi impact driver can stop during demanding work to protect its motor and electronics. Driving long structural screws, removing rusted bolts, or using the tool continuously can create high heat.
Signs of overheating include:
• The housing feels very hot
• The tool stops after heavy use
• The motor runs again after cooling
• The battery becomes hot
• The driver smells like hot plastic or electronics
Remove the battery and let both the tool and battery cool in a dry place. Do not cover them while they cool. Make sure the air vents are clear before using the driver again.
If the tool repeatedly shuts down during light work, there may be a deeper problem. A worn motor, damaged electronic control, or weak battery can cause excessive current draw. Repeated shutdowns are not normal and should not be ignored.
Use the correct bit and socket for the job. A blunt bit can increase load and cause slipping. Press the bit firmly into the screw, but do not push so hard that the motor stalls. For large bolts, use a suitable impact wrench rather than asking a compact impact driver to do work beyond its design.

Inspect the Bit Holder and Impact Mechanism
Sometimes a Ryobi impact driver not working is actually spinning without transferring force. The motor may run, but the bit holder or impact mechanism may be worn, jammed, or damaged.
Remove the battery before inspecting the front of the tool. Check whether the hex chuck moves freely. Look for:
• A bit stuck in the holder
• A damaged retaining ring
• A broken bit fragment
• Excessive movement in the chuck
• A grinding or rattling sound
• A motor that spins but produces little torque
Never hold the chuck while pressing the trigger. Even a small driver can cause hand injuries. If a bit is stuck, use the correct release collar and pull the bit straight out. Do not strike the tool with a hammer.
A worn impact mechanism may need replacement parts. This repair can require special tools and careful reassembly. If the housing, anvil, or internal gears show damage, compare the repair cost with the price of a new driver.

Test for a Faulty Motor or Control Board
If the battery, contacts, selector, trigger, and cooling checks do not solve the issue, the motor or control board may be faulty. Modern cordless tools use electronic controls to manage speed, braking, current, and battery protection.
Symptoms of an internal electrical fault include:
• No sound from the tool with a known good battery
• A sharp electrical smell
• Sparks inside the housing
• A flashing light without motor movement
• A sudden stop that never resets
• A trigger that causes a click but no rotation
Do not open the tool while the battery is installed. Even when removed, lithium ion battery packs can hold dangerous energy. Avoid testing live terminals unless you have the proper training and equipment.
A multimeter can help test battery voltage, but voltage alone does not prove battery health. A battery may show normal voltage with no load and fail when the motor demands current. Internal circuit boards and motor assemblies are usually best tested by a qualified repair center.
Some Ryobi impact driver models use brushless motors, while older models may use brushed motors. Brushless tools do not have replaceable carbon brushes. A brushed motor may stop because its brushes are worn, but opening the housing without model specific instructions can damage seals, wires, or the control system.

What to Do When the Ryobi Impact Driver Is Weak
A driver does not need to be completely dead to have a problem. Weak power is often caused by a low battery, worn battery cells, a poor connection, or excessive mechanical resistance.
Try this simple test:
-
Charge the battery fully.
-
Install a sharp, correct size bit.
-
Set the selector to forward.
-
Run the tool without a load.
-
Drive a small screw into soft wood.
-
Repeat the test with a known good battery.
If the tool runs normally with the second battery, replace or service the first battery. If both batteries produce weak power, inspect the chuck, listen for unusual sounds, and check for heat.
Avoid judging torque by sound alone. An impact driver may sound loud while delivering little force. A proper torque test requires suitable equipment, and published torque values can vary by model, battery, fastener, and test method.

Reset and Maintenance Tips
There is no universal reset button on every Ryobi impact driver. In many cases, removing the battery for a few minutes allows the electronic protection system to clear. Reinstall the battery only after the tool has cooled and the trigger is released.
Regular care can prevent a Ryobi impact driver not working at the worst moment:
• Keep the tool dry
• Brush away dust after each job
• Store batteries indoors
• Avoid dropping the driver
• Use the correct charger
• Do not leave a battery in a hot vehicle
• Keep the air vents clear
• Use bits that fit the screw head
• Stop when the tool becomes unusually hot
• Inspect the battery for damage before charging
Ryobi tools are designed as part of a battery platform, but batteries are not universal across every voltage system. Use a battery and charger approved for the exact Ryobi family and voltage. Mixing incompatible packs or chargers can damage the tool and create a safety risk.
The owner’s manual for your exact model is the best reference for battery type, warranty limits, care instructions, and approved parts. Model differences matter, so avoid copying repair steps from a similar looking driver.
When to Repair or Replace the Driver
A simple cleaning or battery replacement is often worth doing. Internal repair is less attractive when the driver is old, heavily damaged, or out of warranty.
Repair may make sense when:
• The tool is under warranty
• The battery works in other tools
• The fault is clearly a loose contact
• The trigger assembly is available
• The housing and gears are in good condition
Replacement may be better when:
• The motor and control board both need replacement
• The housing is cracked
• The tool has suffered water damage
• The battery has overheated or swollen
• Repair costs approach the price of a new kit
Do not throw a damaged lithium ion battery in household trash. Use a local battery recycling program. Tape the battery terminals before transport if the recycling service recommends it.
My main repair lesson is simple: do not replace the tool before testing a known good battery. Many drivers blamed for failure are working correctly. The battery is often the real problem, and a five minute test can prevent an unnecessary purchase.
A Safe Troubleshooting Checklist
Use this order when a Ryobi impact driver not working issue appears:
-
Remove the battery and inspect it for damage.
-
Charge the battery with the correct charger.
-
Test the battery on another compatible tool.
-
Test the driver with a known good battery.
-
Check the forward and reverse selector.
-
Inspect and clean the electrical contacts.
-
Let the tool cool if it is hot.
-
Clear dust from the trigger and vents.
-
Check the bit holder for jams or damage.
-
Stop using the tool if it smells burnt, sparks, or becomes dangerously hot.
This process starts with low risk checks and moves toward more serious faults. It also helps you describe the problem clearly if you contact a repair center.
Frequently Asked Questions About Ryobi Impact Driver Not Working
Why is my Ryobi impact driver not working with a fully charged battery?
The battery may have lost its ability to provide current under load, even if the charger shows full. Test a known good battery in the driver and test the original battery in another compatible tool.
Why does my Ryobi impact driver have power but not spin?
The direction selector may be in the center lock position, or the trigger, motor, or control board may be faulty. Remove the battery, set the selector fully to forward or reverse, and test again after the tool cools.
How do I reset a Ryobi impact driver?
Remove the battery and let the tool sit for several minutes. Reinstall a charged battery after checking the contacts and allowing the driver to cool.
Why does my Ryobi impact driver stop while driving screws?
Overheating, overload protection, a weak battery, or a mechanical jam can cause the driver to stop. Let it cool, try another battery, and use the correct bit and fastener for the job.
Can I use contact cleaner on a Ryobi impact driver?
You can use a small amount of electrical contact cleaner on disconnected, accessible battery contacts. Let the area dry completely, and do not spray cleaner into the trigger, motor, or control board.
Should I repair or replace a Ryobi impact driver?
Repair is often sensible for a dirty contact, loose connection, or failed trigger under warranty. Replacement may be more practical when the motor, circuit board, housing, and battery all show serious damage.
Conclusion
A Ryobi impact driver not working is often caused by a simple issue, such as a weak battery, dirty contacts, a locked direction switch, or overheating. Test those areas first, then inspect the trigger, bit holder, motor, and control system if the basic checks fail.
Work safely by removing the battery before inspection and avoiding damaged packs or live electrical testing. Use the checklist above, compare results with a known good battery, and choose repair or replacement based on the tool’s age and condition. If these steps helped, share your model and symptoms in the comments or explore more cordless tool repair guides for your next project.