Black+Decker Drill Won’t Spin: Quick Fixes That Work
A Black+Decker drill won't spin when its battery, trigger, switch, motor, or chuck has a fault.
A Black+Decker drill won't spin for many reasons, from a weak battery to a stuck direction switch. The good news is that most causes are easy to check at home. This guide explains safe tests, common repairs, and signs that your drill needs professional service or replacement.
Why a Black+Decker Drill Won’t Spin
A drill needs power, a working control switch, a clear gear path, and a free motor. If one part fails, the tool may stay silent or make a humming sound without turning.
The most common causes include:
• A drained, damaged, or poorly seated battery
• A charger that is not charging the battery
• A trigger that is worn or stuck
• A forward and reverse switch left in the center position
• A jammed chuck or clutch setting
• Worn motor brushes
• Damaged gears
• A broken wire or motor control board
• Thermal overload protection
Start with the easy checks first. In my experience, many people assume the motor has failed when the real issue is a battery that looks charged but cannot hold power.

Safety Checks Before Troubleshooting
Before checking a Black+Decker drill won't spin problem, remove the battery. If you have a corded model, unplug it from the outlet.
Do not place your fingers inside the chuck. The chuck can move without warning if the trigger or switch is faulty. Remove the drill bit with the proper chuck method, and wear safety glasses if you inspect damaged parts.
Use these basic safety steps:
-
Remove the battery or unplug the drill.
-
Set the direction switch to the center lock position.
-
Check the drill for cracks, melted plastic, or a burnt smell.
-
Keep metal tools away from battery contacts.
-
Do not open the battery pack.
A lithium ion battery can deliver high current even when the drill appears dead. Never test a battery by shorting its terminals. If the battery is swollen, hot, cracked, or leaking, stop using it and follow local battery recycling rules.

Check the Battery and Charger
A weak battery is the first thing to check when a Black+Decker drill won't spin. The battery may show a charge light on the charger but still lack enough power to run the motor under load.
Try the following steps:
• Remove and reinstall the battery until it clicks firmly into place.
• Charge the battery with the correct Black+Decker charger.
• Clean dusty contacts with a dry cloth.
• Test the drill with another compatible battery.
• Test the battery in another compatible Black+Decker tool, if available.
If another battery makes the drill work, the original battery is likely the problem. If no battery works, inspect the tool, charger, and battery contacts more closely.
A charger light does not always prove that a battery is healthy. The charger may detect the pack while one cell inside has lost capacity. This is common in older packs that have been stored empty or exposed to heat.
Do not use a battery from another brand unless the manufacturer states that it is compatible. Voltage, terminals, and protection systems must match.

Inspect the Forward and Reverse Switch
The forward and reverse switch controls the direction of the motor. When this switch sits in the middle, it locks the trigger. This simple setting often explains why a Black+Decker drill won't spin.
Move the switch fully to the left or right. Then gently press the trigger. Do not force the switch if it feels stuck.
Look for these signs:
• The switch moves loosely without a clear click.
• The drill works in one direction but not the other.
• The drill starts when you wiggle the switch.
• The trigger feels normal, but the motor stays silent.
A worn direction switch may need replacement. Avoid spraying household oil or water into the switch. Fluids can damage electrical contacts and attract dust.
One mistake I see often is pressing the trigger while the direction switch is halfway between settings. That can make the drill seem broken. A firm, full switch position is necessary for normal operation.

Test the Trigger
The trigger is more than a simple on and off button. In many Black+Decker drills, it controls speed through an electronic switch. If the trigger fails, the motor may not receive power.
With the battery removed, press the trigger several times. It should move smoothly and return to its starting position. Watch for a trigger that feels gritty, stays depressed, or works only when pressed at an angle.
A Black+Decker drill won't spin when the trigger contacts are burned, dirty, or broken. A burnt smell near the handle can point to electrical damage.
Do not bypass the trigger to make the drill run. That can remove speed control and create a serious safety risk. Trigger replacement is usually best handled with an approved part or by a qualified repair technician.
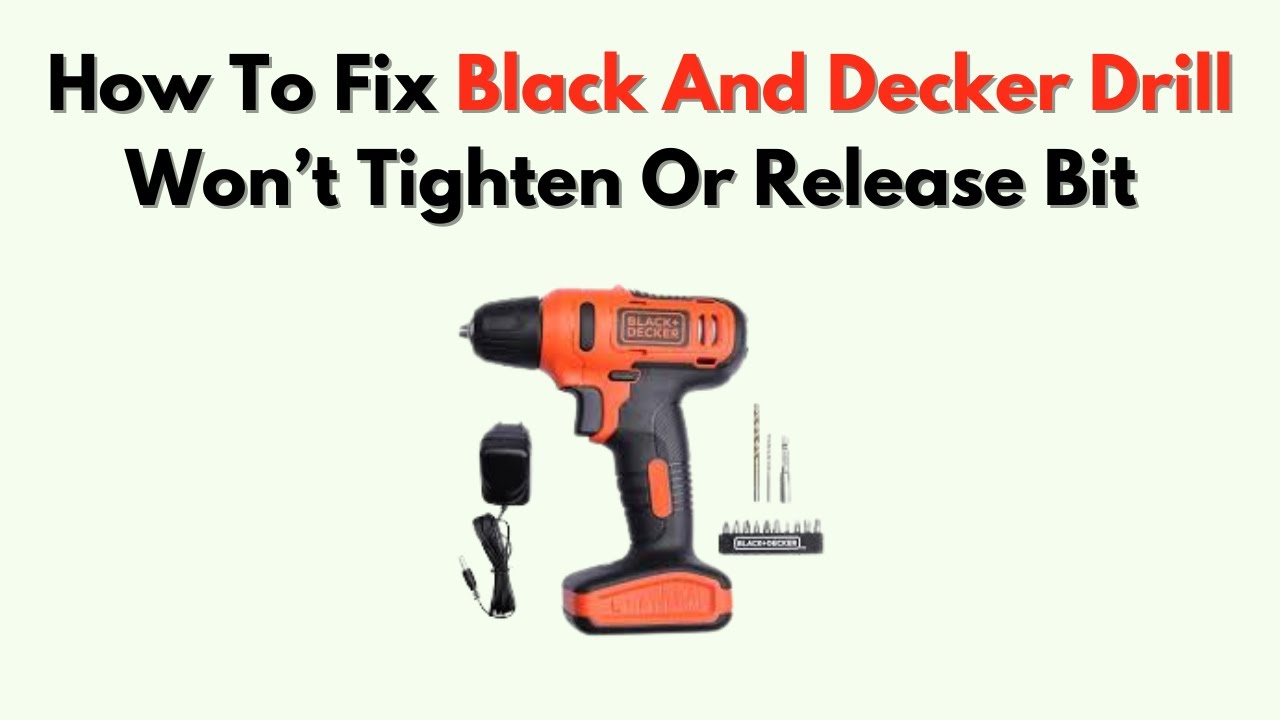
Adjust the Clutch and Chuck
The clutch controls how much turning force the drill sends to the chuck. A low clutch number helps prevent stripped screws, but it should not normally stop the drill from spinning without a load.
Set the clutch to the drill symbol, if your model has one. Then test the tool without a bit. If the chuck turns in drill mode but slips while driving a screw, the clutch may be working as designed.
A jammed chuck can also make a Black+Decker drill won't spin correctly. Remove the bit and check for:
• A bit locked at an angle
• Metal dust inside the chuck
• A damaged bit shank
• Chuck jaws that will not open or close
Never grip the chuck with pliers while pressing the trigger. That can damage the chuck, gears, or your hand. Use the chuck collar and the method shown in the drill manual.

Check for Overheating
A drill may stop after heavy use because of thermal protection. This safety feature helps protect the motor, battery, and electronic parts from heat.
Let the drill rest for 20 to 30 minutes. Keep the battery away from direct sun and hot vehicles. After the tool cools, install a charged battery and test it again.
Overheating can result from:
• Drilling large holes for too long
• Pressing too hard
• Using a dull bit
• Running the drill at the wrong speed
• Working in a hot space
If the drill stops often during light work, the problem may be more serious. A failing motor, blocked vent, damaged battery, or control board can create excess heat.
Keep the air vents clear. Do not cover them with your hand or work gloves. A drill needs airflow much like a small fan needs an open grille.

Listen to the Drill’s Symptoms
The sound you hear can help locate the fault when a Black+Decker drill won't spin.
No sound at all
No sound often points to a battery, charger, direction switch, trigger, wiring, or control board issue. Check the battery and switch before considering internal repairs.
A click but no rotation
A click may come from the trigger, electronic protection system, or motor. It can also occur when the battery voltage drops sharply under load.
Humming without movement
A hum suggests that power reaches the motor, but the motor cannot turn. A jammed chuck, damaged gear, worn brush, or failed motor may be responsible.
Grinding or rattling
Grinding usually suggests damaged gears, a loose part, or debris inside the gearbox. Stop using the drill because continued use can turn a small repair into a major failure.
Starts and stops
Intermittent operation often comes from a worn trigger, loose battery contact, damaged wire, or direction switch. Lightly moving the battery should not make the drill start and stop.
Inspect the Motor Brushes and Gears
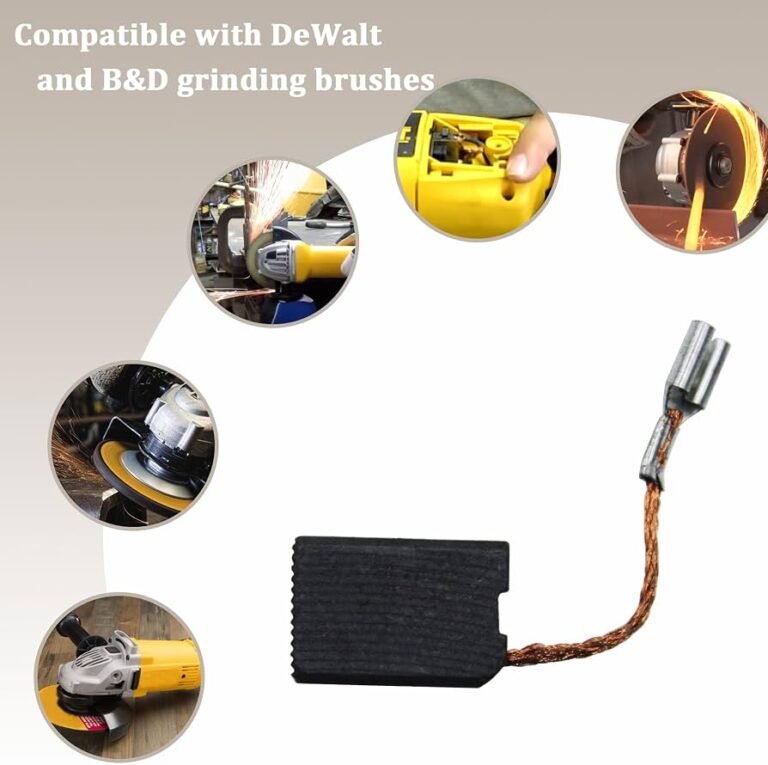
Some older Black+Decker drills use replaceable carbon brushes. These brushes transfer electrical current to the rotating motor. Over time, they wear down and may cause weak power, sparking, or no rotation.
Brush replacement is not available or practical on every model. Check the model number and parts information before opening the housing. Opening a tool may affect warranty coverage and can expose sharp parts or stored electrical energy.
The gearbox may be damaged if the drill was dropped, overloaded, or used with a locked chuck. Common gear failure signs include:
• A loud grinding sound
• A chuck that turns by hand but not with the motor
• A motor that spins while the chuck does not
• Sudden loss of torque
• Plastic or metal fragments near the chuck
If the motor spins but the chuck stays still, the problem is likely in the gearbox or chuck connection. If the motor does not move at all, the fault is more likely electrical.

Basic Repair Options
The best repair depends on the failed part and the drill’s age. A battery replacement is often simple. A trigger, switch, motor, or gearbox repair requires more care.
Try these low-risk actions:
-
Charge the battery fully with the correct charger.
-
Clean the external battery contacts with a dry cloth.
-
Set the direction switch firmly to forward or reverse.
-
Set the clutch to the drill symbol.
-
Remove the bit and test the chuck without a load.
-
Allow an overheated drill to cool.
-
Check the user manual for model-specific reset steps.
Do not replace electrical parts with random parts from an online marketplace. The part must match the exact model and voltage. Incorrect parts can cause poor performance, battery damage, or fire.
If your Black+Decker drill won't spin after these checks, compare the cost of repair with the cost of a new drill. A low-cost compact drill may not be worth a motor or gearbox repair. A newer tool with a good battery system may offer better value.
When to Stop and Seek Professional Help
Stop troubleshooting if you see smoke, melted plastic, exposed wires, severe sparks, or a swollen battery. These signs can indicate a serious electrical fault.
Professional service is also wise when:
• The drill trips a circuit breaker.
• The battery becomes very hot.
• The motor smells burnt.
• The chuck is locked in place.
• The housing has cracked near the motor.
• The tool has water damage.
A repair shop can test the battery, switch, motor, and control board with proper equipment. A multimeter can help an experienced technician find an open circuit, but casual users should not probe a live drill.
Manufacturer manuals and electrical safety guidance support disconnecting power before service. That basic step prevents many avoidable injuries.
How to Prevent the Problem
Good use can help prevent a Black+Decker drill won't spin issue later. Use the correct speed and let the bit do the cutting. Too much pressure creates heat and strains the motor.
Follow these habits:
• Use sharp bits suited to wood, metal, masonry, or plastic.
• Start slowly when the bit meets the work surface.
• Keep the motor vents clean.
• Remove the battery before storing the tool.
• Store batteries in a cool, dry place.
• Do not leave batteries in a hot car.
• Avoid deep discharge when possible.
• Use the right clutch setting for each task.
• Let the drill cool during long jobs.
In my own tool checks, the biggest improvement often comes from changing technique rather than buying parts. A sharp bit, steady pressure, and short work cycles protect both the drill and the battery.
Frequently Asked Questions About Black+Decker Drill Won’t Spin
Why is my Black+Decker drill not spinning but making a clicking sound?
A clicking sound may come from the trigger, electronic protection system, or a battery that drops voltage under load. Try a fully charged compatible battery and check that the direction switch is fully in forward or reverse.
Why does my Black+Decker drill have power but not turn?
The drill may have power to its lights but not enough power to run the motor. A faulty trigger, worn motor brushes, damaged gears, or a weak battery can also cause this symptom.
Can a bad battery make a Black+Decker drill stop spinning?
Yes. A battery can show a charge indication and still fail when the motor demands current. Testing the drill with a known good compatible battery is one of the fastest checks.
How do I reset a Black+Decker cordless drill?
Remove the battery, set the direction switch to the center position, and let the tool cool for about 20 to 30 minutes. Reinstall a charged battery and select forward or reverse before pressing the trigger.
Should I repair or replace a Black+Decker drill that will not spin?
Repair may make sense if the issue is a battery, chuck, or simple external fault. Replacement is often more practical when the motor, gearbox, or control board has failed, especially on an older budget model.
Is it safe to keep using a drill that stops and starts?
No. Intermittent operation can point to a loose connection, failing trigger, damaged switch, or internal electrical fault. Stop using it until the cause is found.
Conclusion
A Black+Decker drill won't spin because of a weak battery, locked direction switch, faulty trigger, overheated motor, damaged chuck, worn brushes, or broken gears. Start with safe checks: charge the battery, test another compatible pack, set the direction switch correctly, cool the tool, and remove the bit.
If you smell burning, see smoke, find melted plastic, or notice a swollen battery, stop immediately and seek professional help. Use the steps in this guide to identify the likely fault, then choose repair or replacement based on safety and cost. Share your drill model and symptoms in the comments to help others solve the same problem.