Milwaukee Drill Not Working: Quick Fixes That Help
A Milwaukee drill not working usually has a dead battery, dirty contacts, a locked trigger, or an internal fault.
When a Milwaukee drill not working stops in the middle of a job, the problem may be simple to fix. A careful check of the battery, charger, trigger, speed switch, chuck, and motor can often find the cause in minutes. This guide explains safe tests, common faults, repair limits, and ways to prevent the issue from returning.
Why Your Milwaukee Drill Is Not Working
A Milwaukee drill can fail for several reasons. The most common cause is a battery problem, but the tool itself may also have a dirty contact, damaged switch, or failed electronic control board.
Start with the simple causes first. This saves time and helps you avoid opening a tool that may still be under warranty.
Common reasons include:
• The M12 or M18 battery is fully discharged.
• The battery is too cold or too hot.
• The battery contacts are dirty or damaged.
• The charger is not charging the battery.
• The forward and reverse switch is in the center lock position.
• The trigger is stuck or damaged.
• The drill is in high-temperature overload protection.
• The motor brushes, wiring, or control board have failed.
• The chuck or gearbox is jammed.
A cordless drill may also appear dead after heavy use. Many Milwaukee tools have electronic protection. This system can stop the motor when the tool detects excessive heat, high current, or a battery fault.

Safety Checks Before Troubleshooting
Disconnect the battery before inspecting the chuck, contacts, housing, or trigger area. Never test exposed wiring while the battery is connected unless you have the correct training and tools.
A drill can start without warning if the trigger or switch is faulty. Treat it like a power tool that is ready to run.
Follow these safety steps:
-
Remove the battery from the drill.
-
Remove the bit from the chuck.
-
Check the tool in a bright, dry area.
-
Do not use water, oil, or metal objects on battery contacts.
-
Do not open a lithium-ion battery pack.
-
Stop if you smell burning plastic or see melted parts.
-
Use eye protection when cleaning or testing the tool.
Milwaukee batteries contain lithium-ion cells. A swollen, cracked, leaking, or very hot battery should not be used or charged. Place it away from flammable items and follow local battery recycling rules.

Step-by-Step Fix for a Milwaukee Drill Not Working
Use this order when diagnosing a Milwaukee drill not working. It starts with the easiest checks and moves toward more serious faults.
1. Check the battery charge
Press the charge indicator on the battery. If no lights appear, the battery may be empty, damaged, or too cold to operate.
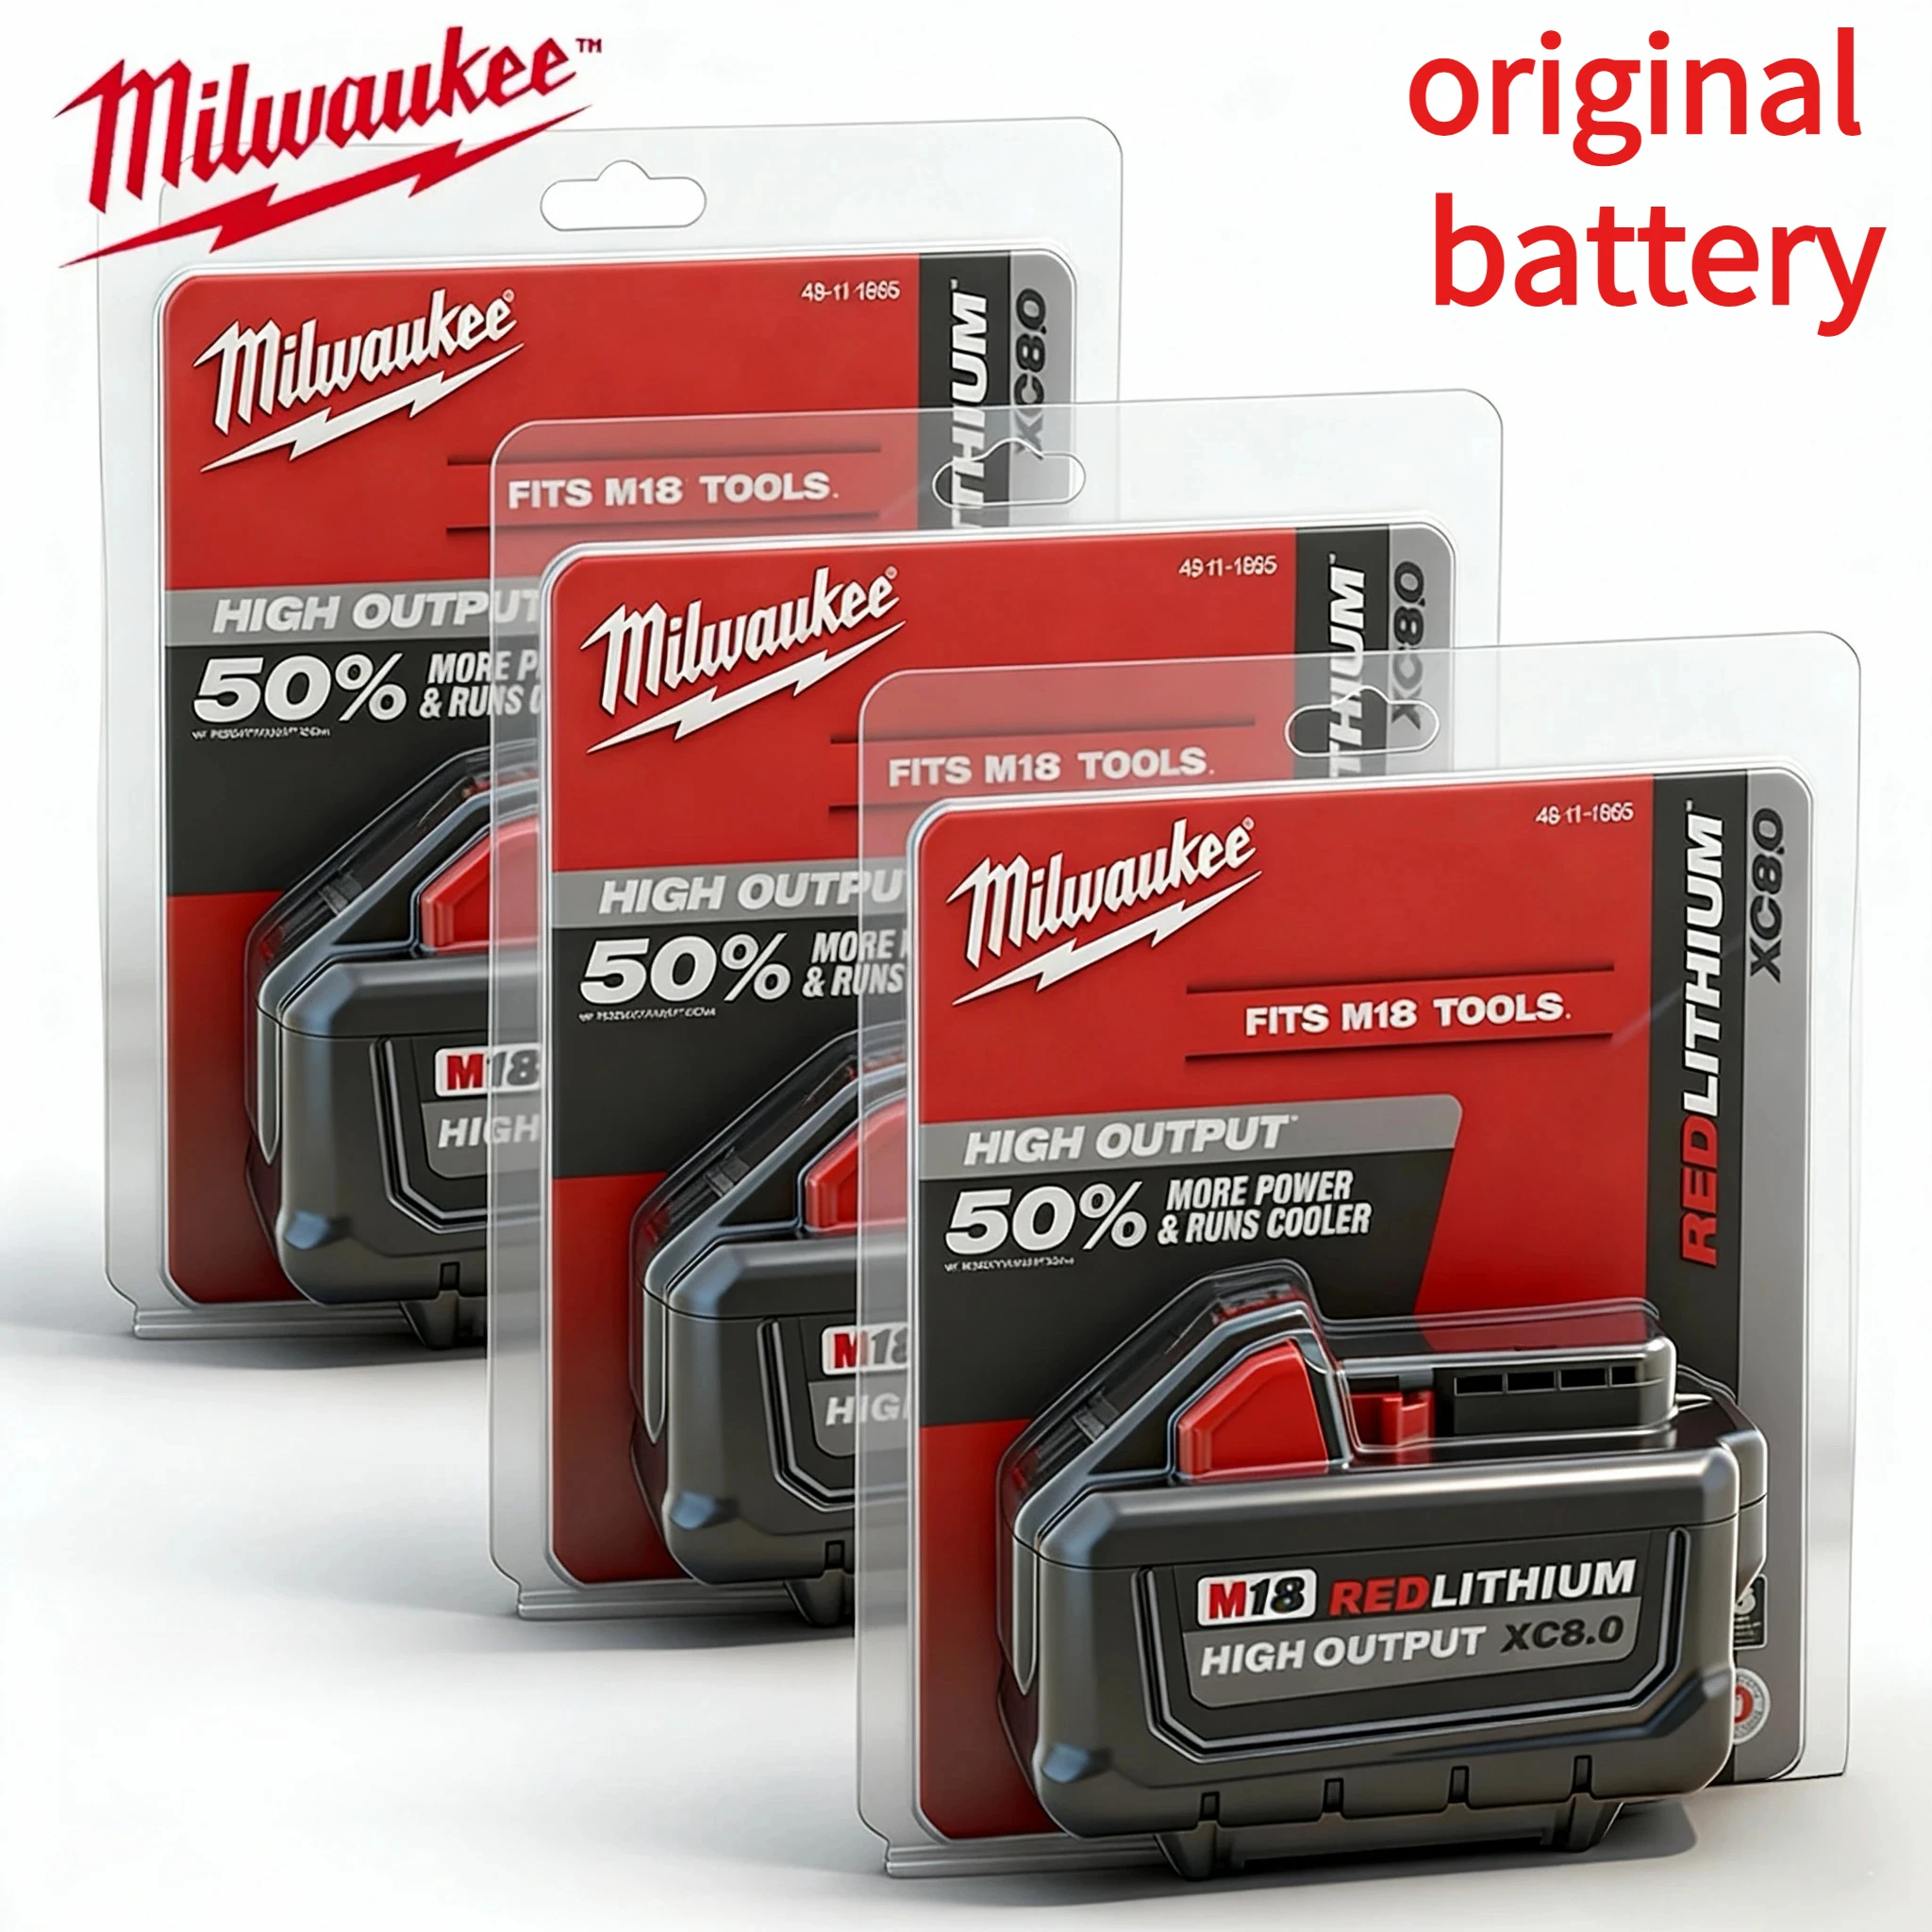
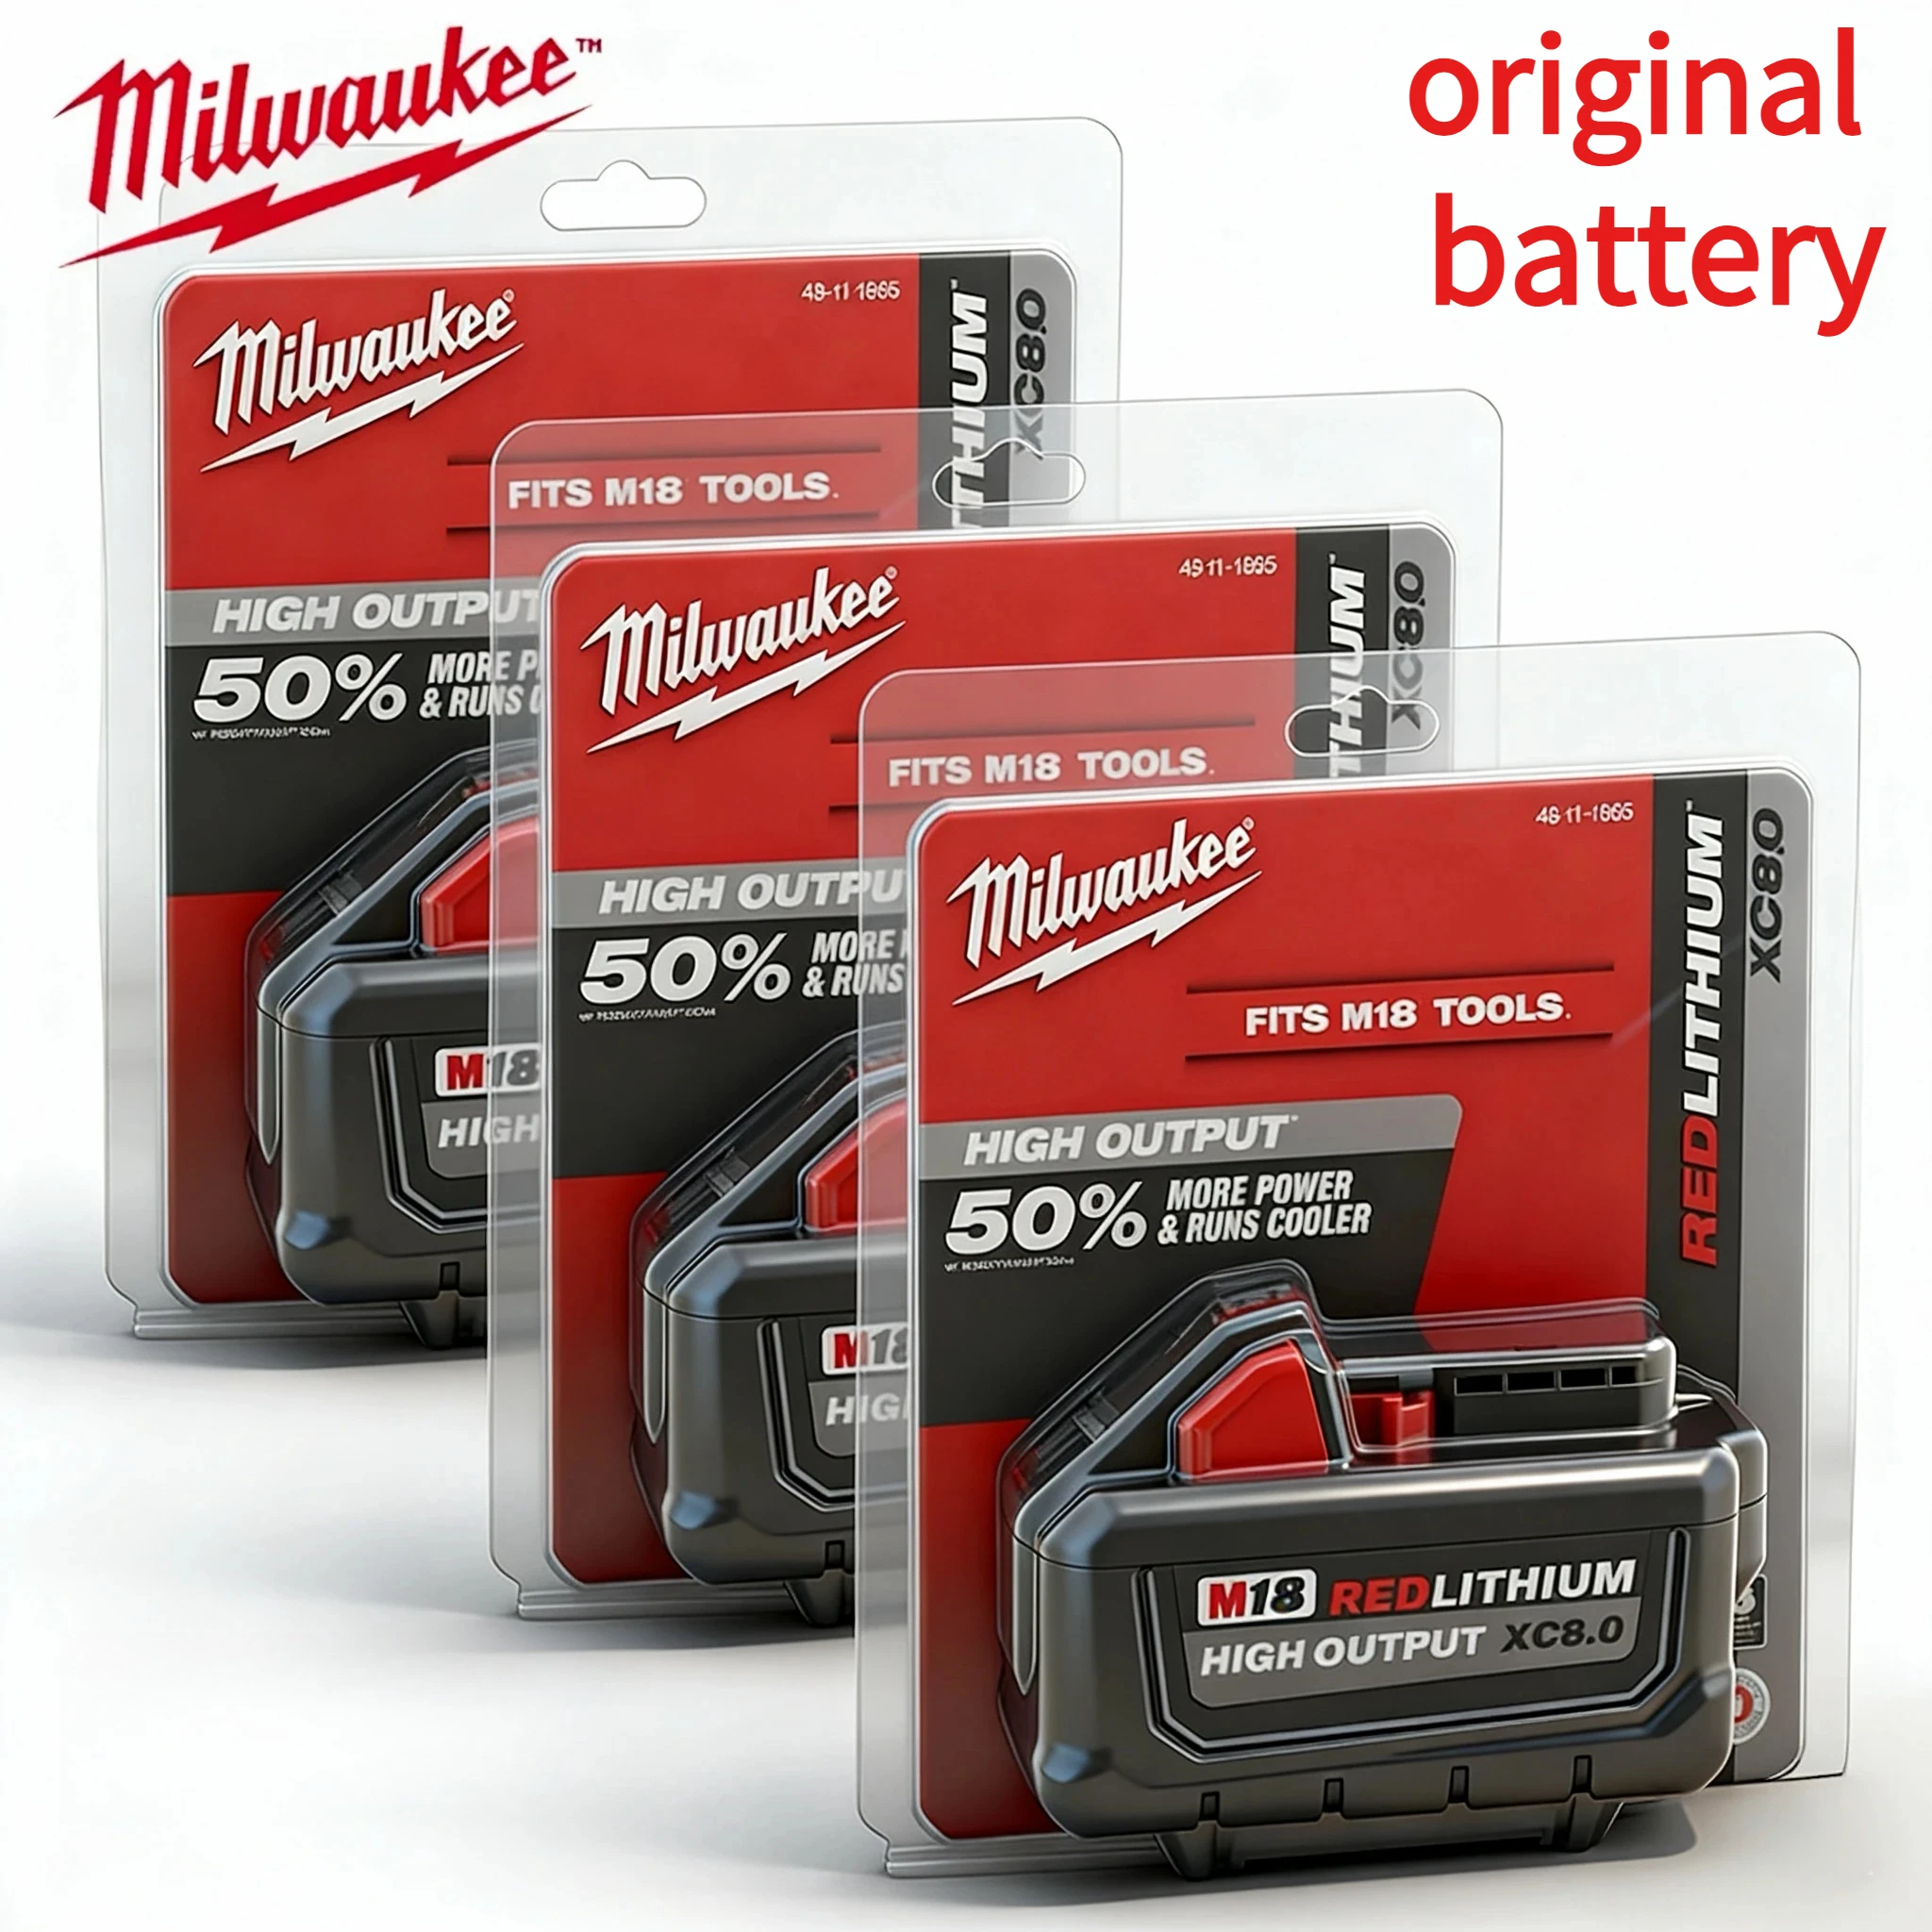
Try a second known-good Milwaukee battery that matches the tool platform. An M12 battery will not fit an M18 tool, and the two systems are not interchangeable.
If the second battery works, the drill is likely fine. The first battery or its cells may be the problem.
2. Test the charger
Place the battery in the correct Milwaukee charger. Look for the normal charging light pattern.
If the charger shows a fault light, remove the battery and inspect both the battery and charger. Try another compatible battery in the same charger. This helps you tell whether the fault is in the battery or charger.
If no battery charges, the charger may have a power or internal fault. Test the wall outlet with another device, then try a different outlet.
3. Clean the battery contacts
Remove the battery and inspect the metal contacts on the tool and battery. Look for dust, sawdust, corrosion, or bent contact points.
Use a clean, dry cloth or a soft brush. Do not scrape the contacts with a knife or screwdriver. A damaged contact can create poor power flow and may cause heat.
4. Check the forward and reverse switch
The direction switch sits near the trigger. When it is centered, the trigger is usually locked.
Push the switch fully to the left or right. Then press the trigger gently. Do not force the switch if it feels stuck.
A loose direction switch can also cause an intermittent Milwaukee drill not working problem. If the tool runs only when you hold the switch in a certain position, stop using it until the switch is repaired.
5. Let the drill cool
A drill may shut down after drilling large holes, driving long screws, or mixing thick material. Remove the battery and let the tool cool for 15 to 30 minutes.
Do not place a hot drill in a freezer or against ice. Sudden temperature changes can create moisture inside the tool.
After it cools, install a charged battery and test it without a load. If it runs again, reduce pressure and use a slower speed for demanding work.
6. Inspect the chuck and bit
A jammed bit can make the motor appear dead. Remove the bit and turn the chuck by hand with the battery removed.
Check for:
• A bent or broken bit
• A bit stuck in the workpiece
• Debris inside the chuck
• A chuck that will not open or close
• Grinding or clicking sounds
If the chuck is locked, do not use pliers on it with the battery installed. A damaged chuck may need professional service.
7. Test the trigger
With the battery removed, press and release the trigger several times. It should move smoothly and return fully.
A trigger that feels loose, gritty, or stuck may have internal damage. Avoid spraying general-purpose lubricant into the trigger. It can collect dust or damage electronic parts.
8. Check the work light
Many Milwaukee drills have an LED work light. Install a charged battery and press the trigger lightly.
If the light works but the motor does not, the fault may involve the motor, switch, gearbox, or electronic control system. If neither the light nor motor works, focus on the battery, contacts, trigger, or main electronics.

Milwaukee Battery and Charger Problems
Battery faults are a leading reason for a Milwaukee drill not working. A battery can show some charge and still fail under load.
Lithium-ion batteries have a protection circuit. This circuit can stop output if the pack detects low voltage, high temperature, or excessive current. The battery may appear normal but refuse to run the tool.
Check these signs:
• The battery indicator shows no lights.
• The charger rejects the battery.
• The tool starts and stops at once.
• The drill works with one battery but not another.
• The battery becomes unusually hot.
• The battery case is swollen or cracked.
A battery that is several years old may have lost capacity. Heavy use, heat, deep discharge, and poor storage can shorten battery life. Do not try to “jump-start” a Milwaukee battery with wires or another power source. That can cause fire, injury, or permanent damage.
Store batteries in a cool, dry place. Avoid leaving them in a hot truck or direct sun. For long storage, follow the battery maker’s guidance and keep the contacts protected from metal objects.

What the Drill Sounds and Feels Like Matters
The symptoms can point toward the failed part. Pay attention to what happens when you pull the trigger.
No sound and no light
This often points to a battery, charger, contact, trigger, or electronic control problem. Test a known-good battery first.
Light works but the motor does not
The tool may have a failed motor, trigger, wiring connection, or control board. A jammed gearbox can also stop the motor.
Motor clicks but does not turn
The battery may be weak under load. The motor or gearbox may also be locked.
Motor runs, but the chuck does not turn
This suggests a gearbox, clutch, or internal drive problem. Stop using the drill to prevent more damage.
The drill runs slowly
A low battery, dirty contacts, high heat, worn motor parts, or internal friction may be responsible. Test another battery before opening the tool.
The drill stops during use
Overload protection may be working as designed. Reduce pressure, use the correct gear, and allow the tool to cool.
These clues do not replace a proper electrical test. They simply help you choose the safest next step.

How to Check the Drill’s Speed and Clutch Settings
Incorrect settings can make a working drill seem faulty. Many Milwaukee drills have a two-speed gearbox and an adjustable clutch.
Set the gear selector to low speed for high-torque work, such as driving large screws. Use high speed for smaller bits and lighter drilling.
Check the clutch ring near the chuck. A low clutch setting may cause the drill to stop turning when resistance rises. Turn the clutch to the drill symbol when drilling, if your model includes that setting.
Do not move the gear selector while the motor is running. Release the trigger and wait for the chuck to stop first.
A hammer drill may also have a hammer mode. This mode helps with masonry, but it does not replace a rotary hammer for heavy concrete work. Using the wrong tool can cause heat, overload, and repeated shutdowns.

When an Internal Motor or Control Board Has Failed
If the battery, charger, contacts, switches, and settings all check out, the problem may be inside the tool.
Possible internal faults include:
• A burned motor
• Damaged motor brushes on older designs
• A failed trigger assembly
• A broken wire
• A damaged gearbox
• A failed electronic control board
• Heat damage from repeated overload
Brushless Milwaukee tools use electronic control systems instead of traditional replaceable motor brushes. This can improve efficiency, but a failed control module often requires skilled repair or replacement.
In my experience troubleshooting cordless tools, the biggest mistake is replacing the motor before testing the battery and trigger. A weak battery can look exactly like a bad motor when the drill is placed under load.
Another common mistake is spraying cleaner into the trigger. Dust may seem harmless, but moisture and fine particles can damage the controls. Clean the outside and use approved service methods instead.
Should You Repair or Replace the Drill?
The best choice depends on the tool’s age, condition, warranty status, and repair cost.
Check the warranty before opening the housing. Removing screws or altering the tool may affect warranty service. Keep the model number and purchase details available.
Professional repair is a better choice when:
• The tool is under warranty.
• The housing shows heat or fire damage.
• The control board has failed.
• The gearbox is damaged.
• You do not have electrical repair experience.
• The drill is a high-value model.
Replacement may make more sense when the tool is old, heavily worn, or close in price to a new drill. However, do not discard a good tool based only on one failed battery. Test the drill with a known-good battery first.
Milwaukee service centers and qualified tool repair shops can identify parts that are not easy to test at home. A proper diagnosis is safer than guessing.

How to Prevent a Milwaukee Drill From Stopping Again
Good use and storage can reduce many drill problems. A cordless drill is durable, but it still needs the right speed, pressure, and rest periods.
Use these habits:
• Match the bit size to the job.
• Keep bits sharp and clean.
• Use low gear for high-torque work.
• Do not force the tool through hard material.
• Clear dust from the vents.
• Let the drill cool after heavy work.
• Remove the battery before storage.
• Keep battery contacts dry and clean.
• Store batteries away from extreme heat.
• Charge batteries with the correct Milwaukee charger.
Use a pilot hole when driving large screws into hardwood. For masonry, choose a suitable hammer drill and bit. For repeated heavy drilling in concrete, use a tool designed for that workload.
A drill should do the work, not your arms. If you must push very hard, the bit may be dull, the speed may be wrong, or the tool may be too small for the task.
Common Mistakes to Avoid
Troubleshooting can create more damage if you rush. Avoid these common errors when dealing with a Milwaukee drill not working.
• Do not use a damaged or swollen battery.
• Do not connect wires directly to battery terminals.
• Do not charge a wet or hot battery.
• Do not force a jammed chuck with the battery installed.
• Do not spray lubricant into the trigger.
• Do not bypass the tool’s safety electronics.
• Do not use a charger from another battery platform.
• Do not keep pulling the trigger when the motor is locked.
• Do not open the tool before checking warranty coverage.
One lesson I have learned from tool repairs is that the first diagnosis is often wrong. A drill that “smells like the motor” may only have overheated contacts. Slow testing prevents a small fault from becoming an expensive one.
Frequently Asked Questions About Milwaukee Drill Not Working
Why is my Milwaukee drill not working with a fully charged battery?
The battery may show a charge but fail under load because its cells are worn. Test the drill with another compatible battery and inspect the contacts for dirt or damage.
Why does my Milwaukee drill have power but not spin?
The trigger, motor, gearbox, or electronic control board may have failed. First, remove the bit, check the direction switch, and test the drill with no load.
Why is my Milwaukee drill flashing a light but not running?
Flashing lights may indicate a battery, temperature, or electronic protection condition, depending on the model. Remove the battery, let the tool cool, inspect the contacts, and check the model manual for the exact light pattern.
Can a Milwaukee drill stop working because it is too hot?
Yes. Heavy drilling or driving can activate thermal protection. Remove the battery and allow the tool to cool naturally before testing it again.
How do I know if my Milwaukee drill battery is bad?
A bad battery may fail to charge, show no indicator lights, lose power quickly, or stop the tool under load. Test another compatible battery and never use a pack that is swollen, cracked, leaking, or unusually hot.
Why does my Milwaukee drill work in reverse but not forward?
The direction switch or its internal contacts may be damaged. Stop using the tool if it only works in one direction, because continued use can worsen the switch fault.
Is it worth repairing a Milwaukee drill?
Repair is often worthwhile when the drill is under warranty or is a high-value model. For an old tool with several worn parts, compare the repair estimate with the cost of a replacement.
Conclusion
A Milwaukee drill not working is often caused by a discharged battery, failed charger, dirty contacts, locked direction switch, heat protection, or incorrect settings. Test those simple causes first, then inspect the chuck, trigger, motor, and gearbox only when it is safe to do so.
Use a known-good battery, keep the tool cool, avoid overloading it, and never bypass battery safety features. If the drill smells burned, shows heat damage, or has an internal electronic fault, choose professional service instead of guessing.
Work through the steps in this guide, check your model’s manual, and share your repair experience or question in the comments.