Brushless Impact Driver Won’t Start: Easy Fixes
A brushless impact driver often will not start because of a weak battery, poor contact, trigger fault, or motor control problem.
A brushless impact driver won’t start at the worst time, especially when a fastener is half-driven or a repair job is already behind schedule. The good news is that many failures are simple to find and fix. This guide explains how to test the battery, trigger, contacts, motor, and control board in a safe order, using practical checks that help avoid wasted parts and costly repairs.

Why Your Brushless Impact Driver Won’t Start
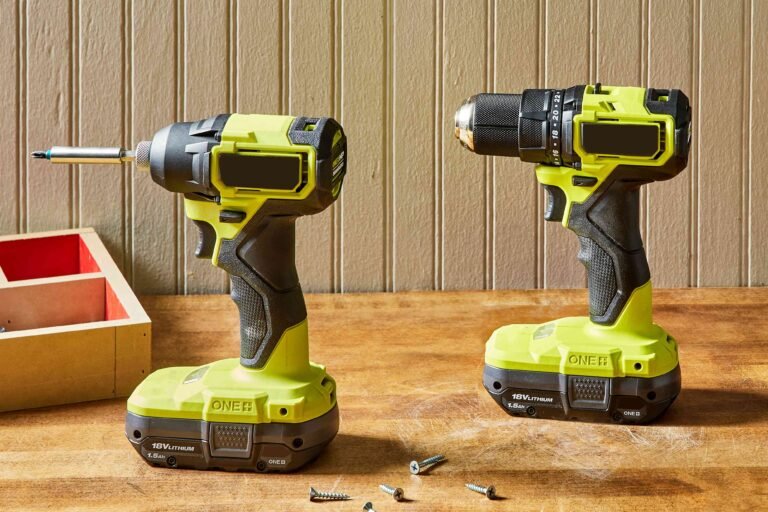
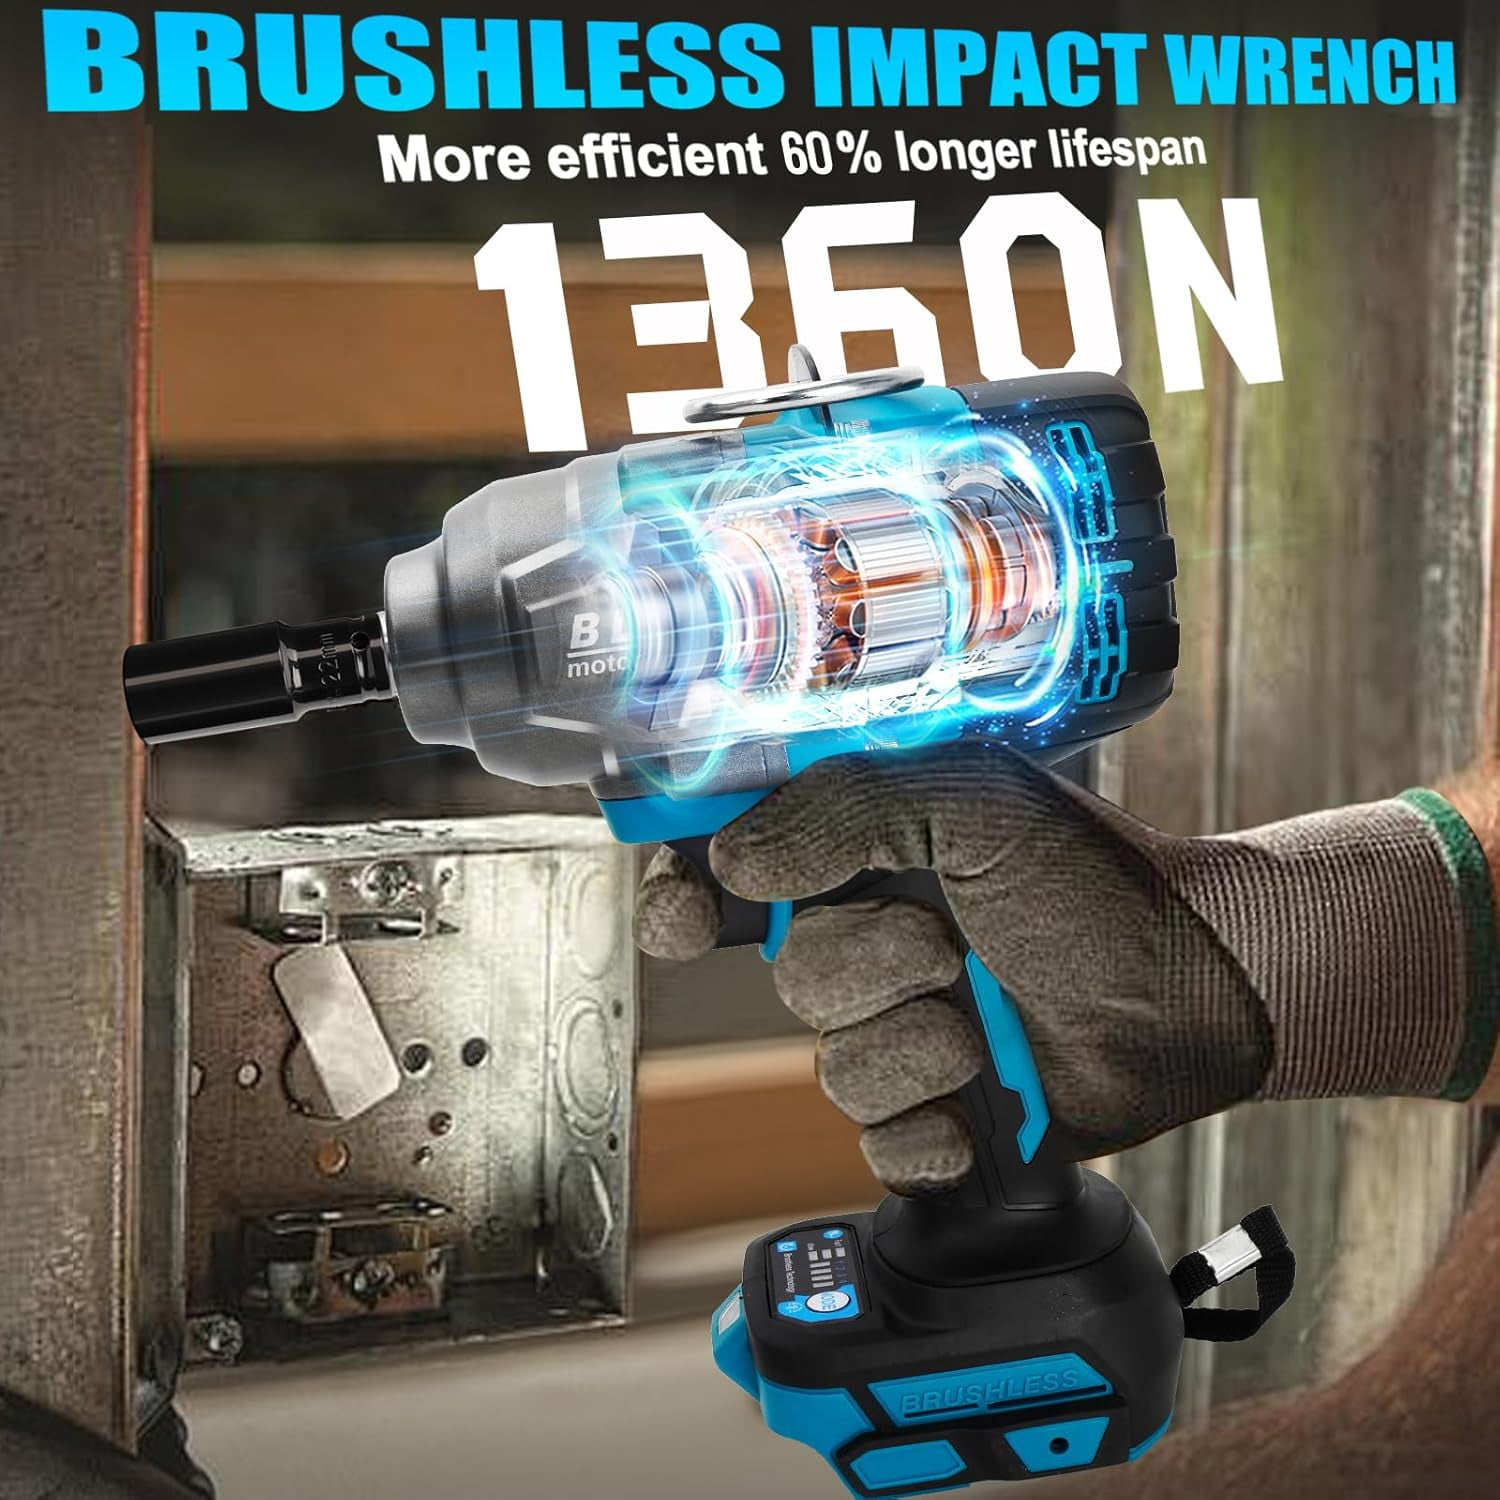
A brushless impact driver uses electronic controls instead of traditional carbon brushes. When you press the trigger, the battery sends power through a control board to the brushless motor. The board reads the trigger signal and controls the motor’s speed and direction.
If any part of that chain fails, the tool may stay completely silent. It may also show a light, make a click, or try to start and stop at once.
The most common causes are:
• The battery is empty, overheated, damaged, or not recognized.
• The battery contacts are dirty, bent, or loose.
• The forward and reverse switch is in the center lock position.
• The variable-speed trigger has failed.
• The electronic control board has a fault.
• The brushless motor has a damaged sensor or winding.
• The tool has entered thermal protection.
• Internal wiring has broken after a drop or hard impact.
A brushless impact driver won’t start because its electronics are designed to stop the motor when they detect unsafe voltage, excess heat, a short circuit, or another fault. That safety feature protects the tool, but it can make the problem seem mysterious.
Quick Checks Before Taking the Tool Apart
Start with simple checks. Do not open the housing until you have ruled out the battery, controls, and basic safety locks.
Check the battery charge
Place the battery on its correct charger. Watch the charger lights for a normal charging cycle. If the charger shows a fault light, the battery may be too hot, too cold, deeply discharged, or damaged.
Try a second battery that works in another tool. This is one of the fastest ways to confirm whether the battery is the cause.
If the second battery starts the tool, charge or replace the first battery. Lithium-ion packs can lose capacity with age, and a pack may show a normal voltage with no load but fail when the motor demands high current.
Check the direction switch
Move the forward and reverse selector fully to one side. The center position often locks the trigger.
Press the selector firmly, but do not force it. A brushless impact driver won’t start if the switch is slightly between positions, even when the battery and motor are healthy.
Remove the battery and reinstall it
Remove the battery from the tool. Inspect the rails, terminals, and plastic housing for damage. Then slide the pack back in until it clicks into place.
A loose fit can interrupt power when you press the trigger. This often happens after a tool has been dropped or used on a vibrating work surface.
Look for a protection lockout
Some newer tools stop working after detecting high heat, low voltage, or a stalled bit. Remove the battery and let the tool cool for 15 to 30 minutes.
Do not place a hot battery in a refrigerator or freezer. Sudden temperature changes can create condensation and damage the pack.
Common Reasons a Brushless Impact Driver Won’t Start
Weak or defective battery
The battery is the first suspect because the motor needs a large burst of current. A weak battery may power the work light but still fail to turn the motor.
Battery age also matters. Most lithium-ion packs slowly lose capacity through use, storage, and heat. A pack that worked last month may now drop below the tool’s minimum operating voltage under load.
Signs of a battery problem include:
• The tool works with another battery.
• The battery indicator drops quickly.
• The charger reports a fault.
• The battery becomes unusually hot.
• The tool starts for a moment and then stops.
Do not use a swollen, cracked, leaking, or badly overheated battery. Replace it through a proper recycling or service channel.
Dirty or damaged battery contacts
Dust, metal chips, and moisture can prevent a clean electrical connection. Fine debris is common on construction sites, especially when the tool is used near drywall, concrete, or metal cutting.
Remove the battery before cleaning. Use a dry, soft brush or clean compressed air. Do not scrape the contacts with a screwdriver, and do not spray water or household cleaner into the tool.
Trigger failure
The trigger controls both power and speed. Dirt, wear, moisture, or impact damage can stop its internal switch from closing.
A failing trigger may feel loose, sticky, rough, or different from normal. Sometimes the work light turns on when the trigger is pressed, but the motor does not run. That points toward a trigger signal, control board, or motor issue.
Reverse switch failure
The forward and reverse switch sends a direction command to the control system. If the switch is damaged or stuck, the tool may not receive a valid direction signal.
Move the switch back and forth several times with the battery removed. If it feels loose or does not click into place, service may be needed.
Overheating
Brushless motors are efficient, but they still create heat. Long periods of heavy fastening, driving large structural screws, or working in direct summer sun can activate thermal protection.
Let the tool cool naturally. Also inspect the air vents for packed dust. Never block the vents with tape, clothing, or your hand while using the impact driver.
Damaged motor or electronic control board
If the battery is known to work and the controls feel normal, the motor or control board may be damaged. A failed Hall sensor, shorted winding, cracked circuit board, or water entry can stop a brushless motor completely.
These parts are not usually practical to repair without proper electronics tools and model-specific parts. In many cases, an authorized service center is the safest choice.
Step-by-Step Troubleshooting Guide
Follow this order when a brushless impact driver won’t start. It moves from easy checks to more advanced ones.
1. Remove the bit and inspect the chuck
Take out the socket or driver bit. A jammed accessory can place the motor under heavy load or make the tool appear stuck.
Check that the chuck or quick-change holder moves normally. Remove packed metal chips, dirt, or damaged bit fragments.
2. Test a known-good battery
Use a battery that fits the tool and works in another compatible device. Do not assume two packs with the same voltage are interchangeable across brands.
If the tool starts with the test battery, the original pack is the likely cause. If it remains dead, continue to the next step.
3. Inspect the battery and tool contacts
Look for:
• Bent terminals
• Burn marks
• Green or white corrosion
• Loose plastic around the battery slot
• Dirt or metal dust
Clean only with the battery removed. If a terminal is bent, do not force it back while the pack is installed.
4. Test the trigger and selector
Install the battery and move the direction switch into forward. Press the trigger slowly.
Notice what happens:
• No light and no sound may indicate a battery, contact, or main power issue.
• A light with no motor movement may indicate a trigger, control board, sensor, or motor issue.
• A brief twitch may indicate low voltage, a stalled motor, or an electronic fault.
• A clicking sound may indicate a control or protection problem.
These signs are useful clues, but they do not identify one exact failed part.
5. Check for heat and smell
Smell the tool carefully without placing your face near it. A sharp burnt-electronics smell, melted plastic, or visible smoke means you should stop testing.
Remove the battery and keep the tool away from flammable materials. Do not continue pressing the trigger to “see if it clears.”
6. Check the user manual for fault behavior
Different brands use different lights, beeps, and protection codes. The manual may explain a flashing work light, charger pattern, or temperature warning.
This step matters because a normal protection warning can look similar to a failed control board.
7. Decide whether service is needed
Service is usually the right choice when:
• A known-good battery does not help.
• The tool was exposed to rain or heavy moisture.
• The housing is cracked.
• The trigger or selector is physically damaged.
• The tool smells burnt.
• The motor only twitches.
• The tool stops again after cooling.

How to Test the Battery and Electrical Parts
Electrical testing can help, but it also creates safety risks. Lithium-ion battery packs can deliver very high current. Never short battery terminals, pierce a pack, bypass its protection circuit, or test damaged cells.
Battery voltage test
A multimeter can show whether a battery has some voltage. However, voltage alone does not prove that the battery can deliver enough current.
A battery may read near its rated voltage with no load, then collapse when the impact driver starts. A proper load test is safer and more useful when performed by a trained technician.
Continuity testing
Never use a continuity or resistance mode on a live battery-connected tool. Remove the battery first.
With the pack removed, a technician may check switches, wiring, and connections. The correct readings depend on the specific model, so generic resistance values can lead to a wrong diagnosis.
Trigger signal testing
Brushless tools often use a trigger assembly that sends a low-voltage signal to the control board. The trigger may not directly carry full motor current.
This means a trigger can look simple but still require model-specific testing. If you are not trained to work around powered electronics, do not probe the circuit while the battery is installed.
Motor testing
A brushless motor has multiple phase wires and electronic timing. It does not test like a simple brushed motor.
A motor with shorted windings, damaged sensors, or a loose connector may cause the control board to shut down. Replacing the motor without checking the board can waste money, because either part may be the true cause.

Safe Repairs You Can Try at Home
Some repairs are low risk. Others should be left to a qualified service center.
Safe basic actions
You can usually:
• Charge the battery with the correct charger.
• Try a known-good compatible battery.
• Clean dry battery contacts.
• Clear dust from the vents.
• Let the tool cool.
• Remove a jammed bit or socket.
• Check the direction selector.
• Inspect the housing for obvious damage.
Repairs that need caution
Opening the tool can expose sharp parts, stored electrical energy, and delicate wires. It may also cancel the warranty.
Avoid home repair if the tool has:
• A swollen battery
• Water damage
• Burn marks
• Melted plastic
• A cracked circuit board
• Loose high-current wires
• A strong burnt smell
A common mistake is replacing the trigger first because it is easy to reach. In practice, the battery and contacts cause many no-start problems, while the control board is often the more expensive repair. Diagnose before buying parts.

When a Brushless Impact Driver Won’t Start After a Drop
A drop can damage more than the outer case. It may loosen battery terminals, crack a solder joint, shift the trigger, or break a motor wire.
Remove the battery and gently inspect the housing. Look for gaps, loose screws, broken clips, or a battery that no longer fits tightly.
Do not shake the tool hard or keep using it if parts rattle inside. A loose metal part can create a short circuit when power is restored.
In a workshop, I have seen tools that looked fine outside but had a loose connector inside after falling from a ladder. The lesson is simple: sudden failure after impact usually deserves an internal inspection by a trained repair technician.
When the Tool Stops Under Load
A brushless impact driver may start normally but stop when it touches a fastener. This is different from a tool that never starts.
Possible causes include:
• A weak battery that cannot supply starting current
• A seized fastener or incorrect socket
• Excessive motor heat
• A damaged gear case
• A control board sensing overcurrent
• A motor winding or sensor fault
Try a fully charged battery and a free-spinning test with no bit installed. If the tool runs without a load but stops during fastening, avoid forcing it. Continued stalls can increase heat and damage the motor or electronics.
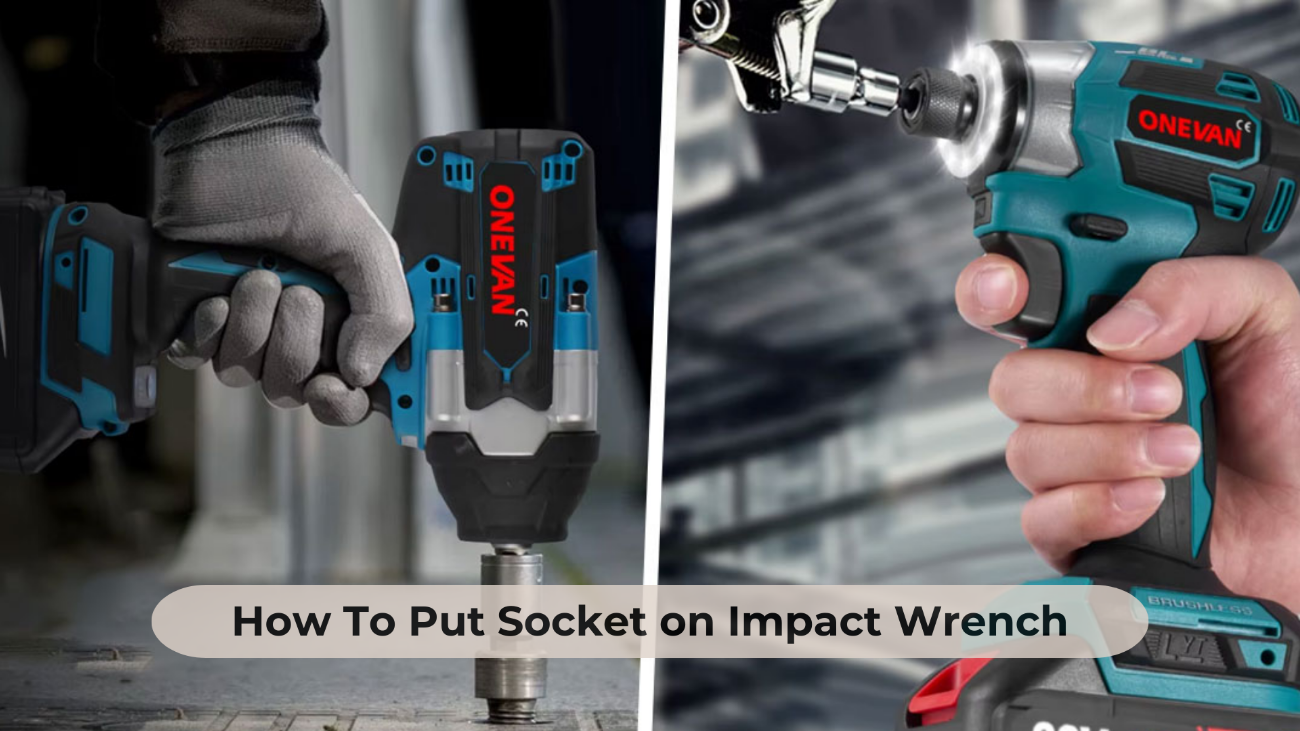
Use the correct impact-rated socket. Standard chrome sockets can crack under impact and create a safety hazard.
How to Prevent Future No-Start Problems
Good care reduces electrical faults and extends battery life.
• Store batteries in a cool, dry place away from direct sun.
• Do not leave battery packs in a hot vehicle.
• Remove the battery before cleaning or transport.
• Keep the tool vents free of dust.
• Use impact-rated accessories.
• Avoid pressing the trigger after the bit has stalled.
• Let the tool cool during long, heavy jobs.
• Keep the tool away from rain and standing water.
• Charge batteries with the correct manufacturer-approved charger.
• Inspect the battery case before every major job.
The best habit is to stop early when the tool sounds different. A strange whine, hot smell, or repeated cutout is a warning, not a challenge. Small problems are often cheaper to fix before heat and vibration cause wider damage.
Should You Repair or Replace the Tool?
The right choice depends on the tool’s age, warranty, repair cost, and overall condition.
Repair may make sense when the driver is a premium model, the battery system is valuable, or the fault is a simple trigger or connector. Replacement may make more sense when the tool is old, heavily worn, water-damaged, or has both motor and control-board problems.
Check the warranty before opening the housing. Keep the model number, serial number, purchase date, and battery details ready when contacting service.
Do not compare only the price of a replacement tool. Include the cost of new batteries, chargers, downtime, and compatible accessories. A reliable repair can be better value than starting a new battery platform.
Frequently Asked Questions About Brushless Impact Driver Won’t Start
Why does my brushless impact driver have power but not spin?
The battery may power the light while still being too weak to run the motor. A failed trigger, direction switch, motor sensor, or control board can also allow the light to work while the motor stays still.
Can a bad battery make a brushless impact driver stop suddenly?
Yes. A weak or damaged lithium-ion pack can drop below the tool’s safe voltage when the motor demands current. Test the tool with a fully charged, known-good compatible battery.
Why won’t my impact driver start after overheating?
The tool may have activated thermal protection. Remove the battery and let the driver cool naturally, then inspect the vents and try again.
Is it safe to use a different brand battery?
Usually not. Batteries with similar voltage may have different terminals, electronics, physical locks, and protection systems. Use only batteries approved for that exact tool platform.
Can dirty contacts stop a brushless impact driver?
Yes. Dust, corrosion, or a bent terminal can interrupt the high-current connection. Remove the battery and clean the contacts with a dry brush or clean compressed air.
Should I replace the trigger if the tool will not start?
Not automatically. The battery, contacts, selector, control board, and motor can create the same symptom. Test the simple causes first, and use a service center for deeper electrical diagnosis.
Why does my impact driver twitch but not run?
A twitch can point to low battery voltage, a stalled mechanism, damaged motor sensors, a wiring fault, or a control-board problem. Stop repeated testing and check the battery, bit, heat, and visible damage.
Conclusion
A brushless impact driver won’t start for several possible reasons, but the battery, contacts, direction switch, trigger, heat protection, and control electronics are the main areas to check. Begin with safe external tests, use a known-good battery, and look for heat, damage, or unusual smells before opening the tool.
Do not bypass battery protection or keep forcing a driver that stalls. A careful diagnosis can save money and prevent a small electrical fault from becoming a larger repair. Try the checks in this guide, consult the model manual, and contact an authorized repair center when the problem involves the motor, control board, or damaged lithium-ion battery.