Ryobi Drill Battery Not Charging: Fixes That Work Fast
A Ryobi drill battery not charging often points to dirty contacts, a hot pack, or a failed cell.
A Ryobi drill battery not charging can stop a simple repair job in its tracks, but the battery may not be ruined. As someone who has tested many cordless tools and chargers, I know that a few safe checks often reveal the real cause. This guide explains how to diagnose the problem, reset the pack safely, decide when replacement makes sense, and prevent the issue from returning.
Why is my Ryobi drill battery not charging?
A Ryobi drill battery not charging may have a simple cause, such as poor contact with the charger. It may also have a deeper fault, such as a damaged lithium-ion cell or a failed battery management circuit.
Start with the easy checks before buying a new battery. In many cases, the charger, battery contacts, temperature, or power outlet causes the problem.
Common causes include:
• The battery is too hot or too cold.
• Dust or dirt covers the metal contacts.
• The charger is not receiving power.
• The battery is not seated correctly.
• The battery has been stored in a fully drained state.
• The charger or battery has an internal fault.
• One or more battery cells have reached the end of their service life.
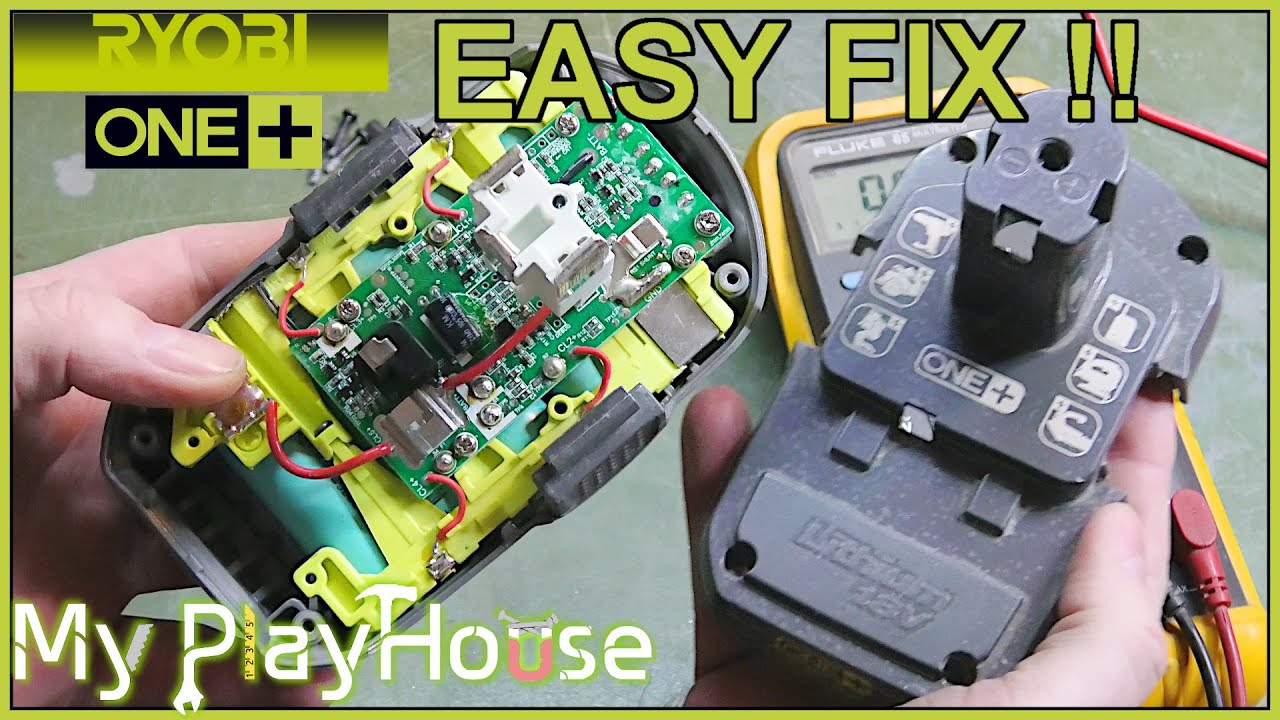
Ryobi ONE+ lithium-ion batteries use internal controls to protect against overcharging, overheating, and excessive discharge. These protections are useful, but they can make a faulty pack appear completely dead.
Check the charger and power outlet first
When a Ryobi drill battery not charging appears dead, test the charger before blaming the battery. A faulty charger can show the same symptoms as a failed battery.
Follow these steps:
-
Unplug the charger from the wall.
-
Check the power cord for cuts, bent pins, or loose sections.
-
Plug a lamp or another small device into the same outlet.
-
Connect the charger directly to the outlet, not to a questionable extension cord or power strip.
-
Look at the charger light before inserting the battery.
-
Insert the battery firmly until it clicks into place.
A normal charger should show a power or standby light, depending on the model. After you insert the battery, the indicator should change to show charging. Exact light patterns vary between Ryobi charger models, so check the label or manual for your specific unit.
Try another known-good Ryobi battery if one is available. If the second battery charges normally, your original battery is likely the problem. If neither battery charges, inspect the charger, outlet, and power cord more closely.
Do not open the charger unless you are trained to work with electrical equipment. Chargers contain parts that can hold dangerous voltage even after unplugging.

Let the battery return to room temperature
Temperature is one of the most common reasons for a Ryobi drill battery not charging. Lithium-ion batteries should not charge when they are too hot or too cold.
A battery may become hot after:
• Heavy drilling.
• Driving long screws into hard wood.
• Cutting metal.
• Running the tool until the battery is empty.
• Sitting in a hot vehicle or direct sunlight.
Remove the battery from the tool and charger. Let it rest indoors for about 30 to 60 minutes. Do not place it in a freezer, on a heater, or in direct sunlight to change its temperature faster.
Most lithium-ion battery systems monitor temperature during charging. If the pack is outside its safe range, the charger may pause or refuse to start. This is normal protection, not always a sign of failure.
If the pack feels swollen, cracked, wet, or unusually hot, stop using it. Place it away from flammable items and contact a local battery recycling center or hazardous waste service for safe handling.

Clean the Ryobi battery contacts
Dirty contacts can make a Ryobi drill battery not charging even when both the battery and charger work well. Sawdust, pocket lint, grease, and oxidation can block the small electrical connection.
Remove the battery from the charger and inspect the metal terminals. Check both the battery contacts and the matching contacts inside the charger.
Clean them safely:
• Use a dry, clean cloth.
• Use a soft brush to remove sawdust.
• Wipe light grime with a small amount of isopropyl alcohol on a cotton swab.
• Let the contacts dry fully before testing the battery.
Never pour liquid into the charger. Do not scrape the terminals with a knife or use sandpaper, because this can damage the plating or create metal dust.
Make sure the battery slides straight into the charger. A damaged rail or loose plastic guide can prevent the terminals from touching. This is easy to miss because the battery may look fully seated.
In my own tool checks, contact problems are among the fastest faults to fix. A thin layer of dust can act like a closed door between the battery and charger.
Try a safe battery reset
Some people search for a way to “wake up” a Ryobi battery that has entered a protection state. First, use the safe steps below.
-
Remove the battery from the drill and charger.
-
Wait 10 to 15 minutes.
-
Check that the battery is dry and near room temperature.
-
Clean the contacts.
-
Insert the battery into the charger again.
-
Leave it in place for up to 30 minutes while watching the indicator.
A deeply discharged battery may need time before the charger begins normal charging. However, do not repeatedly force the charger to start if the indicator shows a fault.
Avoid jump-starting a lithium-ion battery with wires, another battery, or a car battery. This can cause a short circuit, fire, burns, or permanent damage. It also bypasses the battery’s safety controls.
Do not open the pack or replace individual cells unless you have specialist training and the correct equipment. Battery cells must be matched, balanced, and protected correctly.

Read the Ryobi charger light pattern
The charger indicator can provide useful clues when a Ryobi drill battery not charging. Light colors and flashing patterns depend on the charger model, so use the instructions printed on the charger when possible.
Typical signs may include:
• A steady green light can indicate a full battery or standby mode.
• A flashing green light often indicates active charging.
• A red or orange light may show that charging is in progress on some models.
• A flashing red light can indicate a hot, cold, damaged, or poorly seated battery.
• No light may point to an outlet, cord, charger, or contact problem.
Treat these patterns as general guidance rather than a universal code. Ryobi has produced several charger designs, and their indicators do not all behave in the same way.
If the light changes when you press the battery gently into place, the battery rail or contacts may be worn. Do not hold it in place during charging, since a loose connection can create heat or arcing.
Test the battery in another Ryobi tool
Testing the pack in another compatible tool can help separate a battery issue from a drill issue. Use only a compatible Ryobi ONE+ battery and tool.
If the battery powers another tool, the drill may have a problem. The drill could have a damaged switch, motor, trigger, or internal connection.
If the battery fails in every tool and will not charge, the battery is the stronger suspect. Check for these warning signs:
• The fuel gauge stays dark.
• The battery loses power very quickly.
• The tool stops under light use.
• The pack becomes hot during normal charging.
• The case is swollen or cracked.
• The charger shows a fault every time.
A battery that works briefly but has very short run time may not have a charger problem. Its cells may have lost capacity from age, heat, heavy use, or repeated deep discharge.

Know when the battery needs replacement
A Ryobi drill battery not charging may be beyond repair. Rechargeable batteries have a limited service life, and performance slowly declines with use.
Replacement is usually the safer choice when:
• The case is swollen, split, or badly damaged.
• The battery smells sweet, sharp, or chemical.
• The pack becomes very hot without heavy use.
• The charger reports a fault after cleaning and cooling.
• The battery fails in several compatible tools.
• The pack has been wet or exposed to impact.
• The battery is several years old and has poor run time.
Do not place a damaged lithium-ion battery in household trash or a standard recycling bin. Cover exposed terminals with electrical tape and follow local battery recycling rules. Many hardware stores, recycling centers, and community waste programs accept rechargeable tool batteries.
A new battery is often more practical than cell repair. Professional rebuilding may be possible for some packs, but it must include proper cell matching, welding, insulation, and protection testing.
How to prevent charging problems
Good storage and charging habits can help prevent a Ryobi drill battery not charging later.
Use these habits:
• Store batteries indoors in a dry place.
• Keep them away from extreme heat and freezing conditions.
• Do not leave a battery in a hot truck.
• Remove the battery from the charger after it reaches full charge if the manual recommends it.
• Avoid running the tool until it shuts off every time.
• Keep battery contacts clean and dry.
• Use the correct Ryobi charger for the battery type.
• Let a hot battery cool before charging.
• Inspect the case after a drop or hard impact.
Lithium-ion batteries do not need the old-style full discharge cycle used by some older rechargeable batteries. Frequent deep discharge can add stress and shorten useful life.
For long-term storage, follow the battery instructions. A partly charged battery stored in a cool, dry place is generally better than one left completely empty for months.

Common mistakes to avoid
When a Ryobi drill battery not charging, frustration can lead to unsafe tests. Avoid these common mistakes.
• Do not connect battery terminals with a screwdriver.
• Do not use a different brand’s charger.
• Do not heat or freeze the battery.
• Do not spray cleaner into the charger.
• Do not leave a damaged battery unattended while charging.
• Do not force the battery into the charger.
• Do not open the pack without proper training.
• Do not ignore swelling, smoke, smell, or unusual heat.
A battery is not like a simple flashlight cell. It contains several cells, wiring, sensors, and control electronics. One wrong connection can turn a small troubleshooting job into a serious safety hazard.
The safest approach is simple: inspect, cool, clean, test, and replace when needed.
When to contact Ryobi support or a professional
Contact Ryobi support or a qualified repair center if the battery is under warranty or the fault remains after basic checks. Have the battery model, charger model, purchase details, and indicator behavior ready.
Describe the issue clearly. For example, say that the battery is at room temperature, the contacts are clean, the charger works with another pack, and the indicator flashes a fault code.
A professional can test voltage, cell balance, internal resistance, and protection circuits. These tests can identify faults that cannot be found by looking at the outside of the battery.
Stop troubleshooting immediately if you see smoke, sparks, swelling, leaking, or rapid heating. Move away from the battery and follow local emergency and disposal guidance.
Frequently Asked Questions About Ryobi Drill Battery Not Charging
Why is my Ryobi drill battery not charging when the light flashes red?
A flashing red light may indicate a hot battery, cold battery, poor contact, or internal battery fault. Let the pack reach room temperature, clean the contacts, and try it again using the correct charger instructions.
How long should a Ryobi battery take to charge?
Charging time depends on the battery’s amp-hour rating and the charger model. A small pack may charge in less time than a high-capacity pack, so use the charger label or battery manual for the expected range.
Can I charge a Ryobi battery without a charger?
No. Use a compatible Ryobi charger designed for that battery system. Improvised charging methods can cause overheating, fire, electric shock, or battery damage.
Can a completely dead Ryobi battery be revived?
Sometimes a deeply discharged battery may begin charging after resting at room temperature and being placed in the correct charger. If the charger rejects it or the battery shows damage, replace it rather than attempting a risky jump-start.
Why does my Ryobi battery charge but lose power quickly?
The battery cells may have lost capacity due to age, heat, heavy use, or repeated deep discharge. Test the pack in another compatible tool, and replace it if run time remains poor.
Is it safe to leave a Ryobi battery on the charger overnight?
Use the charger according to its manual and the manufacturer’s guidance. Modern chargers manage the charging cycle, but damaged batteries should never be left charging unattended.
Conclusion
A Ryobi drill battery not charging does not always mean you need a new pack. Check the outlet, charger, contacts, temperature, and battery fit first. Then test the battery in another compatible tool and watch for damage, heat, swelling, or unusual smells.
Never jump-start, open, or modify a lithium-ion battery without specialist training. If safe checks fail, recycling the old pack and buying a suitable replacement is the best choice. Try these steps today, and share your charger light pattern or battery symptoms in the comments to help others troubleshoot their Ryobi tools.