DeWalt Drill LED Light Not Working: Quick Fixes
A DeWalt drill LED light may stop working because of a weak battery, dirty contacts, a faulty switch, or damaged wiring.
A DeWalt drill LED light not working can be annoying, especially when you are working in a dark cabinet, corner, or job site. The good news is that the LED is often easy to test and fix. This guide explains the most likely causes, safe repair steps, model differences, and signs that the drill needs professional service.
Why Your DeWalt Drill LED Light Is Not Working
The LED light on a DeWalt drill usually turns on when you press the trigger. It may also stay on for a short time after the trigger is released, depending on the model. If the drill runs but the light stays dark, the problem may be limited to the light circuit.
A DeWalt drill LED light not working does not always mean the LED itself has failed. The light depends on several parts working together:
• Battery and battery contacts
• Trigger switch
• LED bulb or circuit board
• Internal wires and connectors
• Control electronics
• Light cover or lens
The simplest cause is often a low battery. Some DeWalt drills will still turn the motor slowly while the battery voltage is too low to power the light correctly.
I have also seen dust act like a tiny wall between the battery contacts and the tool. A quick cleaning solved the light problem without replacing any parts. This is why it helps to test simple causes before opening the drill.

Common Causes of a DeWalt Drill LED Light Not Working
1. The battery is weak or damaged
A weak battery is one of the first things to check. Lithium-ion batteries can lose power, develop internal faults, or shut down under load. The drill may appear to work, but the LED may not receive stable power.
Try a fully charged battery from the same DeWalt voltage system. If the light works with another battery, the original battery is likely the cause.
Do not use a battery that is swollen, cracked, hot, or leaking. Place it aside and follow local battery recycling rules.
2. Dirty battery contacts
Dust, sawdust, paint, and corrosion can block electrical contact. Check both the battery terminals and the matching contacts inside the drill.
Use a clean, dry cloth or a soft brush. For light grime, a small amount of electrical contact cleaner may help. Let the contacts dry fully before inserting the battery.
Never scrape the terminals with a sharp metal tool. You could damage the plating or cause a short.
3. The trigger switch is worn
The LED often receives power through the trigger assembly. If the trigger is worn, the motor and light may behave in unusual ways.
Common signs include:
• The light flickers when you press the trigger
• The light works only at certain trigger positions
• The drill starts late or stops suddenly
• The speed control feels rough
• The light stays on after the trigger is released
A worn trigger is not usually a simple cleaning issue. It may need replacement by a qualified repair technician.
4. The LED or circuit board has failed
The LED can burn out, although it often lasts longer than the drill motor. Some DeWalt models use a small LED mounted on a circuit board. Others use a replaceable light assembly.
If the drill works normally but the light never turns on with a known-good battery, the LED circuit may be damaged. A circuit board fault is more likely if the drill was dropped, exposed to water, or connected to a damaged battery.
5. Broken internal wiring
A hard drop can loosen a connector or break a small wire. This can disconnect the light while leaving the motor functional.
The problem may appear after the drill is dropped from a ladder or squeezed tightly in a tool bag. Repeated vibration can also weaken internal connections over time.
6. The light is blocked or appears dim
Sometimes the LED works, but the lens is covered with dust or the light output is very low. Clean the lens with a soft, dry cloth.
A dim LED can also point to low battery voltage, poor contacts, or an aging electronic component. Compare it with another working DeWalt drill if possible.
How to Diagnose a DeWalt Drill LED Light Not Working
Use this simple test order. It starts with the safest and easiest checks.
Step 1: Remove the battery and inspect the tool
Take out the battery before checking the drill. Look for cracks, loose parts, melted plastic, water marks, or signs of overheating.
Pay close attention to the trigger area and LED lens. If you smell burnt plastic or see dark marks, stop testing the tool.
Step 2: Test a fully charged battery
Charge the battery with the correct DeWalt charger. Then insert it firmly into the drill.
If you own more than one compatible battery, test another one. This is one of the fastest ways to identify whether the battery is causing the DeWalt drill LED light not working problem.
Step 3: Check the battery contacts
Remove the battery again. Inspect the metal contacts for dirt, bending, or corrosion.
Clean them gently with a dry cloth. The contacts should look clean and sit firmly in place. Do not spray water into the drill.
Step 4: Press the trigger slowly
Insert the battery and press the trigger very slowly. Watch for any flicker.
If the LED flashes at one trigger position, the trigger switch may have worn contacts. If the motor also cuts in and out, the trigger becomes an even stronger suspect.
Step 5: Check the LED lens
Look for a cracked lens, heavy dirt, or a loose light cover. A blocked lens will not normally stop the LED from producing light, but it can make the light appear dead.
Clean the lens and test the drill again.
Step 6: Compare the drill with its normal behavior
Ask these questions:
• Does the motor run at full speed?
• Does the LED flicker?
• Did the problem start after a drop?
• Was the drill exposed to rain or moisture?
• Does the light work with a second battery?
These details help separate a battery problem from a trigger, wiring, or LED problem.
How to Fix a DeWalt Drill LED Light Not Working
Some fixes are safe for most users. Others require electrical repair skills.
Safe fixes you can try
Start with these basic actions:
- Fully charge the battery.
- Test a second compatible battery.
- Clean the battery contacts.
- Clean the LED lens.
- Check for visible damage.
- Allow a damp tool to dry completely before testing.
These steps solve many simple cases. They also reduce the risk of replacing a good LED or trigger.
When a trigger replacement may help
If the drill motor and LED flicker together, the trigger assembly may be failing. A replacement trigger must match the exact model and voltage.
DeWalt drills can look similar while using different internal parts. Check the model number on the tool label before ordering anything. The model may appear near the battery slot, on the side of the housing, or on the nameplate.
When the LED assembly needs replacement
If the motor runs correctly and the light remains off with several good batteries, the LED assembly may need replacement.
Some models have an LED that is part of the trigger assembly. Other models use a separate board or light module. This difference matters because the repair part and procedure can vary.
Should you open the drill?
Opening the drill may void warranty coverage and can expose delicate wiring. It can also create a safety risk if the battery is still connected.
Only open the tool if:
• The warranty has expired
• You have the correct replacement part
• You can control small screws and wires safely
• You understand basic electrical repair
• You have removed the battery first
Do not bypass the trigger or connect the LED directly to the battery. That can damage the light, tool, or battery.

DeWalt Drill Models and LED Light Differences
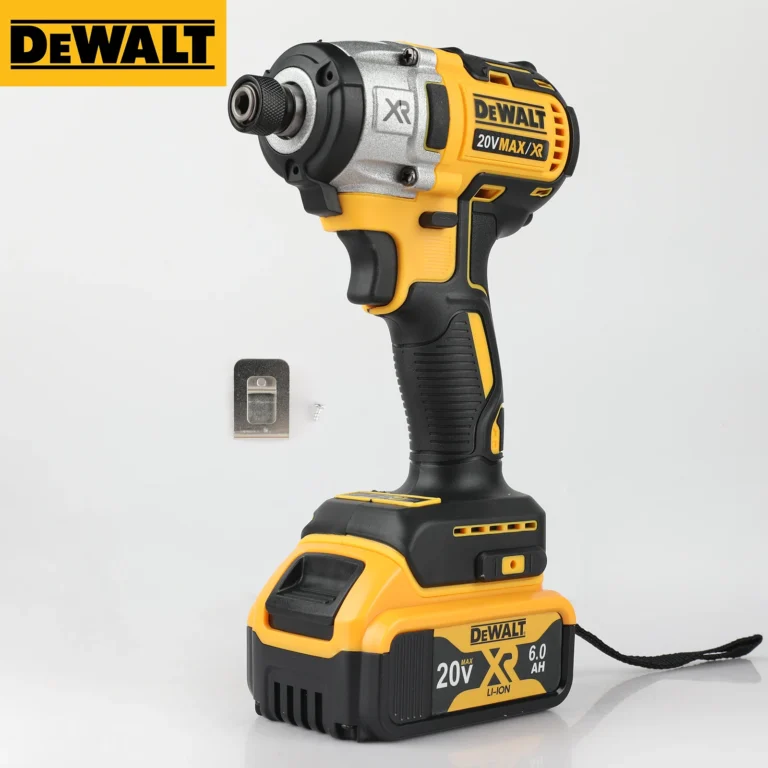
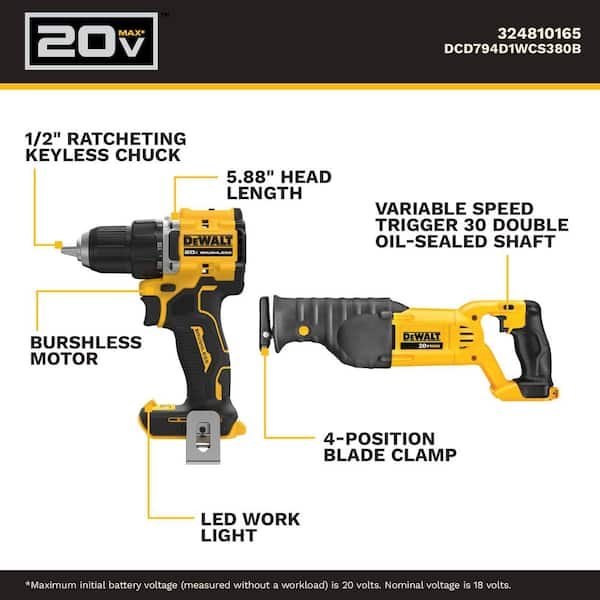
Not every DeWalt drill uses the same LED design. Compact drills may have one LED near the trigger. Some hammer drills use multiple LEDs around the chuck. Premium models may offer a brighter light, a delay timer, or a spotlight mode.
This means a DeWalt drill LED light not working may have different causes from one model to another. Always use the model number when checking a manual or ordering parts.
The voltage platform also matters. A 12V XTREME drill, 20V MAX drill, and FLEXVOLT tool do not share every internal component. A battery may fit physically but still be unsuitable if it does not belong to the correct system.
Check the official manual for:
• LED operation
• Compatible battery types
• Trigger functions
• Light delay settings
• Replacement part numbers
• Warranty information
Some drills include a light delay feature. If the LED stays on for a few seconds after releasing the trigger, that behavior is normal. If the light stays on constantly, the trigger or control circuit may be stuck.
Safety Tips Before Repairing the Drill
Power tools use high current, even when they look small. A short circuit can create heat very quickly.
Follow these safety rules:
• Remove the battery before cleaning or opening the drill.
• Never work on a battery that is swollen or damaged.
• Keep metal tools away from battery terminals.
• Do not test exposed wiring with the battery connected unless you are trained.
• Keep the drill away from water and solvent.
• Wear eye protection when opening a damaged tool.
• Stop if you notice smoke, heat, or a burning smell.
Lithium-ion batteries should not be thrown into household trash. Use a battery collection point or a local recycling program.
One mistake I always warn against is testing a suspected short with a loose metal screwdriver. It can turn a small repair into a damaged battery or burned circuit. A careful diagnosis is slower than a shortcut, but it is much safer.
When to Contact a Repair Professional
A repair shop is the better choice when the tool has internal damage or warranty coverage. This is especially true if the drill is expensive or still under the manufacturer’s warranty.
Contact a professional if:
• The drill became wet
• The battery or tool becomes hot
• There is a burning smell
• The LED and motor both fail
• The housing is cracked
• Internal wires are damaged
• A new trigger does not solve the issue
• You are not comfortable working with electronics
A technician can test voltage, inspect the trigger, and check the LED circuit without guessing. This may cost less than buying several parts that do not fix the DeWalt drill LED light not working issue.
Avoid unofficial repairs that remove safety controls. A drill should not be returned to service if the trigger, battery contacts, or circuit board are badly damaged.

Mistakes to Avoid During Troubleshooting
Many repair attempts fail because the wrong part is blamed first. Avoid these common mistakes:
• Assuming the LED is burned out without testing another battery
• Using a battery from an incompatible voltage platform
• Spraying household cleaner into the trigger
• Opening the drill while the battery is attached
• Ordering a trigger by appearance alone
• Ignoring flickering or heat
• Continuing to use a tool with a cracked housing
• Testing the drill in wet conditions
Do not force the battery into the tool. A battery that does not slide in smoothly may have damaged rails or a swollen case.
Also, do not judge the LED by brightness alone. A dirty lens can make a working light seem weak. Clean the lens first, then compare the light in a dark room.

How to Prevent Future LED Problems
Good care can extend the life of the light and the whole drill.
Keep the drill in a dry case or tool bag. Brush away sawdust after work, especially around the battery slot and trigger. Avoid leaving the tool in a hot truck for long periods.
Store batteries in a cool, dry place. Do not leave a battery fully depleted for long periods. Use the correct charger and inspect the battery before each use.
A simple care routine includes:
• Wiping the drill after each job
• Checking the battery contacts each month
• Keeping the LED lens clean
• Removing the battery during storage
• Avoiding rain and heavy moisture
• Using genuine or approved compatible batteries
These habits may not prevent every electronics failure, but they reduce dust, heat, and contact problems. Think of the LED as a small warning window: when it behaves strangely, inspect the tool before the issue grows.
Frequently Asked Questions About DeWalt Drill LED Light Not Working
Why is my DeWalt drill light not working but the drill still runs?
The LED may have a failed bulb, trigger contact, wire, or circuit board. Test a fully charged compatible battery and clean the contacts before arranging a repair.
Can a bad DeWalt battery cause the LED light to stop working?
Yes. A weak or damaged battery may run the motor poorly or fail to supply stable power to the LED. Test the drill with another known-good battery from the same voltage system.
How do I turn on the LED light on a DeWalt drill?
On many DeWalt drills, the LED turns on when you lightly press the trigger. Some models keep the light on briefly after the trigger is released, while others may have a separate light setting.
Can I replace the LED on my DeWalt drill?
Replacement is possible on some models, but the LED may be built into the trigger or control assembly. Check the exact model number and repair instructions before buying a part.
Is it safe to use a DeWalt drill when the LED does not work?
It may be safe if the drill runs normally and has no heat, smell, wiring damage, or battery problems. However, the failed light may indicate a trigger or circuit issue, so stop using the tool if other functions act strangely.
Why does my DeWalt drill LED flicker?
Flickering can result from dirty contacts, a weak battery, a worn trigger, or a loose internal connection. If cleaning and battery testing do not help, have the trigger and wiring inspected.
Will cleaning the battery contacts fix the LED?
It can, especially when dust or corrosion prevents a stable connection. Use a dry cloth or soft brush, and remove the battery before cleaning.
Conclusion
A DeWalt drill LED light not working is often caused by a weak battery, dirty contacts, a worn trigger, damaged wiring, or a failed LED assembly. Start with safe checks: charge the battery, test another compatible pack, clean the contacts, and inspect the lens.
If the drill flickers, smells hot, becomes unusually warm, or shows internal damage, stop and seek professional service. Use the exact model number for parts and repair instructions. If these steps helped, share your experience or explore more power tool repair guides for practical maintenance tips.