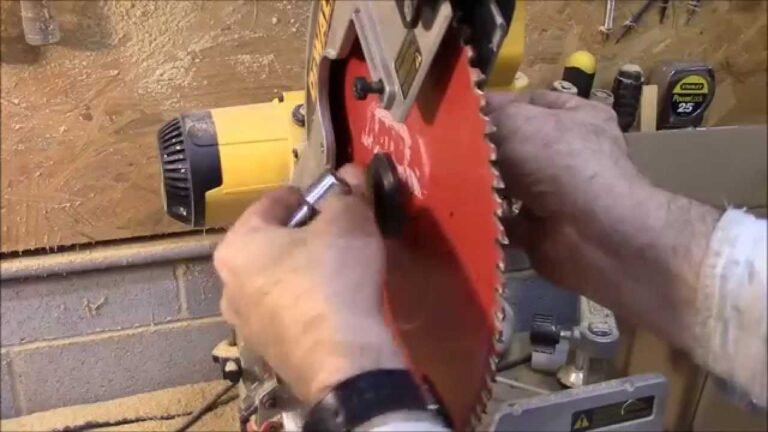
Miter Saw Blade Won’t Lower: Quick Fixes That Work
A miter saw blade won’t lower when a lock, guard, hinge, or internal part blocks the cutting head.
A stuck miter saw blade can stop a simple cut and create a serious safety risk. In most cases, the cause is easy to find: the head lock is still engaged, sawdust has packed around the pivot, or the blade guard is rubbing against the housing. This guide explains how to inspect the saw safely, find the fault, and decide whether you need a cleaning, adjustment, replacement part, or professional repair.
Stop and make the saw safe
Before checking why a miter saw blade won’t lower, disconnect the tool from power. Unplug the cord from the outlet, or remove the battery if you use a cordless model. Do not test the trigger while your hands are near the blade.
A miter saw stores force in its return spring. The spring pushes the cutting head back up after each cut. If a part is damaged or loose, the head may move suddenly when you release a lock or remove an obstruction.
Follow these safety steps:
- Switch the saw off.
- Unplug it or remove its battery.
- Wait until the blade stops fully.
- Raise the cutting head as far as it will go.
- Keep your fingers away from the blade teeth.
- Wear eye protection when brushing away dust.
- Never bypass a blade guard or safety lock.
If the blade is still spinning, smoking, or visibly damaged, stop work at once. A miter saw blade won’t lower problem is not worth forcing through with body weight or a tool.
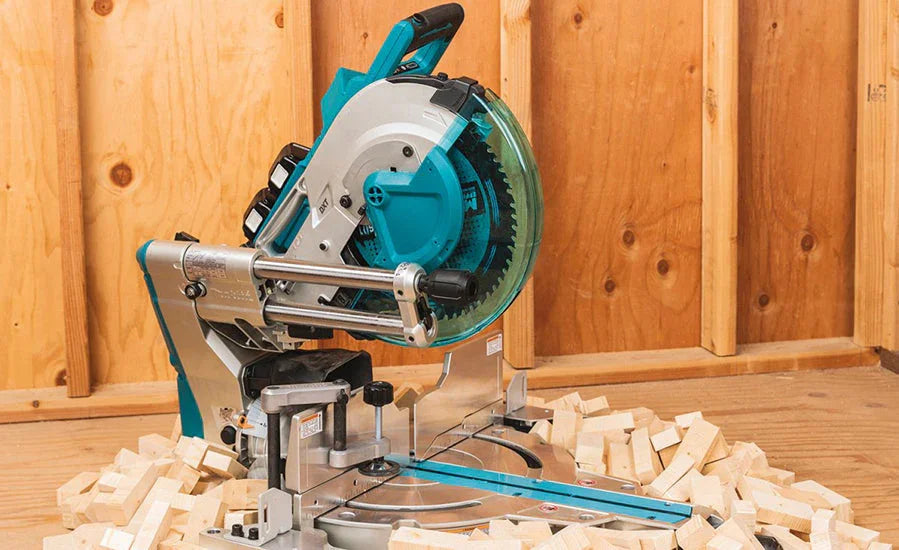
Why a miter saw blade won’t lower
Several parts control the downward movement of a miter saw. The handle, head lock, pivot arm, return spring, blade guard, bevel joint, and depth stop must all work together. A fault in any one of these parts can prevent the blade from moving down.
The most common causes include:
- The head lock or transport lock is engaged.
- The blade guard is stuck or rubbing.
- Sawdust has built up around the pivot.
- The bevel lock is tight or misaligned.
- The depth stop is set too high.
- The return spring is bent, broken, or jammed.
- A loose bolt is blocking the cutting head.
- The arbor or blade has been installed incorrectly.
- The saw suffered impact or internal damage.
- The handle or linkage has become loose.
The exact design varies by brand and model. A DeWalt, Makita, Bosch, Milwaukee, or Craftsman saw may use a different lock system, but the basic inspection process is much the same.
One useful clue is how the head feels. If it will not move at all, a lock or solid obstruction is likely. If it starts down and stops, the guard, depth stop, or pivot may be the problem. If it feels rough or gritty, dust or a damaged bearing may be involved.
Check the head lock first
Many miter saws have a pin or knob that locks the cutting head during transport. This lock keeps the saw compact inside a vehicle or storage area. If the pin remains engaged, the blade cannot lower normally.
Look behind or beside the motor housing. You may find a metal pin, sliding knob, threaded lock, or large plastic button. Pull, twist, or release it as the manual describes. Do not hit the lock with a hammer.
Some saws also have a small head lock near the handle. Move the handle gently while releasing the lock. This can remove pressure from the pin and make it easier to disengage.
Check for these signs:
- The head sits higher than usual.
- A metal pin passes through the rear pivot bracket.
- A transport knob is fully tightened.
- The saw was recently moved or stored.
- The handle has no downward movement at all.
A common mistake is to force the handle before releasing the transport lock. That can bend the locking pin or damage the pivot bracket. If the lock will not release by hand, stop and inspect the alignment instead.

Inspect the blade guard
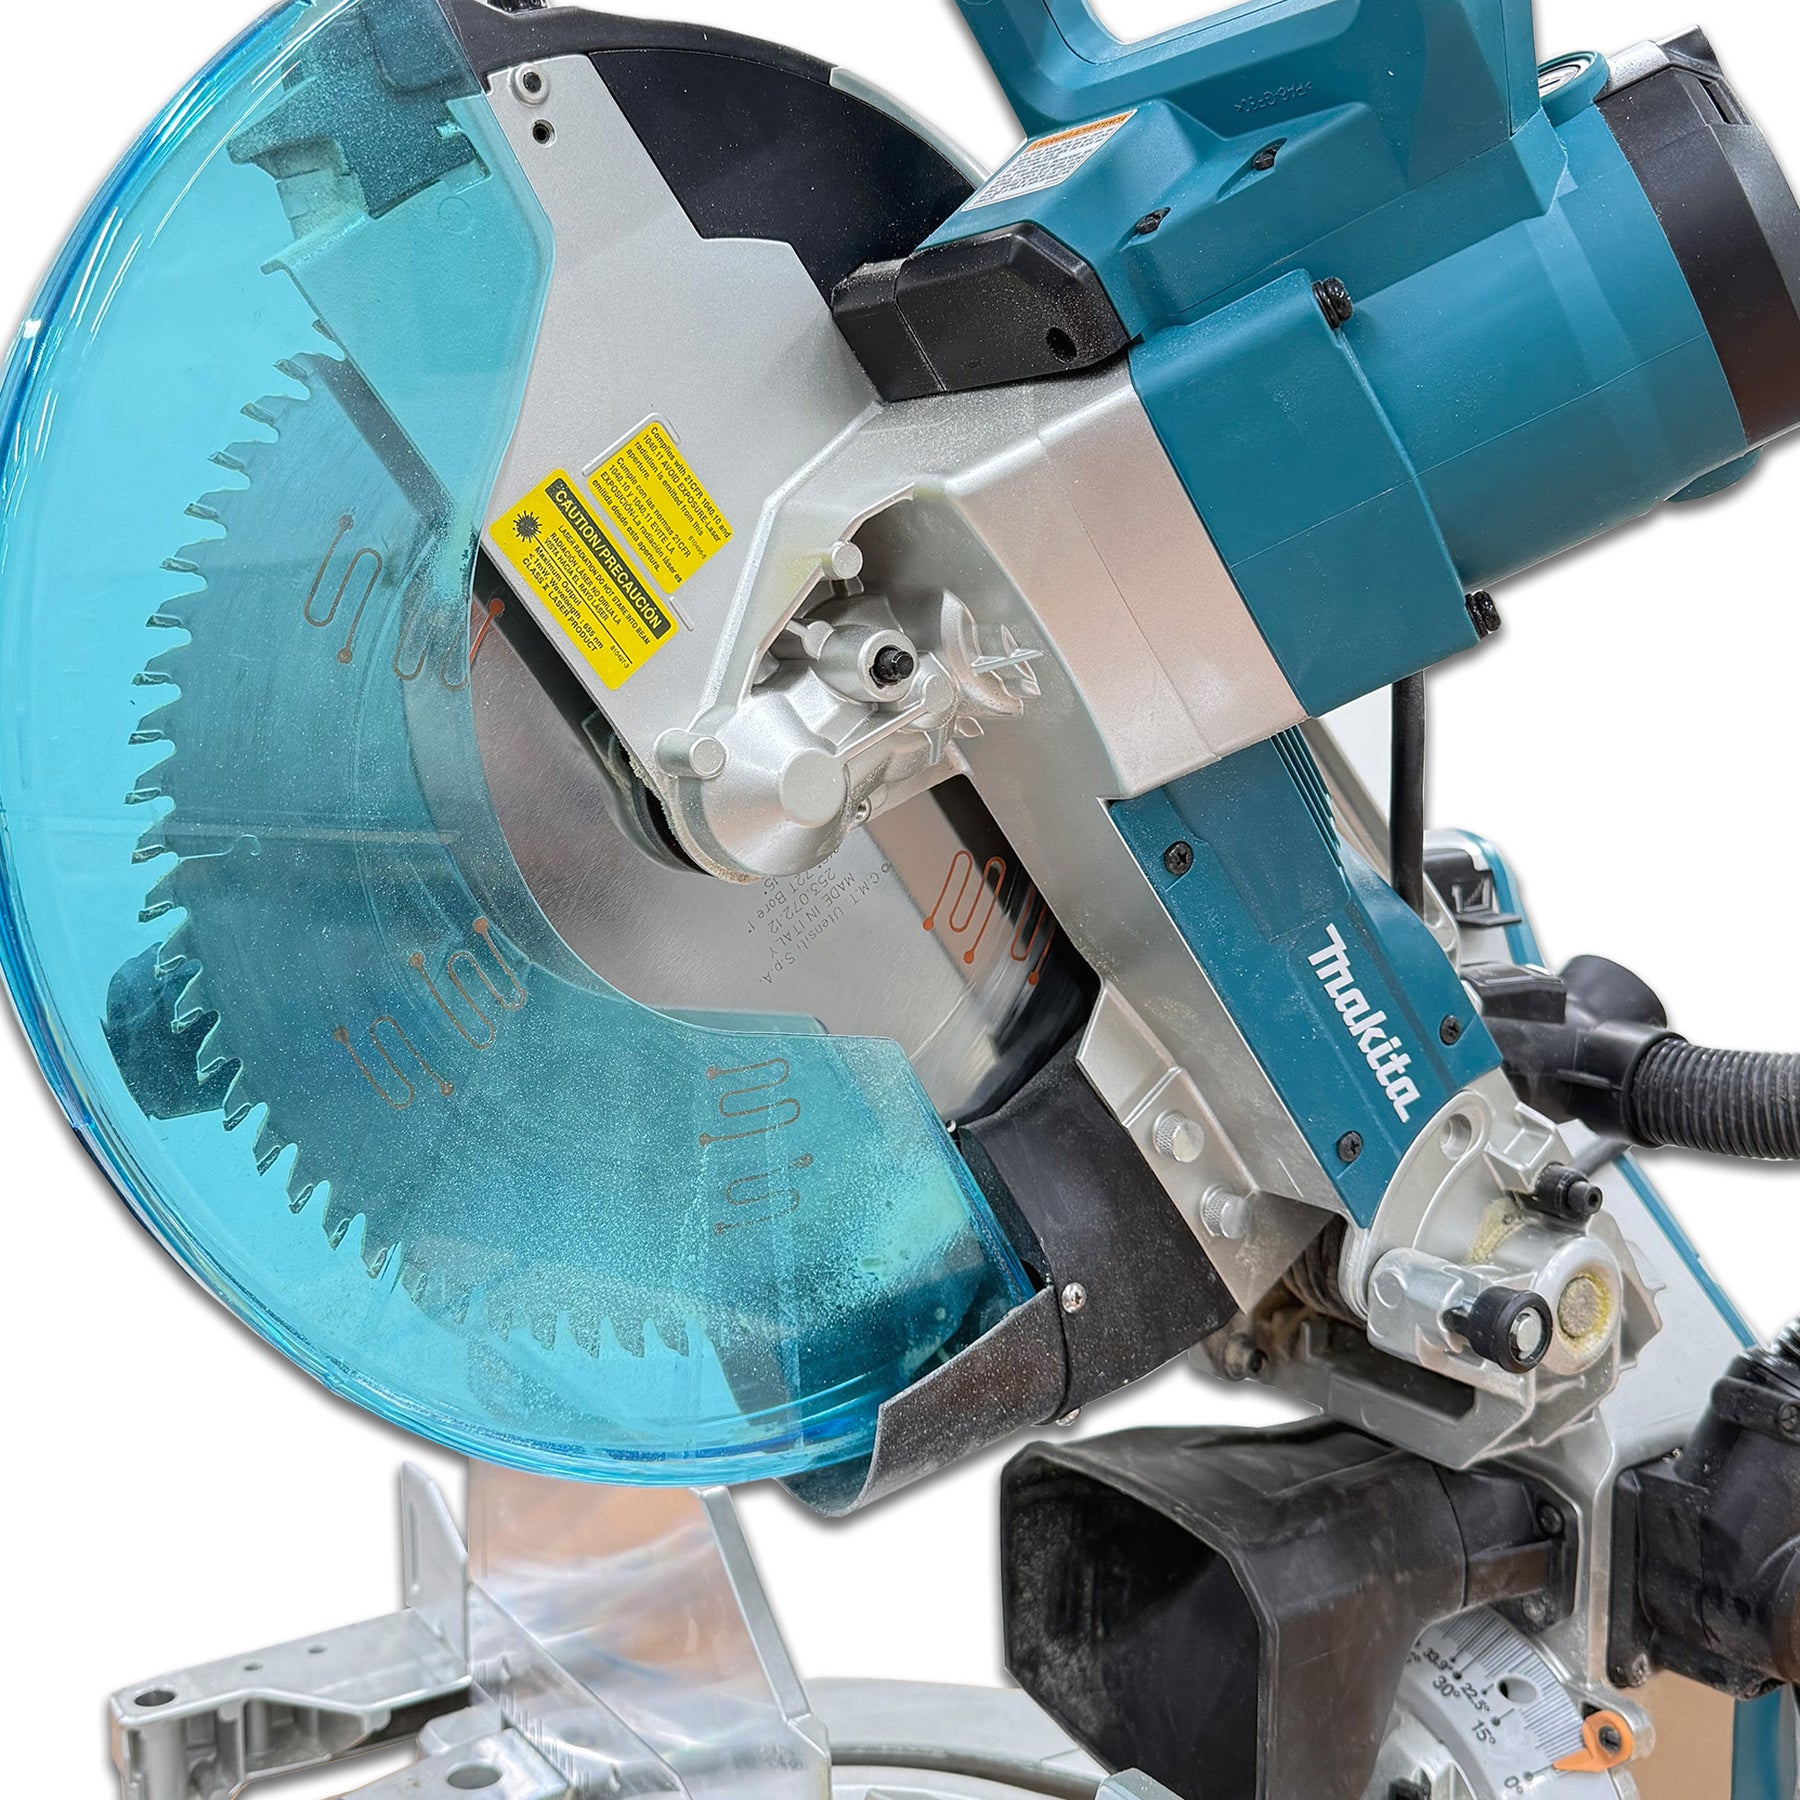
The lower blade guard should move up as the cutting head comes down. It covers the teeth when the saw is raised. If the guard sticks, the saw may stop before the blade reaches the workpiece.
With the saw unplugged, move the guard by hand only from a safe area. It should slide or rotate smoothly without catching. Never place a finger near the blade teeth to test its movement.
Look for:
- Packed sawdust around the guard hinge.
- A cracked guard.
- A bent guard plate.
- A loose guard screw.
- A damaged spring.
- A washer or blade part touching the guard.
- A guard that rubs against the blade.
Clean the guard with a soft brush or compressed air used at a safe pressure. Do not spray oil onto the guard unless the manufacturer specifically allows it. Oil can attract dust and create a thick paste inside the hinge.
If the guard is cracked or fails to cover the blade when the head is raised, replace it before using the saw. A miter saw blade won’t lower fault may be linked to the guard, but removing the guard is never a safe repair.

Clean the pivot and moving joints
Fine dust can act like sand in the pivot. It settles around the hinge, spring, bevel joint, and depth stop. Over time, this buildup can make the cutting head stiff or stop it from moving.
Place the unplugged saw on a stable bench. Use a brush to remove dust from the rear hinge and both sides of the pivot arm. A vacuum works well for loose particles. Avoid directing high pressure air into the motor, bearings, or electrical switches.
Move the head gently after cleaning. Do not force it through a tight spot. Watch the pivot as it moves and look for a screw, washer, or piece of wood that touches the housing.
For routine care:
- Clean the pivot after cutting treated lumber or MDF.
- Keep the rear hinge clear of chips.
- Check the dust bag and extraction port.
- Tighten loose external screws.
- Use only approved lubricant in the location listed by the manual.
- Keep the saw covered when stored.
Do not lubricate every visible joint. Some pivots use sealed bearings, and excess oil can collect abrasive dust. The correct lubricant and amount depend on the saw design.

Check the bevel lock and depth stop
A bevel setting changes the angle of the motor and blade. If the bevel lock is partly engaged, the head may bind as it moves down. Turn the bevel lock fully open, return the saw to zero degrees, and then tighten it again.
Next, inspect the depth stop. This feature limits how far the blade can travel. It is useful for grooves and shallow cuts, but a badly adjusted stop can make it seem like the miter saw blade won’t lower.
The depth stop may look like:
- A threaded bolt with a locknut.
- A sliding stop plate.
- A rotating depth adjustment knob.
- A lever near the rear of the motor.
Make sure the stop is not touching the saw arm before the blade reaches its normal lowest point. Do not remove the stop unless the manual permits it. Some designs use the stop as part of the head assembly.
After adjustment, lower the head slowly with the power disconnected. The blade should pass through its normal path without touching the table, throat plate, fence, or guard.
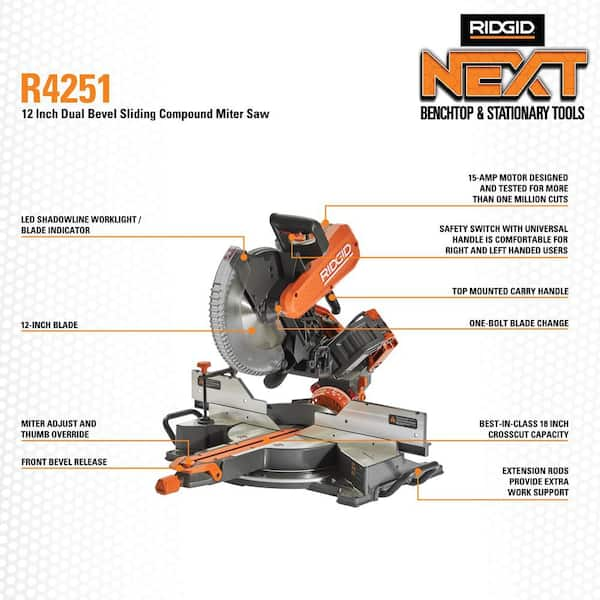
Examine the blade and arbor area
An incorrectly fitted blade can rub against the guard or housing. This may prevent the cutting head from lowering and can damage the saw if you force it.
Inspect the blade for warping, missing teeth, pitch buildup, or a bent center hole. Confirm that the blade diameter, arbor size, and maximum speed match the saw. The arrow on the blade should point in the correct direction.
Check the following parts:
- Inner and outer blade washers.
- Arbor bolt and threads.
- Blade flange.
- Spindle lock.
- Throat plate.
- Blade guard clearance.
Never place extra washers on the arbor to solve a clearance issue. Never use a blade with a larger diameter than the saw allows. Even a small fit error can change the blade path.
If you need to remove the blade, follow the model manual. Keep the teeth pointed away from your hands, and use the proper spindle lock and wrench. After installation, turn the blade by hand while the saw is unplugged to check for rubbing.
Test the return spring and pivot action
The return spring lifts the cutting head after a cut. If the spring is broken, displaced, or under unusual tension, the head may feel stuck or move unevenly.
With the saw unplugged, lower the head a small amount and release it carefully. It should return upward in a smooth and controlled way. Do not remove the spring to inspect it unless you have the correct service instructions. A strong spring can release with enough force to cause injury.
Signs of spring trouble include:
- The head stays down.
- The handle feels unusually light.
- The head rises slowly.
- The spring makes a sharp scraping sound.
- The spring is visibly broken.
- The pivot moves sideways.
A damaged spring is not a good do-it-yourself experiment. Replacement springs must match the saw model and tension. A temporary wire repair can fail during a cut and allow the blade to move in an unsafe way.
A safe step-by-step troubleshooting method
When a miter saw blade won’t lower, use a simple process instead of changing several parts at once. This helps you find the real cause and avoid unnecessary repairs.
- Disconnect the saw from power.
- Release the transport or head lock.
- Check that the bevel lock is not binding.
- Inspect the lower blade guard.
- Brush dust from the pivot and hinge.
- Check the depth stop.
- Inspect the blade, washers, and arbor.
- Move the head slowly by hand.
- Look for rubbing, scraping, or side movement.
- Stop if the head remains stuck or parts look damaged.
Test the head only while the blade is stationary and the saw is disconnected. Once the head moves correctly, reconnect power and make a short test cut in scrap wood. Keep both hands outside the blade’s danger area and stand slightly to the side.
If the saw makes a new grinding noise, smells hot, trips a breaker, or vibrates, disconnect it again. These symptoms can point to motor, bearing, or electrical faults rather than a simple blocked head.

Common mistakes that make the problem worse
Forcing the handle is the most serious mistake. The handle is not a pry bar. Excess force can bend the arm, crack the housing, damage the spring, or move the blade into the guard.
Avoid these shortcuts:
- Do not run the saw while the head is stuck.
- Do not remove the blade guard.
- Do not spray random lubricant into the pivot.
- Do not hammer the transport lock.
- Do not use a larger blade.
- Do not hold the guard open during a cut.
- Do not test a suspected electrical fault while the saw is energized.
- Do not ignore a bent blade or cracked housing.
Another common error is adjusting the depth stop before checking the head lock. A user may turn several adjustment screws and lose the original setting. Start with simple external checks, then move toward parts that need tools or service.
The best repair is often the smallest repair. A clean pivot or released lock is safer than replacing parts without knowing what failed.
When to repair or replace parts
You can usually handle cleaning, basic inspection, and some blade changes if the manual supports them. More serious work needs a qualified repair technician or an authorized service center.
Seek professional help when:
- The pivot is bent.
- The return spring is broken.
- The guard is cracked.
- The motor housing has split.
- The arbor is loose.
- The blade shaft wobbles.
- The saw was dropped.
- Electrical wires are damaged.
- The head still will not lower after cleaning.
- The saw binds during a test cut.
Use the model number from the saw’s label when ordering parts. Similar-looking springs, guards, and locks may not fit or may have the wrong strength. Manufacturer parts lists and service manuals are more reliable than generic online listings.
A repair may cost less than a new saw, especially for a quality sliding compound miter saw. However, a severely bent frame or damaged motor may make replacement the safer choice.
How to prevent a stuck miter saw blade
Good maintenance keeps the cutting head moving like a clean door hinge. It also makes faults easier to spot before they become dangerous.
Use this short care routine:
- Vacuum dust from the pivot after each major project.
- Check the guard before every use.
- Store the saw with the head lock released when the manual recommends it.
- Keep the blade clean and sharp.
- Inspect the arbor and washers during blade changes.
- Confirm the depth stop before groove cuts.
- Protect the saw from rain and damp storage.
- Use dust collection when cutting MDF or treated lumber.
- Follow the service intervals in the owner’s manual.
In shop work, one lesson is clear: most “mystery” movement problems begin with dust, transport, or a part that was adjusted without checking the manual. I prefer to take a few minutes for a power-off inspection rather than lose an afternoon to a damaged guard or bent pivot.
A sharp blade also reduces strain. A dull blade makes the operator push harder, creates more heat, and produces more dust. Those effects can increase wear on the guard and pivot area.
Frequently Asked Questions About Miter Saw Blade Won’t Lower
Why won’t my miter saw blade go down?
The head lock, blade guard, depth stop, or pivot may be blocking movement. Unplug the saw, release the transport lock, clean the pivot, and inspect the guard before trying any adjustment.
How do I release a locked miter saw head?
Look for a transport pin, knob, or lever near the rear pivot or motor housing. Move the handle slightly while releasing the lock, and never force the mechanism with a hammer.
Can sawdust stop a miter saw blade from lowering?
Yes. Fine dust can pack into the pivot, guard hinge, or depth stop and restrict movement. Remove power, brush away the buildup, and inspect for hidden damage.
Is it safe to use a miter saw with a stuck blade guard?
No. The guard must move freely and cover the blade when the cutting head is raised. Replace a damaged or faulty guard before using the saw.
Why does my miter saw start down but stop halfway?
A depth stop, guard obstruction, blade washer, or bent part may be limiting travel. Check for rubbing marks and compare the adjustment with the instructions for your exact model.
Should I lubricate the miter saw pivot?
Only use lubricant if the manufacturer recommends it for that pivot. Some pivots use sealed bearings, and excess oil can trap abrasive dust.
When should I take the saw to a repair shop?
Get professional service if the spring, housing, arbor, wiring, or pivot is damaged. You should also stop and seek service if the head remains stuck after basic cleaning and lock checks.
Conclusion
A miter saw blade won’t lower because the cutting head is usually locked, blocked, dirty, misadjusted, or damaged. Start by disconnecting power, then inspect the transport lock, blade guard, pivot, bevel lock, depth stop, and blade installation in that order.
Never force the handle or bypass a safety guard. A careful inspection can solve a simple blockage, while professional service is the right choice for a broken spring, bent pivot, damaged arbor, or electrical fault. Use this guide with your model’s manual, and share your repair experience or questions in the comments.