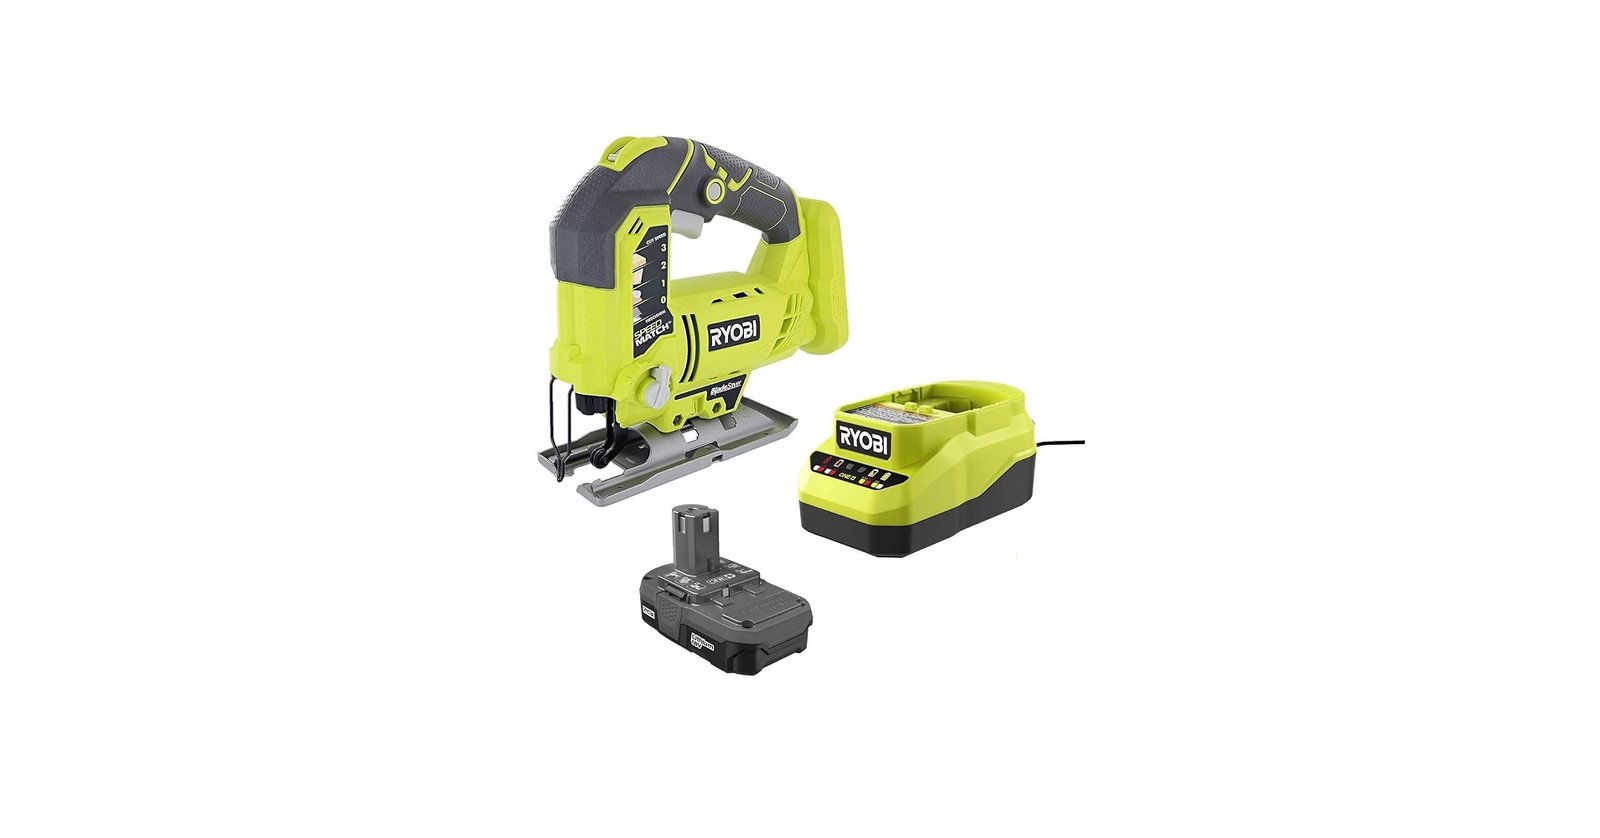
Ryobi Jigsaw Battery Not Charging: Easy Fixes That Work
A Ryobi jigsaw battery usually will not charge because of low temperature, dirty contacts, a bad charger, or a worn battery.
When a Ryobi jigsaw battery is not charging, the problem may be simple to fix. The battery, charger, tool contacts, and temperature all play a role. I have worked with many Ryobi ONE+ tools, and a careful check often finds the fault before a replacement is needed. This guide explains the causes, safe tests, repair options, and signs that the battery has reached the end of its life.
Why Is My Ryobi Jigsaw Battery Not Charging?
A Ryobi jigsaw battery may stop charging for several reasons. The most common cause is not the jigsaw itself. The issue often starts with the battery pack or charger.
Common causes include:
- The battery is too hot or too cold.
- The charger has no power.
- The battery contacts are dirty.
- The battery is not seated correctly.
- The charger or battery is damaged.
- The battery cells are deeply discharged.
- The battery has reached the end of its service life.
- The charger does not support that battery type.
- The battery protection circuit has shut down.
Ryobi ONE+ batteries use lithium-ion cells and built-in electronic protection. This system helps prevent overheating, overcharging, and deep discharge. However, it can also stop charging when the battery detects an unsafe condition.
A flashing green, red, or orange light can provide a clue. The exact light pattern may vary by charger model, so check the label on the charger or the manual for your battery series.

Check the Charger First
Before testing the battery, make sure the charger is working. A faulty outlet or power strip can make a good battery look defective.
Follow these steps:
- Plug another small device into the same outlet.
- Connect the Ryobi charger directly to the wall.
- Check that the charger’s power light turns on.
- Inspect the power cord for cuts, bends, or loose areas.
- Remove the battery and unplug the charger for one minute.
- Plug the charger back in and test it again.
Some Ryobi chargers show a green light when they have power. Other models use different light patterns. If the charger shows no light at all, the charger or outlet may be the problem.
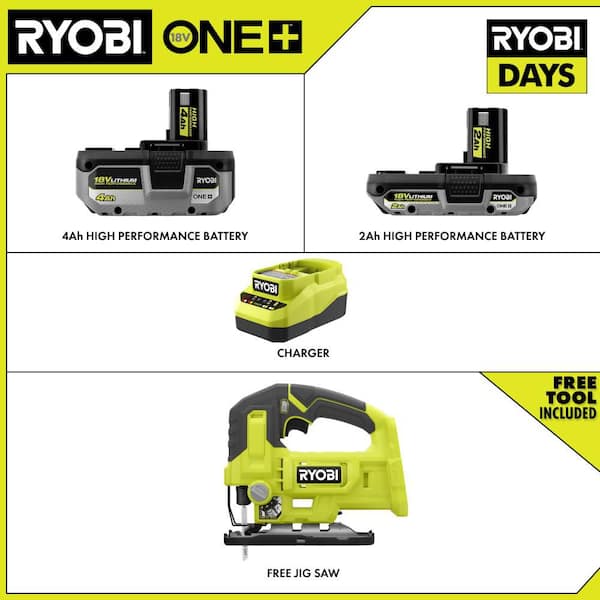
Try a second compatible Ryobi charger if one is available. This is one of the fastest ways to separate a charger problem from a battery problem. Do not use a charger from another brand unless it is specifically designed and approved for that battery system.
In my experience, users often replace a battery too soon. One damaged charger can cause every battery in the workshop to appear faulty.
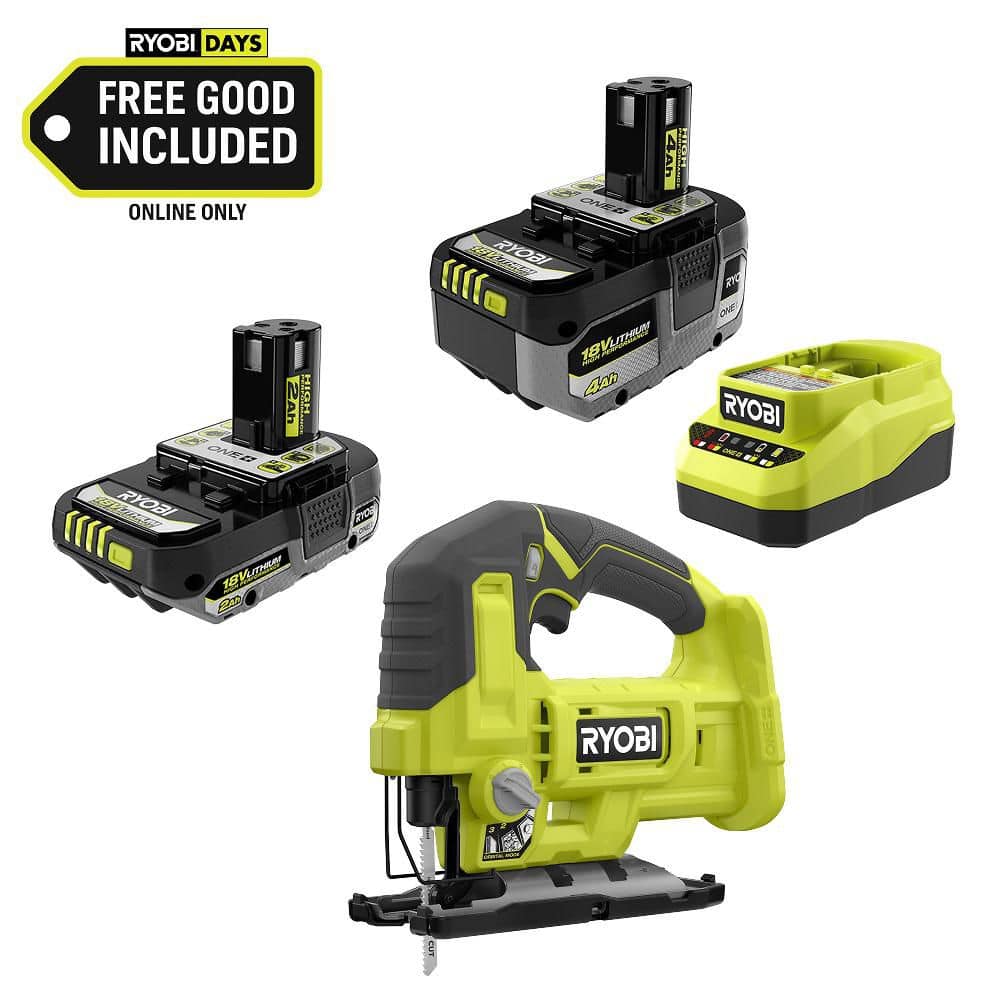
Let the Battery Reach Room Temperature
Temperature can prevent a Ryobi jigsaw battery from charging. Lithium-ion batteries need a safe temperature range for charging. A pack that is very hot after cutting wood may need time to cool down.
A cold battery may also refuse to charge. This can happen when the battery is stored in a garage, truck, or shed during winter.
Use this simple process:
- Remove the battery from the jigsaw.
- Place it in a dry indoor room.
- Let it sit for 30 to 60 minutes.
- Keep it away from heaters, ovens, and direct sunlight.
- Try the charger again when the pack feels normal to the touch.
Never heat a battery with a hair dryer or place it near an open flame. High heat can damage lithium-ion cells and create a serious fire risk.
If the battery feels swollen, smells strange, leaks, or becomes unusually hot, stop using it. Place it in a safe area away from flammable items and follow local battery recycling guidance.

Clean the Battery and Charger Contacts
Dirty contacts are a simple but common reason a Ryobi jigsaw battery is not charging. Sawdust, dust, and oxidation can block the electrical connection between the battery and charger.
Remove the battery from the charger before cleaning it. Then inspect the metal terminals on both parts.
You can use:
- A clean, dry cloth.
- A soft brush.
- A cotton swab.
- Compressed air used in short bursts.
Do not pour liquid into the charger. Avoid scraping the terminals with a knife or other sharp metal tool. Damaged contacts can create a poor connection or a short circuit.
If the contacts look dull, wipe them gently with a dry cloth. Make sure no dust remains inside the battery rails. Reinstall the battery firmly until it clicks into place.
A useful test is to remove and reseat the battery once or twice. If the charger light changes after you press the pack firmly into place, the issue may involve alignment, dirt, or worn plastic rails.
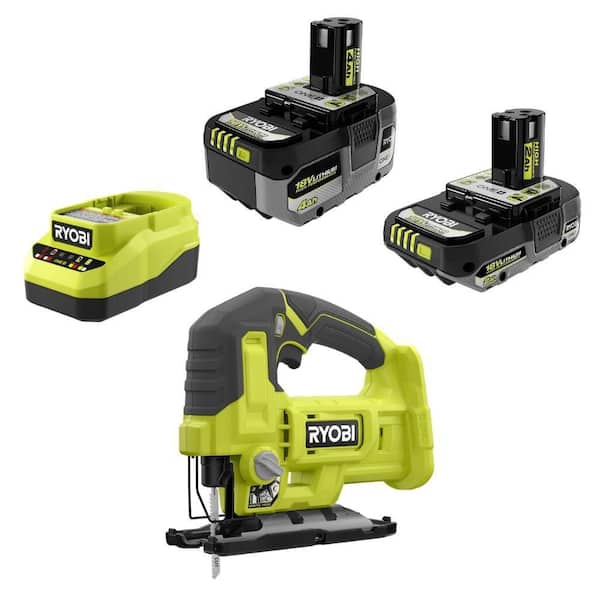
Inspect the Battery for Physical Damage
A damaged battery should not be forced back into service. Inspect the pack before trying more tests.
Look for:
- Cracks in the plastic case.
- A swollen or bulging body.
- Melted areas.
- Burn marks near the contacts.
- Loose parts inside the case.
- A strong chemical smell.
- Water or oil damage.
A battery that fell from a roof or was crushed by a tool may have hidden damage. It may still power a jigsaw for a short time, but that does not mean it is safe to charge.
Do not open the battery pack. Inside are lithium-ion cells, wiring, and a protection circuit. Opening the case can cause a short circuit and may void the warranty.
If the battery is damaged, take it to a battery recycling center or an approved collection point. Do not place a damaged lithium battery in household trash.

Reset the Charging Connection
Sometimes the battery protection system needs a fresh connection. This does not repair damaged cells, but it can clear a temporary charging issue.
Try the following:
- Remove the battery from the charger.
- Unplug the charger from the wall.
- Wait at least one minute.
- Plug the charger into the wall again.
- Insert the battery with firm, even pressure.
- Leave it on the charger for 30 minutes.
Do not repeatedly remove and insert the pack every few seconds. The charger needs time to read the battery temperature and voltage.
If the charger has a diagnostic light, watch it during this test. A normal charging light suggests that the charger recognizes the pack. A fault light may point to a temperature issue, damaged contacts, or an internal battery fault.
This step may help when a Ryobi jigsaw battery is not charging after a long period of storage. It will not safely revive a battery with failed cells.
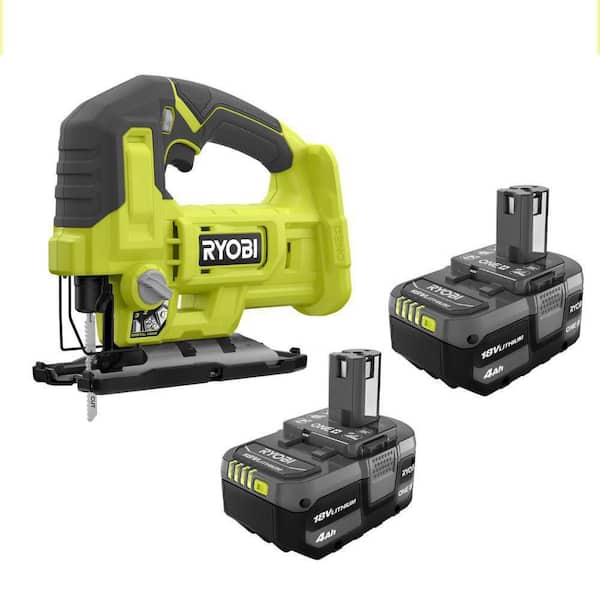
Test the Battery on Another Ryobi Tool
A Ryobi jigsaw may have a tool-side problem, even when the battery is healthy. Test the battery on another compatible ONE+ tool if you have one.
A drill, work light, fan, or impact driver can help with this test. Use a tool that is known to work with the same battery voltage and platform.
The results can help you identify the fault:
- The battery works on another tool but will not charge: inspect the charger and battery contacts.
- The battery will not power any tool and will not charge: the battery may be deeply discharged or defective.
- Another battery powers the jigsaw: the original battery is likely the problem.
- No battery powers the jigsaw: inspect the jigsaw contacts, trigger, and internal electronics.
Keep the test brief. Do not run a tool until a weak battery becomes completely empty. Deep discharge can make lithium-ion battery problems worse.
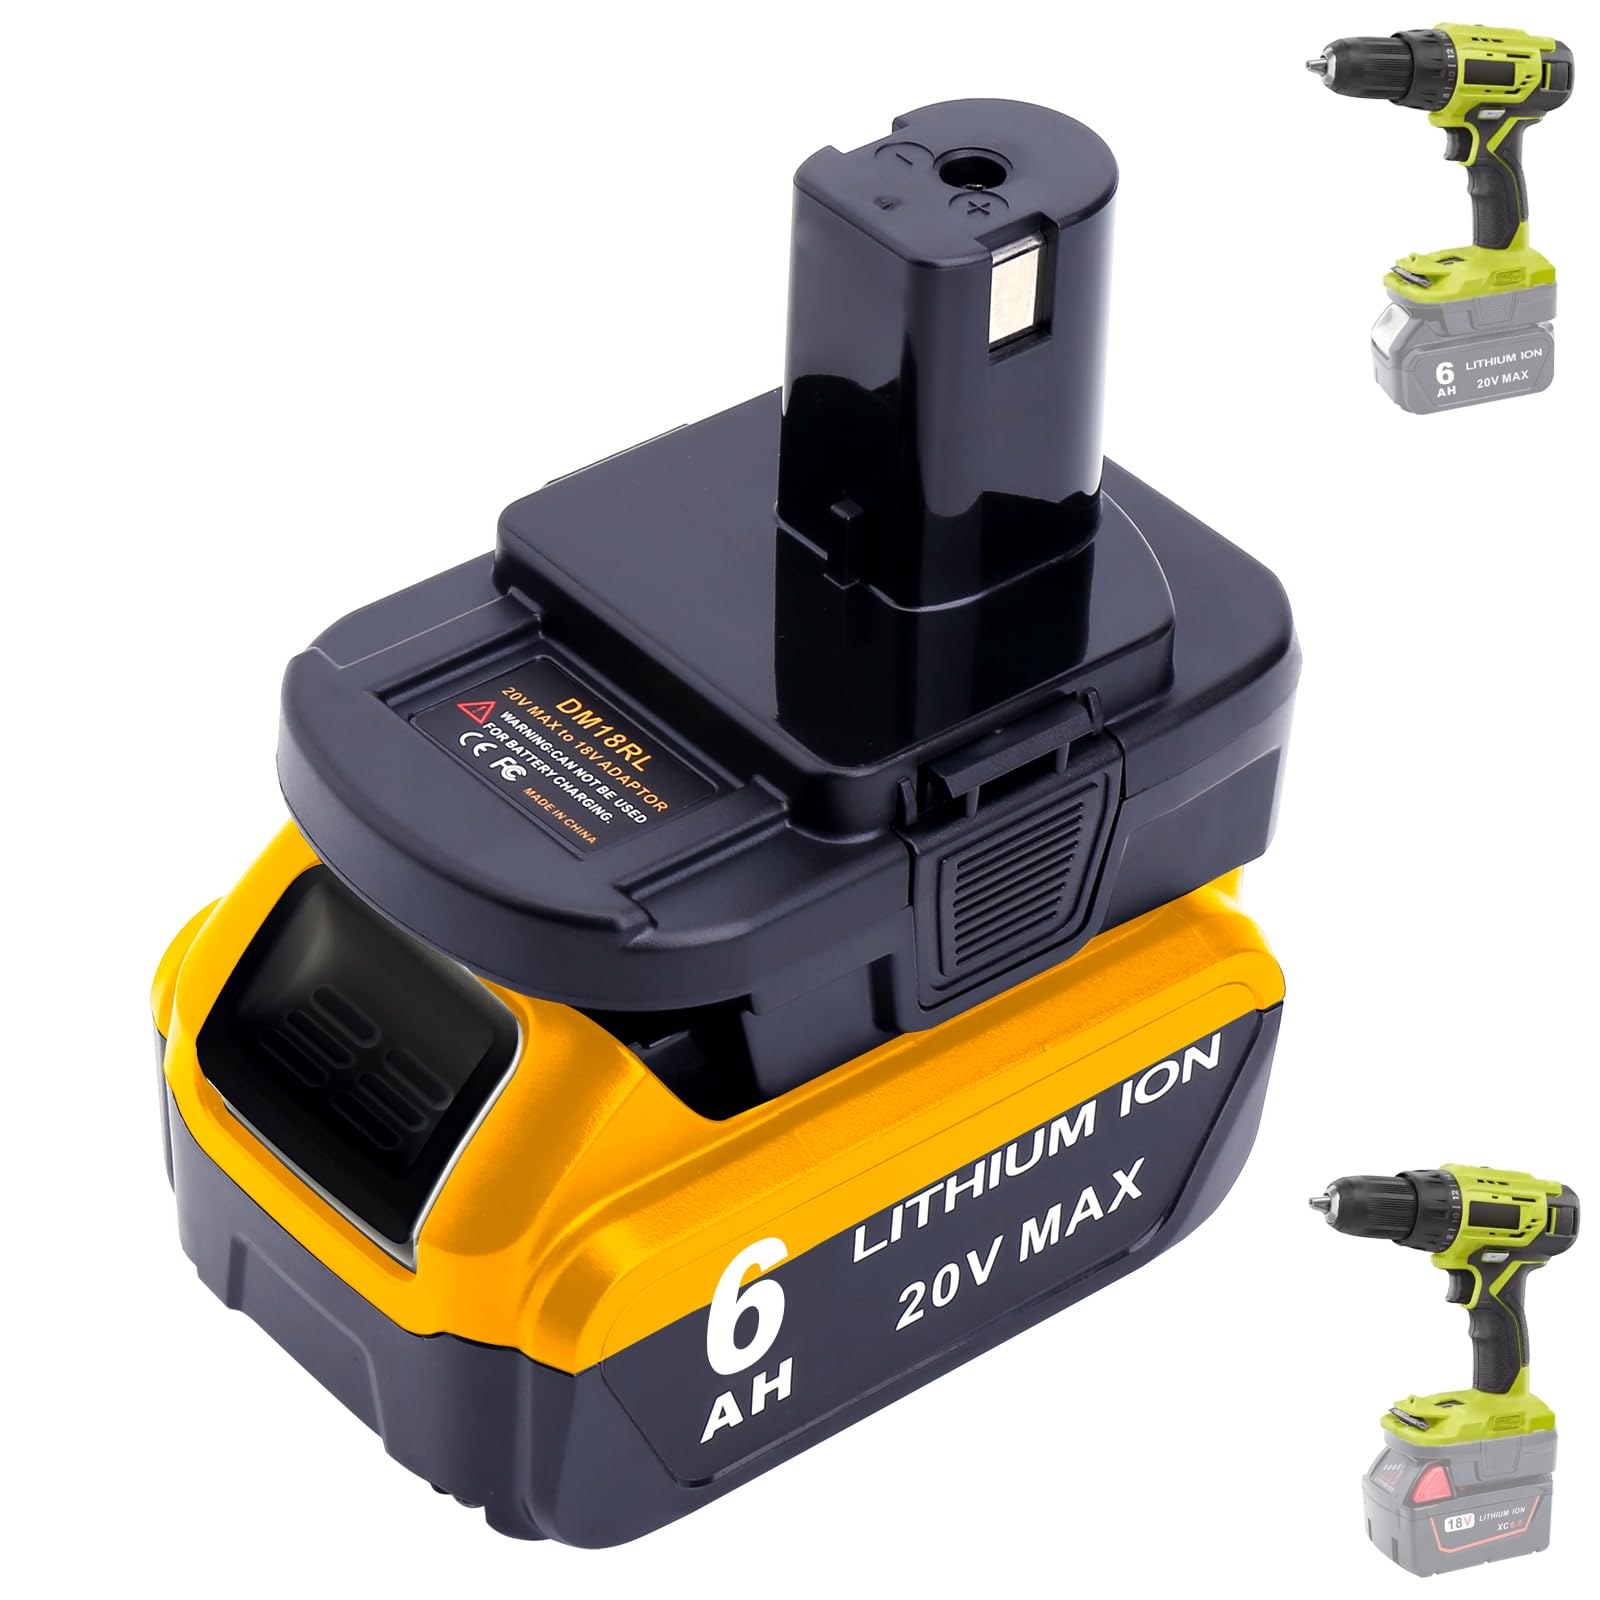
Ryobi battery families can look similar, but compatibility still matters. Check the markings on the battery and the tool before testing. Do not modify the rails or terminals to make a pack fit.
Understand the Charger Light Codes
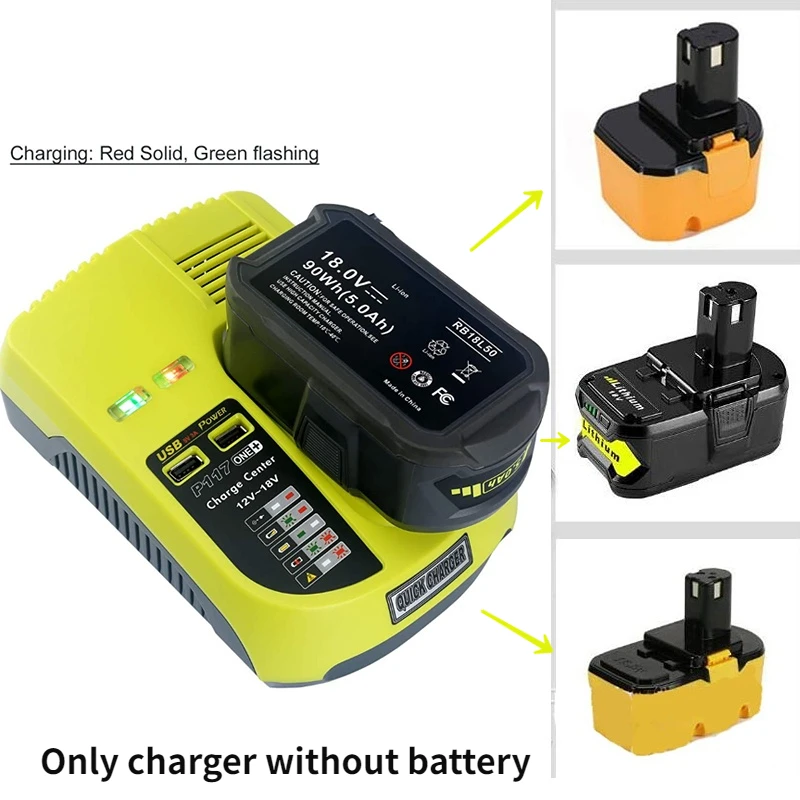
Ryobi chargers use light patterns to show battery status. The meaning depends on the charger model, so the printed guide on the charger is the best reference.
In general:
- A steady green light often indicates a charged battery.
- A flashing green light often indicates charging.
- A red or orange warning light may indicate a temperature or battery fault.
- No light may indicate no power, poor contact, or a charger problem.
Some chargers pause when a battery is too hot or too cold. They may resume charging after the battery returns to a safe temperature.
If the light pattern repeats with several known-good batteries, the charger may be defective. If one battery causes the fault while other batteries charge normally, the battery is the stronger suspect.
Do not rely on color alone. Check the charger model number and its instructions. Light codes are useful clues, but they are not a complete electrical diagnosis.
Can a Deeply Discharged Battery Be Fixed?
A deeply discharged battery may not begin charging right away. The charger may reject it because its voltage is below the safe charging limit.
This often happens when a battery is left inside a tool for months. It can also happen after long use with a high-load tool such as a jigsaw cutting thick hardwood.
Do not use a homemade “jump start” method. Never connect the pack to another battery, a car battery, a power supply, or exposed wires. This can bypass the battery protection system and cause overheating or fire.
Use only the correct Ryobi charger. Leave the pack on the charger for the normal charging period while monitoring it from a safe location. If the charger still rejects the battery, replace or professionally assess the pack.
A battery that appears to recover may still have damaged cells. It can lose power quickly, become hot, or fail again. Safe replacement is usually better than taking a risk with an unstable pack.
When the Battery Has Reached the End of Its Life
Rechargeable batteries lose capacity over time. The number of charge cycles, storage conditions, heat, workload, and age all affect battery life.
Signs of an aging Ryobi jigsaw battery include:
- It runs for only a few minutes.
- The jigsaw loses power during light cuts.
- The battery takes much longer to charge.
- The pack becomes hot during normal use.
- The charger rejects it repeatedly.
- The battery shows physical swelling.
- The runtime is much shorter than a similar new pack.
A high-capacity battery may run a jigsaw longer, but it can also cost more and weigh more. Choose a genuine, compatible replacement from a trusted seller. Counterfeit battery packs may use poor cells or weak safety controls.
Record the date when you buy a new battery. This simple habit helps you track performance and notice a steady decline.
Check the Ryobi Jigsaw Itself
If multiple batteries fail to power the jigsaw, inspect the tool. A damaged jigsaw can make a good battery seem defective.
Check the following areas:
- Battery rails and terminals.
- The trigger or power switch.
- The battery release mechanism.
- Signs of sawdust inside the battery slot.
- Burn marks or a melted smell.
- Unusual noise from the motor.
- A loose battery connection during use.
Remove the battery before cleaning or inspecting the tool. Use a soft brush or compressed air to remove dry dust. Do not spray cleaner into the motor, switch, or battery compartment.
A jigsaw that stops under load may have a motor, switch, or electronic control problem. It may also be binding because of a dull blade or heavy cutting pressure. In that case, the battery may be working correctly.
If the tool has a warranty, contact an authorized service provider before opening it. Internal repairs can create more damage and may remove warranty coverage.
Safe Charging and Storage Tips
Good care can help prevent another Ryobi jigsaw battery charging problem. Store batteries in a cool, dry place away from sunlight and moisture.
Follow these habits:
- Remove the battery from the tool after use.
- Let a hot pack cool before charging.
- Keep the battery away from metal objects.
- Use the correct Ryobi charger.
- Do not cover the charger during operation.
- Avoid storing batteries in a freezing garage.
- Charge batteries on a hard, nonflammable surface.
- Keep batteries away from children and pets.
- Recycle old batteries through an approved program.
Do not store a lithium-ion battery beside nails, screws, coins, or other metal items. These objects can bridge the terminals and create a dangerous short circuit.
For long storage, follow the battery maker’s guidance. Many lithium-ion packs last better when stored partly charged rather than fully empty. Check the battery every few months and never store a damaged pack.
Mistakes to Avoid
Several quick fixes found online can be unsafe. Avoid any method that bypasses the charger or battery protection circuit.
Do not:
- Put the battery in a freezer.
- Heat the battery with a hair dryer.
- Hit or shake the battery.
- Open the battery case.
- Connect wires to the terminals.
- Use a mismatched charger.
- Leave a damaged pack charging overnight.
- Spray water or cleaner into the charger.
- Force the battery into the tool.
One mistake I have seen often is holding the battery in place while the charger runs. This may hide a worn rail or dirty contact, but it does not solve the problem. If the pack needs pressure to charge, stop and inspect the connection.
The safest repair is the one that finds the cause without defeating built-in protection.
A Simple Diagnostic Checklist
Use this checklist when your Ryobi jigsaw battery is not charging:
- Confirm that the wall outlet works.
- Check the charger power light.
- Inspect the charger cord and case.
- Let the battery reach room temperature.
- Look for cracks, swelling, leaks, or burn marks.
- Clean the battery and charger contacts.
- Reseat the battery firmly.
- Test another compatible battery on the charger.
- Test the battery on another Ryobi ONE+ tool.
- Read the charger’s light code.
- Stop using any pack that shows damage.
- Replace the battery or charger when testing confirms the fault.
This process avoids guesswork. It also prevents you from buying a new battery when the real issue is a charger or tool.
Frequently Asked Questions About Ryobi Jigsaw Battery Not Charging
Why is my Ryobi jigsaw battery flashing red and green?
A red and green warning pattern often means the charger detects a temperature, contact, or battery fault. Let the battery reach room temperature, clean the contacts, and test it again using the correct charger.
How long should a Ryobi jigsaw battery take to charge?
Charging time depends on the battery capacity and charger model. A small pack may charge faster than a high-capacity pack, so use the charger indicator and the instructions for your specific model.
Can I charge a Ryobi battery without a charger?
No. Use the correct Ryobi charger made for the battery platform. Connecting the pack to wires, a power supply, or another battery can cause a short circuit, fire, or serious injury.
Why does my Ryobi charger work with one battery but not another?
The battery that fails may have dirty contacts, excessive heat, deep discharge, damaged cells, or an internal protection fault. If cleaning and temperature checks do not help, the battery may need replacement.
Can a Ryobi jigsaw battery be repaired?
Some battery issues can be diagnosed, but opening or rebuilding a lithium-ion pack is not a safe home repair. A damaged or failed pack should be replaced or handled by a qualified battery service provider.
Is it safe to leave a Ryobi battery on the charger overnight?
Use the charger as directed and avoid charging damaged batteries or charging in unsafe areas. For best practice, charge on a hard, clear surface and remove the battery when the normal charge cycle is complete.
Why does my Ryobi battery charge but not run the jigsaw?
The battery may have low capacity, weak cells, dirty tool contacts, or a fault in the jigsaw. Test the battery on another compatible tool and test another known-good battery in the jigsaw.
Conclusion
A Ryobi jigsaw battery not charging is usually caused by temperature, dirty contacts, a faulty charger, deep discharge, or battery wear. Start with the safe checks: test the outlet, inspect the charger, let the battery reach room temperature, clean the contacts, and compare it with another compatible battery.
Never open the battery or try to jump-start it with wires. If the pack is swollen, cracked, hot, or leaking, stop using it and recycle it through an approved program. Work through the checklist calmly, then choose a genuine replacement when the evidence points to battery failure. Share your charging symptoms or light pattern in the comments, and explore more tool care guides to keep your Ryobi equipment working safely.