Sliding Miter Saw Won’t Slide Smoothly: Fixes That Work
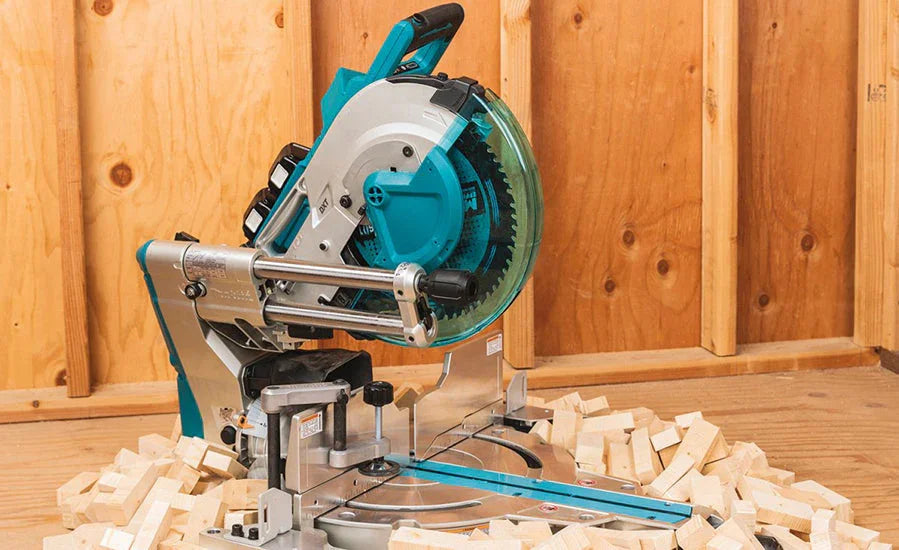
A sliding miter saw won't slide smoothly when dust, dry rails, bent parts, or poor alignment restrict the carriage.
A smooth sliding action is vital for clean crosscuts, safe control, and accurate bevel work. When a sliding miter saw won't slide smoothly, the cause is often simple, such as packed sawdust or a loose rail, but it can also point to worn bearings or damage. This guide explains how to find the fault, fix it safely, and prevent the problem from returning.
Why a Sliding Miter Saw Won’t Slide Smoothly
A sliding miter saw uses rails, guide bearings, and a carriage to move the blade forward and back. These parts must stay clean, straight, and correctly adjusted. Even a small amount of dust can make the motion feel rough.
The most common causes include:
- Sawdust packed around the rails or guide tubes
- Resin from cutting pine, cedar, or treated lumber
- Dry or damaged guide bearings
- Bent rails or misaligned tubes
- Loose carriage bolts
- A locked or partly locked slide mechanism
- Rust or surface corrosion
- A worn slide assembly
- The saw sitting on an uneven stand
- A damaged stop, spacer, or internal bushing
A sliding miter saw won't slide smoothly when the carriage has to fight friction. Think of the rails like a clean drawer track. If dirt fills the track, the drawer may still move, but it will stick, jerk, or need extra force.
In my experience, users often blame the motor or blade first. Yet the motor usually has little to do with the slide action. The problem is normally in the mechanical path between the handle and the rear rail system.
Safety Checks Before You Inspect the Saw
Always unplug the saw before touching the rails, bearings, blade area, or carriage. Removing the battery is also important on cordless models. Do not rely only on the trigger lock or power switch.
Wear safety glasses when brushing away packed dust. Fine wood particles can fall from the rail housing even when the saw looks clean.
Before testing the slide, check these points:
- Unplug the saw or remove its battery.
- Remove the workpiece and clear the table.
- Lower the blade guard only as instructed by the manual.
- Lock the miter and bevel controls if they could move.
- Keep your fingers away from pinch points.
- Never spray cleaner near the motor, switch, or electronics.
- Test the saw with the blade stopped and unplugged.
A stiff slide can tempt you to pull harder. Avoid that. Sudden movement can make the carriage jump, damage the bearings, or pull your hand toward the blade area. Safe inspection is slower, but it prevents a small repair from becoming a serious injury.
Step 1: Check the Slide Lock and Controls
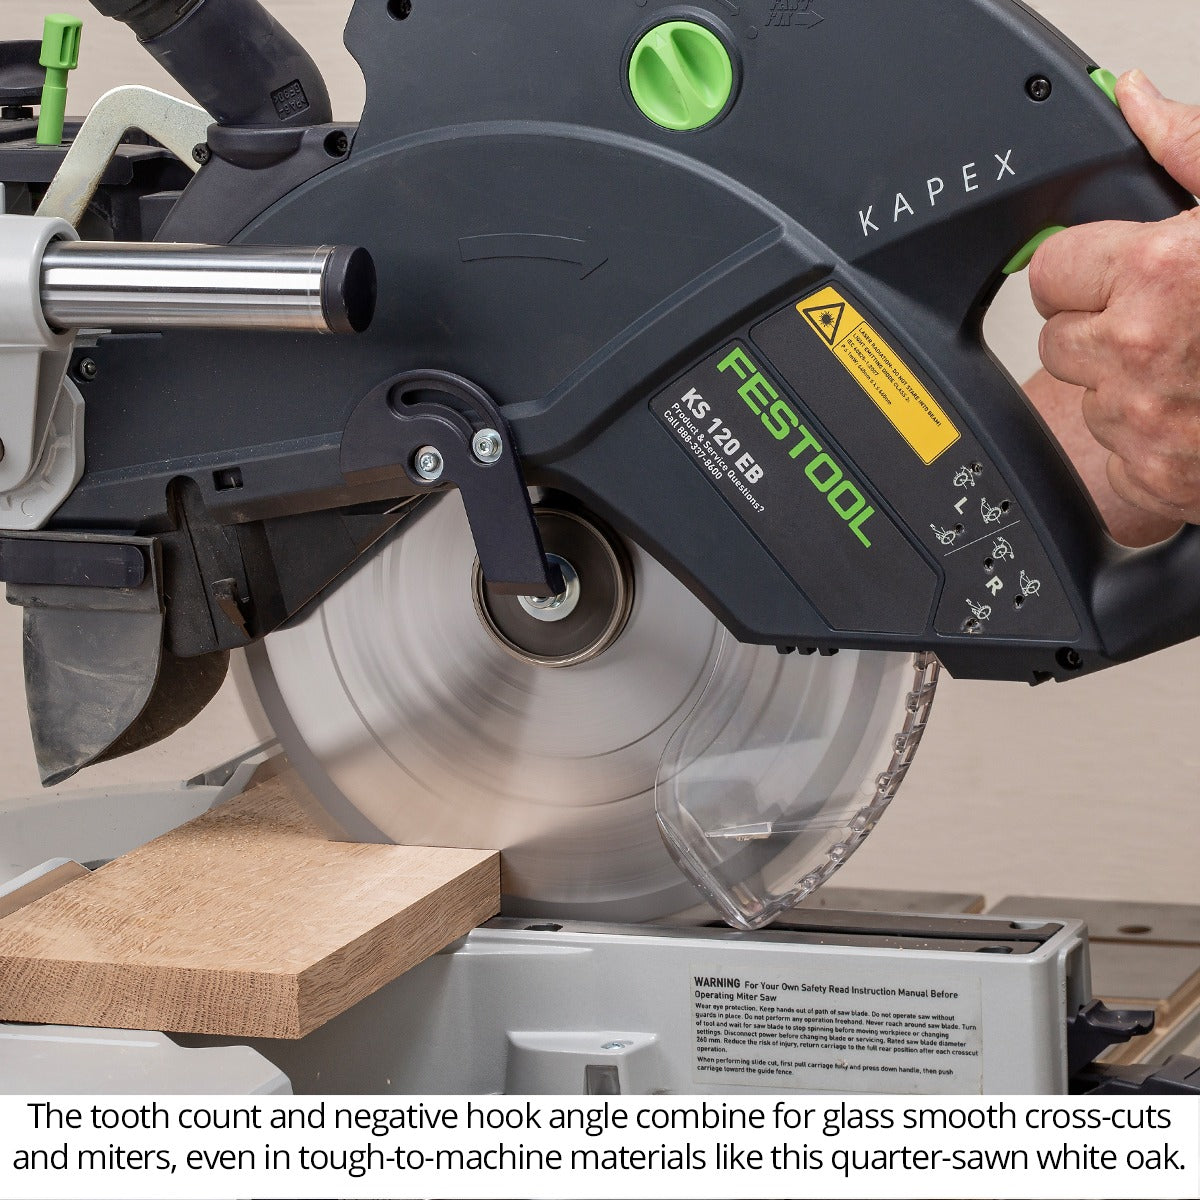
Many sliding miter saws have a slide lock knob or transport lock. This lock holds the carriage in place during storage and transport. If it is tight, partly engaged, or damaged, the saw may move only with great effort.
Look behind the saw and find the slide lock. Turn it in the release direction shown in the owner’s manual. Do not force it past its normal range.
Also inspect the following controls:
- Bevel lock
- Miter lock
- Head travel stop
- Depth stop
- Rail release or transport pin
- Carriage tension adjustment
Move the carriage gently after each possible lock is released. If the slide suddenly becomes free, the lock was the problem.
A common mistake is to loosen a random bolt because the slide feels tight. That can change the saw’s alignment and create a more serious issue. Adjust only parts identified as slide controls in the manual.
Step 2: Clean the Rails and Carriage
Cleaning is the best first repair when a sliding miter saw won't slide smoothly. Dust often collects where the rails enter the rear housing. Resin can then mix with dust and form a sticky film.
Use a dry brush, vacuum, or clean compressed air to remove loose debris. If you use compressed air, wear eye protection and avoid driving dust deeper into the bearing housing.
Clean these areas:
- Exposed guide tubes
- Rail entry points
- Carriage brackets
- Bearing covers
- Dust pockets behind the motor housing
- The underside of the slide assembly
For sticky resin, use a small amount of a cleaner approved for the saw’s materials. Apply it to a cloth rather than spraying it directly into the housing. Wipe the rail, then dry it fully.
Do not use heavy grease unless the manufacturer specifically calls for it. Grease can attract sawdust and create a grinding paste. Many modern saws use sealed bearings or dry guide surfaces that need cleaning, not oily lubrication.
After cleaning, move the carriage slowly from front to back. Do not plug in the tool yet. Feel for rough spots, tight areas, or a repeating click.

Step 3: Inspect the Rails for Damage
A clean rail will not solve the problem if it is bent, scored, or out of line. Inspect both rails under a bright light. Look for dents, deep scratches, rust spots, and shiny areas where a bearing may be rubbing too hard.
Place a straightedge along the rail if the design allows it. The tube should appear straight and parallel to the other guide. Even a small bend can cause the carriage to bind at one point in its travel.
Watch for these signs:
- The carriage sticks in the same place every time
- The slide is smooth in one direction but rough in the other
- One rail has visible scoring
- The carriage rocks from side to side
- The saw makes a clicking or grinding sound
- The rails look uneven inside their housings
Never hammer a rail back into shape while it is installed. This may damage the carriage or change the cutting alignment. A bent rail often needs replacement, especially if the saw is still under warranty.
If the saw fell from a bench or was hit during transport, rail damage is more likely. In that case, stop using it until you confirm that the blade still tracks correctly.
Step 4: Examine the Bearings and Bushings
Guide bearings support the carriage as it travels along the rails. Some saws use sealed ball bearings. Others use bushings, rollers, or a mixed system. These parts can wear, seize, or become contaminated.
With the saw unplugged, move the carriage slowly and listen. A smooth bearing produces little sound. A damaged bearing may create a dry scrape, click, rumble, or gritty feeling.
Check for:
- Side-to-side play in the carriage
- A bearing that does not turn
- Cracked bearing covers
- Metal dust near the rail
- Uneven pressure on one rail
- A carriage that drops or twists when pulled forward
Do not open sealed bearings or pack them with grease. Sealed units are usually replaced as complete parts. If a bushing requires lubrication, use only the product and amount specified by the manufacturer.
A sliding miter saw won't slide smoothly when one bearing begins to fail, even if the rails look clean. The carriage may still move, but it will feel rough and may not return to the same position each time.
Step 5: Check Carriage Alignment and Loose Fasteners
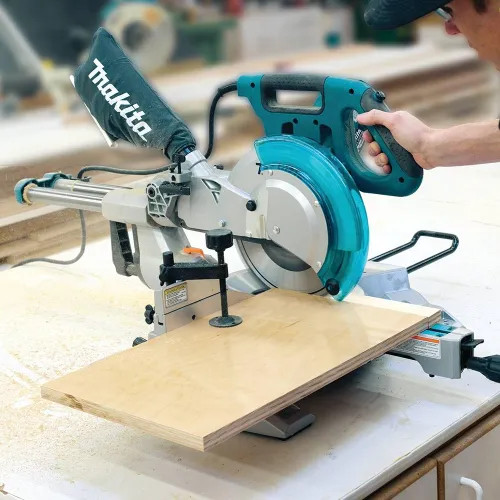
Loose fasteners can let the carriage shift out of alignment. This creates extra pressure on the rails and makes the slide feel tight. It may also cause inaccurate cuts.
Inspect the bolts around the rail mounts and carriage brackets. Look for gaps, shifted parts, or shiny marks that show movement. Tighten loose fasteners carefully, using the torque guidance in the owner’s manual when available.
Do not overtighten them. Excess force can distort a rail housing or damage threads. Tighten each fastener evenly so the carriage remains square.
After any adjustment, check the saw’s accuracy:
- Pull the carriage forward and return it.
- Place a square against the fence and blade.
- Check a test cut on scrap wood.
- Repeat the cut with the carriage in a different position.
- Compare the results.
If the cut changes when the carriage moves, the slide system may still be misaligned. A saw that slides easily but cuts out of square is not fully repaired.
Step 6: Lubricate Only When the Manual Allows It
Lubrication can help some sliding miter saws, but it can harm others. The correct choice depends on the rail design and the manufacturer’s instructions.
Before applying anything, read the maintenance section of the manual. Look for the exact words used for the guide tubes, bearings, bushings, or carriage.
Possible products may include:
- A light machine oil for approved pivot points
- Dry film lubricant for specific guide surfaces
- Manufacturer-supplied grease for open gears
- A clean, dry cloth for sealed rail systems
Avoid common household sprays unless the manual approves them. Penetrating oils may reduce friction for a short time, but they can also leave residue that attracts dust. Silicone sprays may work on some surfaces but can contaminate areas that need a dry grip.
Apply a tiny amount to a cloth, not a large stream to the saw. Move the carriage several times, then wipe away all excess. The rail should feel clean, not wet.
If lubrication makes the slide better for one day and worse the next, residue is likely trapping dust. Clean the rails again and inspect the bearings instead.
What Not to Do When the Slide Binds
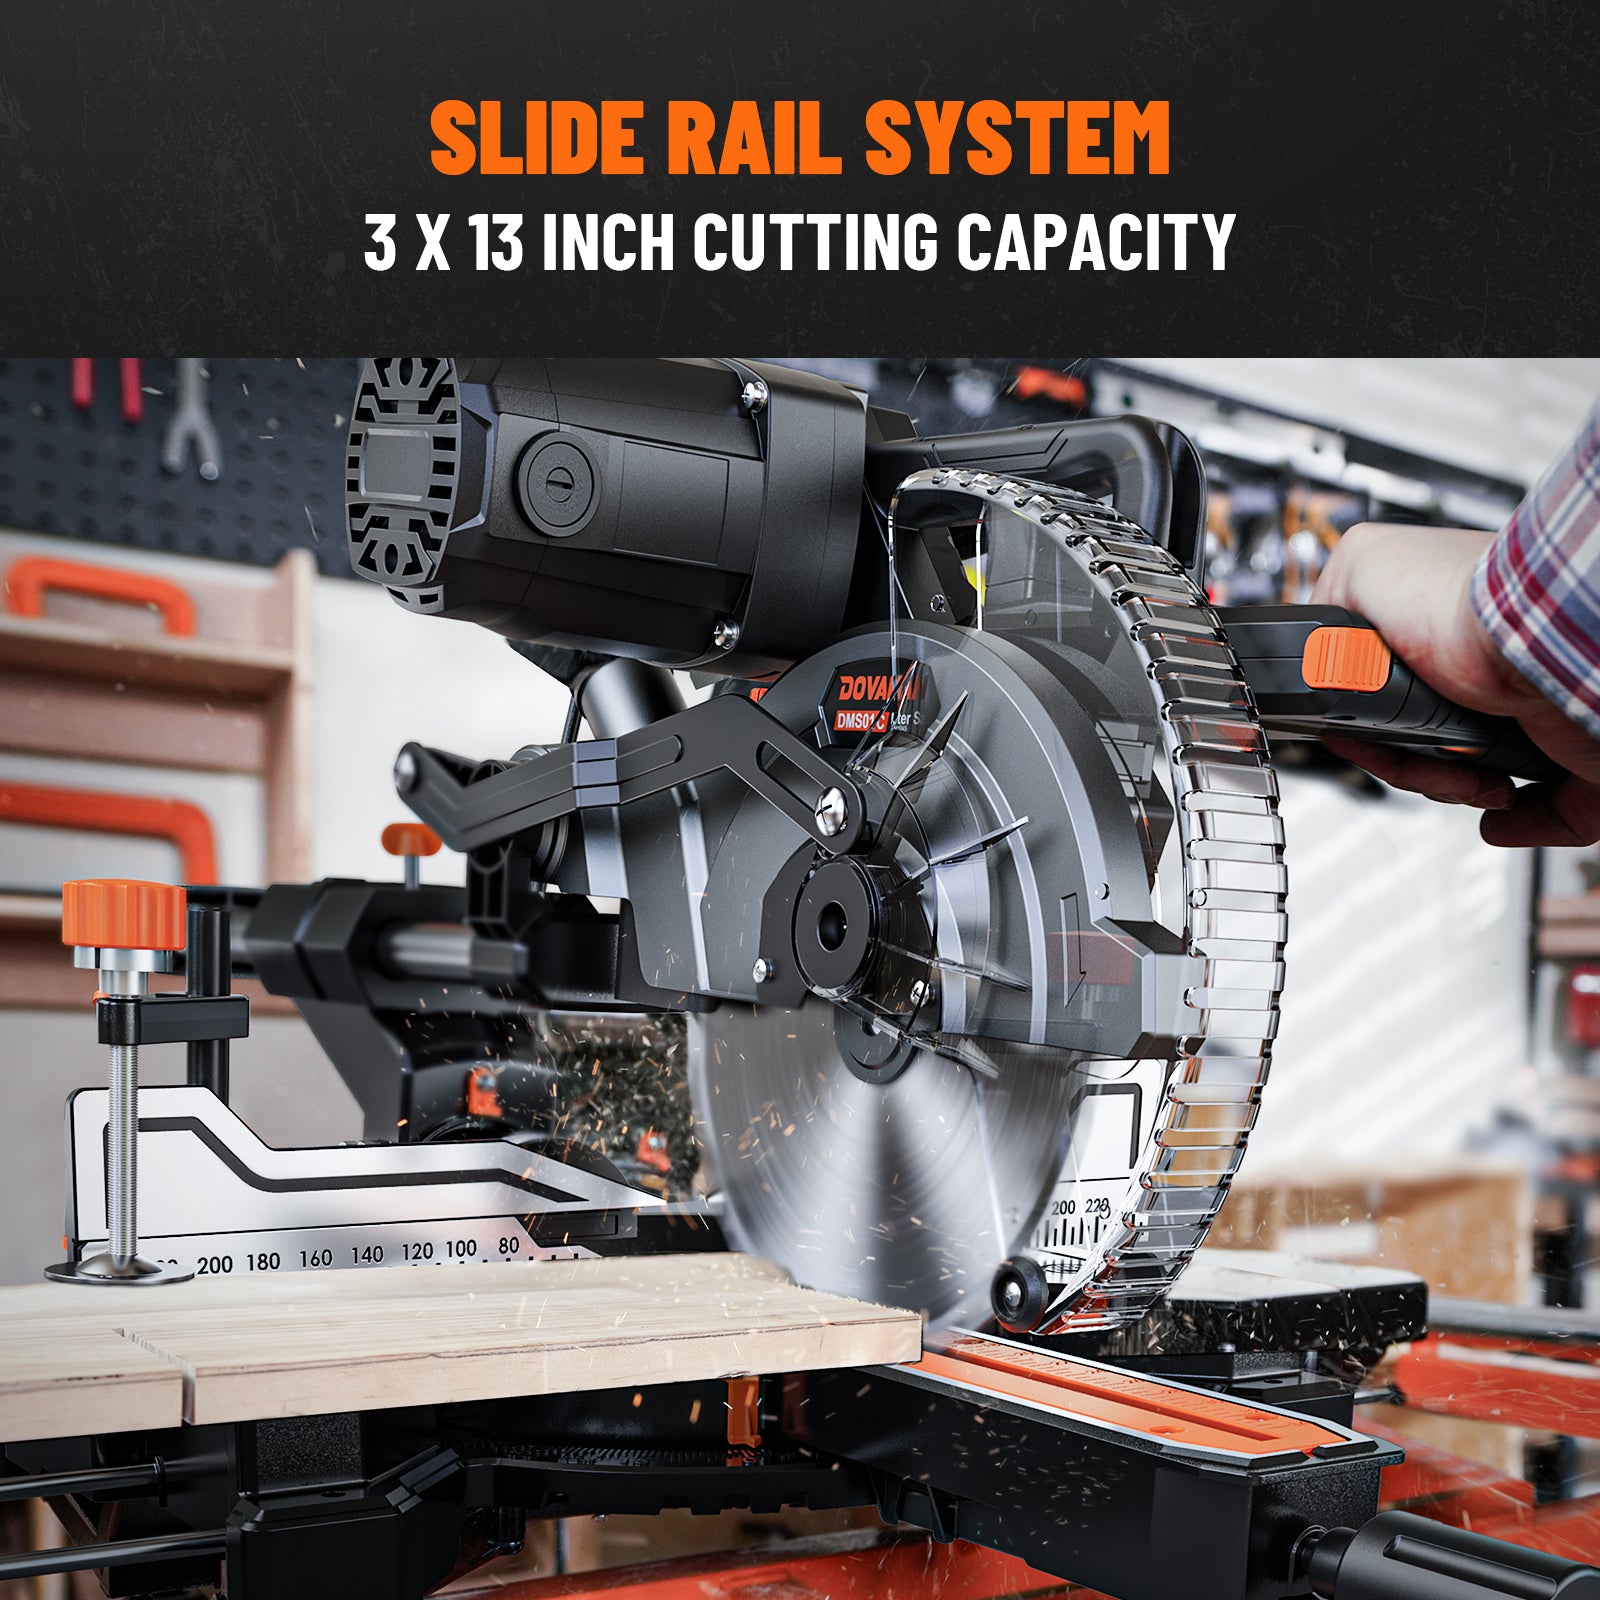
A few quick fixes can create long-term damage. Avoid forcing the carriage or changing adjustments without knowing their purpose.
Do not:
- Pull the carriage with sudden force
- Strike the rails with a hammer
- Sand precision rails
- Apply thick grease to dusty guide tubes
- Spray cleaner into the motor housing
- Operate the saw with a loose carriage
- Ignore grinding sounds
- Use the saw after a major fall
- Remove safety guards to gain access
- Continue cutting if the blade wanders
I once saw a user solve a stiff slide by applying a heavy layer of automotive grease. The carriage felt smooth at first. Within a few sessions, the grease held a paste of fine dust, and the rails became harder to clean than before. A dry, clean surface would have been the better fix.
How to Tell Whether You Need Professional Repair
Some repairs are suitable for a careful home user. Others require a trained technician or replacement assembly. Stop troubleshooting when the fault involves structural damage, electrical parts, or major alignment work.
Professional service is wise when:
- A rail is bent or deeply scored
- The carriage has excessive side play
- A bearing is seized inside its housing
- The saw was dropped
- The blade no longer returns square
- A motor or switch is also malfunctioning
- The repair requires removing the blade guard system
- The saw is still covered by warranty
Check the parts diagram for your exact model before ordering anything. Sliding miter saw parts are not universal. A bearing that looks similar may have a different size, seal, or mounting method.
A repair shop can also check arbor alignment, fence squareness, bevel accuracy, and blade runout. This matters because a smooth slide does not guarantee a safe or accurate saw.
How to Prevent a Sliding Miter Saw From Binding
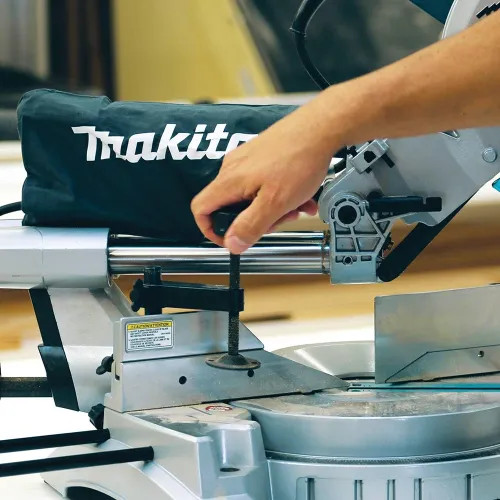
Regular care keeps the slide system clean and reduces wear. You do not need a complex maintenance routine. A few minutes after heavy use can make a large difference.
Follow these habits:
- Vacuum the saw after each major project.
- Wipe exposed rails with a clean, dry cloth.
- Remove resin before it hardens.
- Store the carriage in the manufacturer’s recommended position.
- Use the transport lock when moving the saw.
- Keep the tool covered in a dry space.
- Inspect the rails before cutting long stock.
- Do not rest heavy items on the carriage.
- Use proper dust collection.
- Check fasteners and accuracy at regular intervals.
Fine dust from MDF and plywood is especially persistent. Good dust collection helps protect your lungs and keeps particles out of the slide mechanism. Use respiratory protection that is suitable for fine wood dust, along with local dust extraction.
Temperature and humidity also matter. A damp workshop can promote surface rust, while a dry, dirty shop can fill the rail housing with powder. Store the saw away from direct moisture and wipe metal surfaces before long storage.
A Simple Maintenance Schedule
A maintenance schedule helps you find small faults before they become expensive. Adjust the timing based on how often you use the saw and what materials you cut.
Before each use
Check that the slide lock is released, the rails look clean, and the carriage moves without unusual resistance. Confirm that the blade guard and table controls work as intended.
After dusty work
Vacuum the table and rail area. Wipe the guide tubes and remove dust from the rear housing. Do not leave resin or damp chips on the saw overnight.
Every few months
Inspect fasteners, rail surfaces, carriage play, and cutting accuracy. Test both a straight crosscut and a miter cut on scrap wood.
After transport or a fall
Inspect the complete saw before plugging it in. Check the rails, fence, blade, guard, handle, and table. If anything is bent or loose, do not use the tool until it is repaired.
Frequently Asked Questions About a Sliding Miter Saw Won’t Slide Smoothly
Why is my sliding miter saw hard to pull forward?
Dust, resin, a tight slide lock, or damaged bearings are common causes. Unplug the saw, release the lock, clean the rails, and check for rough spots before trying any lubricant.
Should I grease the rails on my sliding miter saw?
Not usually. Many saws use sealed bearings or guide surfaces that should remain clean and dry, while some models need a specific lubricant in certain points. Follow the maintenance instructions for your exact model.
Can sawdust make a sliding miter saw stop sliding?
Yes. Fine sawdust can collect inside the rail entry points and combine with resin. This creates friction and may prevent the carriage from moving smoothly.
How do I know if the rails are bent?
A bent rail often causes the carriage to stick in the same location or move unevenly. Visible dents, deep scratches, rail misalignment, and changing cut accuracy are also warning signs.
Is it safe to use a miter saw that slides roughly?
It is better to stop using it until you find the cause. A rough slide can cause sudden movement, inaccurate cuts, excess bearing wear, and loss of control.
Why does the slide work smoothly in one direction only?
The carriage may be misaligned, one bearing may be damaged, or one rail may have a defect. Clean the system first, then inspect for side play, scoring, and a repeating tight spot.
Can I repair the slide assembly myself?
Basic cleaning and inspection are often suitable for a careful owner. Rail replacement, bearing replacement, and major alignment work should follow the service manual or be handled by a qualified technician.
Conclusion
A sliding miter saw won't slide smoothly because something is adding friction or changing the carriage alignment. Start with the simple checks: release the slide lock, clean the rails, inspect for resin and dust, and look for damaged bearings or bent tubes.
Do not force the carriage or cover the rails with heavy grease. A clean, correctly aligned slide should move with steady pressure and should return without grinding, rocking, or sticking. Take a few minutes to test the saw with scrap wood after every repair, and replace damaged parts instead of working around them.
Use this guide to inspect your saw safely, then explore your model’s maintenance manual for exact adjustment and replacement details. Share your repair experience or questions in the comments so other woodworkers can learn from it too.