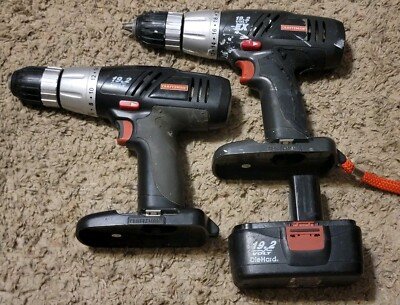
Craftsman Drill Trigger Not Working: Quick Fixes
A dead battery, locked switch, worn contacts, or damaged wiring can stop a Craftsman drill trigger from working.
When a Craftsman drill trigger not working issue appears, the cause may be simple, such as a low battery, or more serious, such as a failed speed control switch. This guide explains how to find the fault safely, test each likely cause, and decide whether cleaning, repair, or trigger replacement is the best fix.
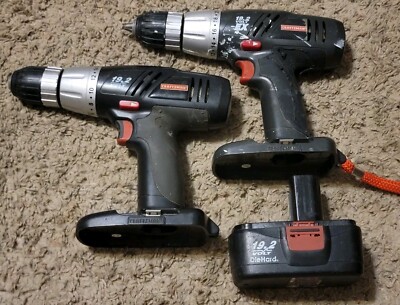
Why Your Craftsman Drill Trigger May Not Work
The trigger is more than a simple on and off button. In most Craftsman cordless drills, it controls power, speed, and motor direction through a small electronic switch assembly. If one part fails, the drill may stay dead, run only at one speed, or work only when you press the trigger in a certain way.
The most common causes include:
• A discharged or faulty battery
• A damaged battery contact
• The forward and reverse selector stuck in the center position
• Dirt or sawdust inside the trigger
• Worn internal trigger contacts
• Broken wires near the trigger
• A failed speed control circuit
• A damaged motor or electronic control board
A Craftsman drill trigger not working can also result from a safety lock. Many models will not run when the direction switch sits halfway between forward and reverse. This lock helps prevent accidental starts, but it can look like a trigger failure.
Corded Craftsman drills have a slightly different set of possible faults. Their power cord, plug, strain relief, and trigger switch can all fail. Never inspect a corded drill while it is plugged in.
Safety Checks Before Troubleshooting
Safety should come before diagnosis. A drill can start without warning if power is restored while the trigger is held down. Remove the battery before opening or cleaning a cordless drill.
For a corded Craftsman drill, unplug it from the wall. Do not rely on the trigger being released. Place the battery or plug away from the work area until testing is complete.
Follow these basic precautions:
• Wear safety glasses when opening the housing
• Work on a clean, dry table
• Keep loose clothing and hair away from the chuck
• Do not bridge battery contacts with metal tools
• Do not spray water or household cleaner into the trigger
• Photograph wire connections before removing them
• Use the correct battery and charger for your drill model
Lithium ion batteries can deliver high current. A short circuit may create heat, sparks, or damage. If the battery is swollen, cracked, hot, or smells unusual, stop using it and place it in a safe area according to local battery recycling rules.

Quick Diagnosis: What Happens When You Pull the Trigger?
The drill’s behavior gives useful clues. Think of it like listening to a car engine. A click, hum, or flash can tell you where to look next.
The drill is completely silent
If nothing happens, check the battery, contacts, direction switch, trigger, and wiring. A dead battery is often the easiest explanation, especially if the charger shows a fault or the battery has not been used for months.
Try a known-good, compatible battery if you have one. Do not use a battery with a different voltage, damaged terminals, or an uncertain fit.
The drill makes a click but the motor does not turn
A click may come from the trigger switch or an electronic control part. The motor could have worn brushes, an open winding, or a seized gearbox. In some models, the control board may also stop current from reaching the motor.
Remove the battery and turn the chuck by hand. It should move with normal resistance. If it feels locked, the gearbox or motor may need service.
The drill runs only when you press the trigger hard
This often points to worn trigger contacts, a cracked housing, or a loose connection. Avoid forcing the trigger. Extra pressure can damage the switch and may cause arcing inside it.
The drill runs at full speed only
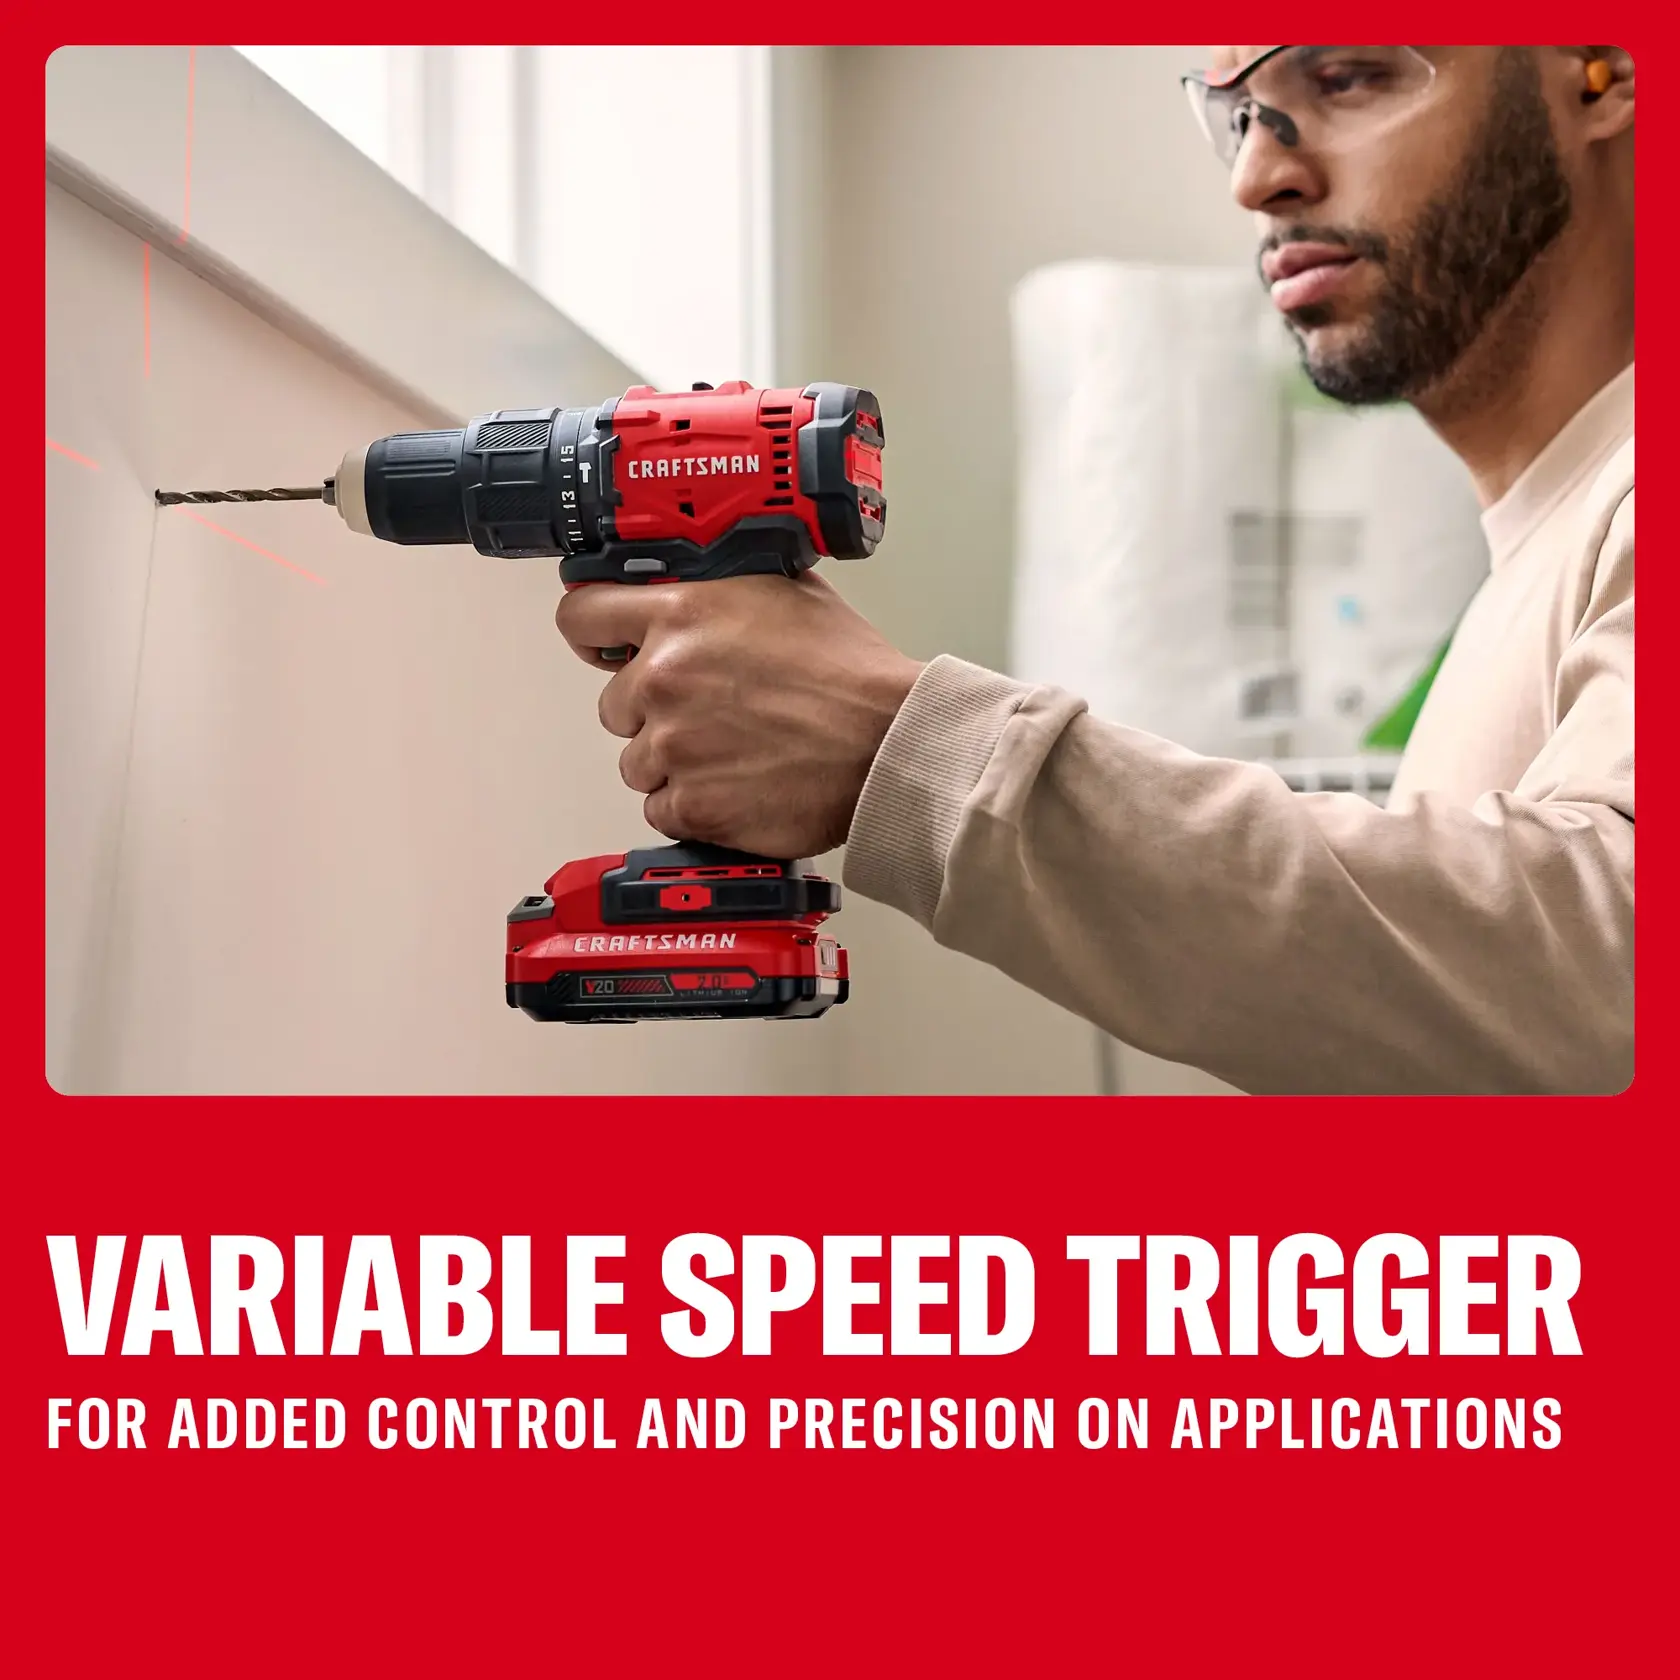
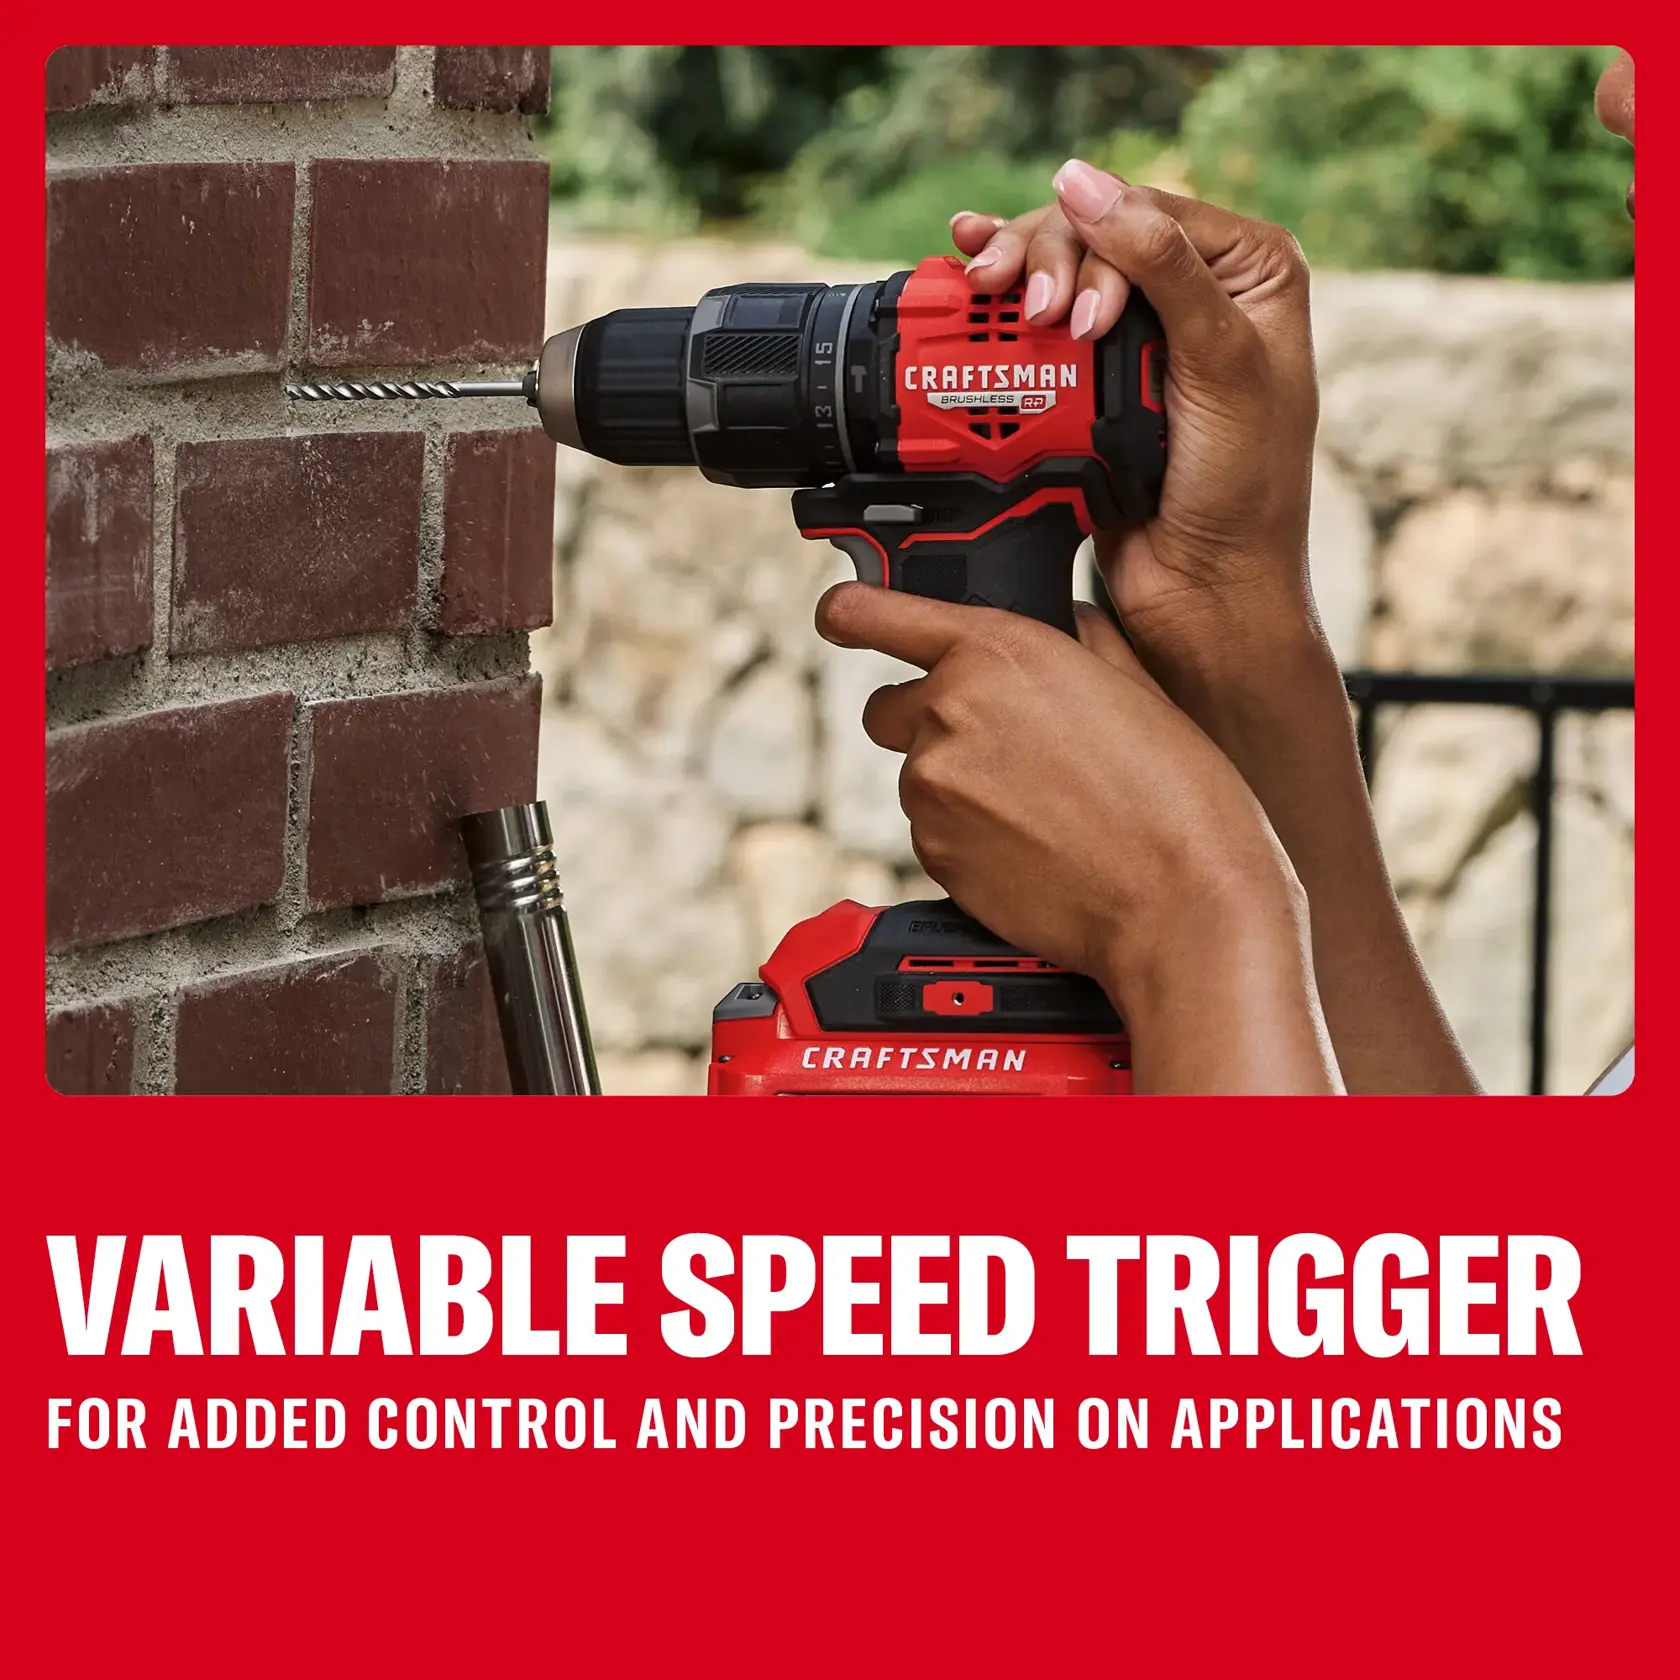
A variable speed trigger uses an electronic control circuit to adjust motor power. If that circuit fails, the drill may run only at full speed or not run at all. Trigger replacement is often more practical than repairing the tiny internal circuit.
The drill works after tapping or moving the trigger
Intermittent operation usually means a poor connection, worn contacts, or a broken wire. This is an important warning sign. The tool may stop under load or start unexpectedly, so remove the battery until the fault is repaired.
Step-by-Step Fix for a Craftsman Drill Trigger Not Working
Use this process from the simplest check to the more advanced inspection. Stop when you find a clear fault.
1. Check the battery charge
Place the battery on its correct charger. Look for the normal charging light pattern. A battery that charges very quickly, never reaches a full charge, or causes the charger to show an error may be defective.
If possible, test the drill with another compatible battery. This single step can save time because battery failure is common and does not require opening the drill.
2. Inspect the battery and tool contacts
Remove the battery and inspect both sets of contacts. Look for dirt, dark marks, corrosion, bent metal, or plastic damage.
Clean light dirt with a dry cloth or a small amount of electrical contact cleaner applied to the cloth. Allow the contacts to dry fully. Never scrape aggressively, since damaged contacts can create a poor connection.
3. Move the direction switch fully
Push the forward and reverse selector all the way to one side. The center position is usually a trigger lock. Try forward, then reverse, while gently pulling the trigger.
Do not force the selector. If it feels loose or will not click into place, the switch mechanism may be damaged.
4. Check for a jammed trigger
Remove the battery and inspect the trigger opening. Wood dust, drywall dust, and compacted debris can prevent the trigger from moving correctly.
Use a soft brush or compressed air in short bursts. Hold the tool so debris falls out instead of moving deeper into the housing. Do not insert a screwdriver into the trigger gap.
5. Inspect the outer housing
Look for cracks around the trigger, missing screws, or a housing section that does not close evenly. A cracked case can shift the trigger out of alignment.
If the drill was dropped, the trigger may look normal while the internal switch or wire has broken. A drop can also damage the circuit board or motor mount.
6. Open the housing only if you are comfortable
With the battery removed, use the correct screwdriver to remove the case screws. Keep the screws in order because some may have different lengths.
Separate the housing slowly. Watch for loose wires, springs, and small selector parts. Photograph the inside before touching anything.
Inspect for:
• Loose spade terminals
• Pinched or broken wires
• Burn marks
• Melted plastic
• A trigger that does not press the switch correctly
• Dust packed around the switch
A Craftsman drill trigger not working after a fall often has a broken wire or displaced switch. A Craftsman drill trigger not working after heavy use is more likely to have worn contacts or a tired electronic control.
7. Test the trigger with a multimeter
Set the multimeter to continuity or resistance mode. Do not test a live battery circuit unless you have proper training and the correct procedure.
A trigger switch should change its electrical behavior when pressed. If the reading remains open, stays fixed, or jumps wildly while you move the trigger, the switch may be faulty. Exact readings vary by model, so compare the result with the wiring diagram or service information for your drill.
If the trigger includes an electronic speed controller, a simple continuity test may not prove that the full circuit works. In that case, replacement is usually the safer option.
How to Replace a Craftsman Drill Trigger
Trigger replacement is possible for many Craftsman drills, but the part must match the exact model and voltage. Similar-looking triggers may have different terminals, wire layouts, or speed control systems.
Find the model number on the drill label, battery area, or rating plate. Then compare the replacement part with the original before installation. Check the number of terminals, wire colors, connector shape, and mounting points.
Basic replacement steps are:
-
Remove the battery or unplug the drill.
-
Remove the housing screws.
-
Photograph the original wiring.
-
Release the wires from the old trigger.
-
Transfer any selector or lock parts as required.
-
Install the matching replacement trigger.
-
Route wires away from moving parts.
-
Close the housing without pinching wires.
-
Install the battery and test at low speed.
A replacement trigger should move smoothly. If it binds after the housing is closed, stop and reopen the case. A pinched trigger can fail again or create an unsafe start condition.
Some triggers are sold as part of a complete switch assembly. That is often better than repairing a sealed trigger because the assembly may include the speed controller and direction mechanism.
When Cleaning Works and When It Does Not
Cleaning can solve a Craftsman drill trigger not working problem when dust blocks movement or lightly contaminates the contacts. It cannot restore badly worn contacts, burned electronics, broken springs, or cracked plastic.
Do not flood the trigger with oil. Oil can attract dust and may damage plastic or electronic parts. Electrical contact cleaner is more suitable, but it should be used sparingly and only when the product label says it is safe for the materials involved.
A useful rule is simple:
• Clean the trigger when it feels gritty or sticks
• Replace the trigger when it feels loose, skips, or works only at certain positions
• Repair wiring when insulation is cut or a terminal is loose
• Replace the motor or seek service when the trigger works but the motor remains dead
In repair work, one common mistake is blaming the trigger before testing the battery. Another is replacing the battery when the real fault is a loose contact. Testing in order prevents both wasted money and guesswork.

Common Repair Mistakes to Avoid
Small cordless tools are easy to open but easy to miswire. A few careful habits can prevent a second failure.
Do not connect wires by color alone. Wire colors can vary between models. Use the original position, terminal markings, and model-specific information.
Do not bypass the trigger to “see if the motor works.” This can remove safety controls, damage the motor, and create a serious injury risk. It also gives a poor diagnosis because the electronic speed controller may be part of the trigger.
Do not use a higher-voltage battery for a quick test. The motor and control board are designed for a specific voltage range. More voltage can cause rapid overheating or permanent damage.
Do not keep using a trigger that cuts in and out. Intermittent faults tend to become worse, especially when vibration and high motor current are involved.
Do not close the case with wires pressed against the trigger. The housing should fit naturally, and the trigger should move freely before the battery is installed.
Repair or Replace the Drill?
A trigger replacement may be worthwhile when the drill is otherwise clean, powerful, and compatible parts are easy to find. This is especially true for a newer drill with a good battery collection.
Replacement may make more sense when the drill has several faults. Consider the battery age, chuck condition, gearbox noise, motor smell, housing damage, and cost of parts.
Choose repair when:
• The drill has strong battery support
• The motor sounds healthy
• The chuck and gearbox work well
• The replacement trigger is reasonably priced
Choose a new drill when:
• The battery is also failing
• The motor is burned or very weak
• The gearbox slips or grinds
• Several plastic parts are broken
• The repair cost approaches a new tool
Older Craftsman tools can still be useful, but parts availability varies by model. Check the exact model number before spending money. A cheap trigger is not a good deal if it does not fit the tool.

How to Prevent Future Trigger Problems
Good care can extend the life of a drill trigger. Store the drill in a dry place and keep it away from fine dust when possible. After dusty work, brush the ventilation openings and trigger area before storage.
Use the correct battery and avoid draining it until the drill stops repeatedly. High heat and deep discharge can stress both the battery and the electronic controls.
Helpful habits include:
• Let the drill cool during long jobs
• Do not carry the tool by the trigger
• Avoid dropping it on the selector side
• Keep the battery contacts clean
• Remove the battery before transport
• Use the clutch instead of forcing the motor
• Store batteries within the temperature range listed in their instructions
The trigger is like the tool’s handshake with the motor. A gentle, clean, steady press helps it last longer than constant squeezing, side loading, or forcing.
Frequently Asked Questions About Craftsman Drill Trigger Not Working
Why is my Craftsman drill trigger not working with a fully charged battery?
Check that the battery is compatible, the contacts are clean, and the forward or reverse selector is not in the center lock position. If those checks pass, the trigger, wiring, control board, or motor may need testing.
Can dust cause a Craftsman drill trigger not working problem?
Yes. Fine dust can block trigger movement or contaminate the switch area. Remove the battery, brush away debris, and use short bursts of dry compressed air without forcing dust deeper into the housing.
How do I know if the Craftsman drill trigger needs replacement?
Replacement is likely when the trigger feels loose, sticks, works only at certain positions, or fails a safe resistance test. A trigger that runs only at full speed may also have a failed internal speed controller.
Can I bypass the trigger on a Craftsman drill?
Do not bypass the trigger. The trigger may contain speed control and safety functions, and bypassing it can cause an uncontrolled start, motor damage, or electric shock.
Is it worth repairing a Craftsman drill with a bad trigger?
It can be worthwhile if the battery, motor, chuck, and gearbox are in good condition. Compare the exact replacement trigger cost with the price of a new drill and battery system.
Why does my Craftsman drill work only when I press the trigger very hard?
Hard pressure can temporarily move worn contacts or shift a loose connection. Stop using the drill and inspect or replace the trigger, since the fault may worsen or cause unexpected starting.
Conclusion
A Craftsman drill trigger not working issue usually comes from the battery, contacts, direction lock, debris, wiring, or a worn trigger assembly. Start with safe external checks, then inspect the inside only after removing all power. Replace the exact trigger assembly when testing confirms a switch fault, and avoid bypassing safety controls.
With a careful diagnosis, many trigger problems are repairable without replacing the whole tool. Check your model number, use the right parts, and share your repair experience or questions in the comments.