Angle Grinder Loses Power: Causes And Fixes
An angle grinder loses power when its power supply, motor, switch, brushes, or load cannot work correctly.
When an angle grinder loses power, the fault may be simple, such as a loose plug, clogged air vents, or a worn carbon brush. It can also point to a damaged cord, failing switch, bad armature, or an overloaded motor. I have seen many grinders recover after a basic cleaning, but continued power loss should never be ignored. This guide explains how to find the cause safely, test each part, and decide whether repair or replacement makes more sense.
Why an Angle Grinder Loses Power
An angle grinder needs a steady electrical supply and a motor that can turn freely. If either part fails, the tool may slow down, stop under pressure, or run only for a few seconds.
The most common causes include:
• A loose wall outlet or damaged extension cord
• A worn power cord or plug
• Dirty cooling vents
• An overloaded motor
• A worn carbon brush
• A faulty trigger or paddle switch
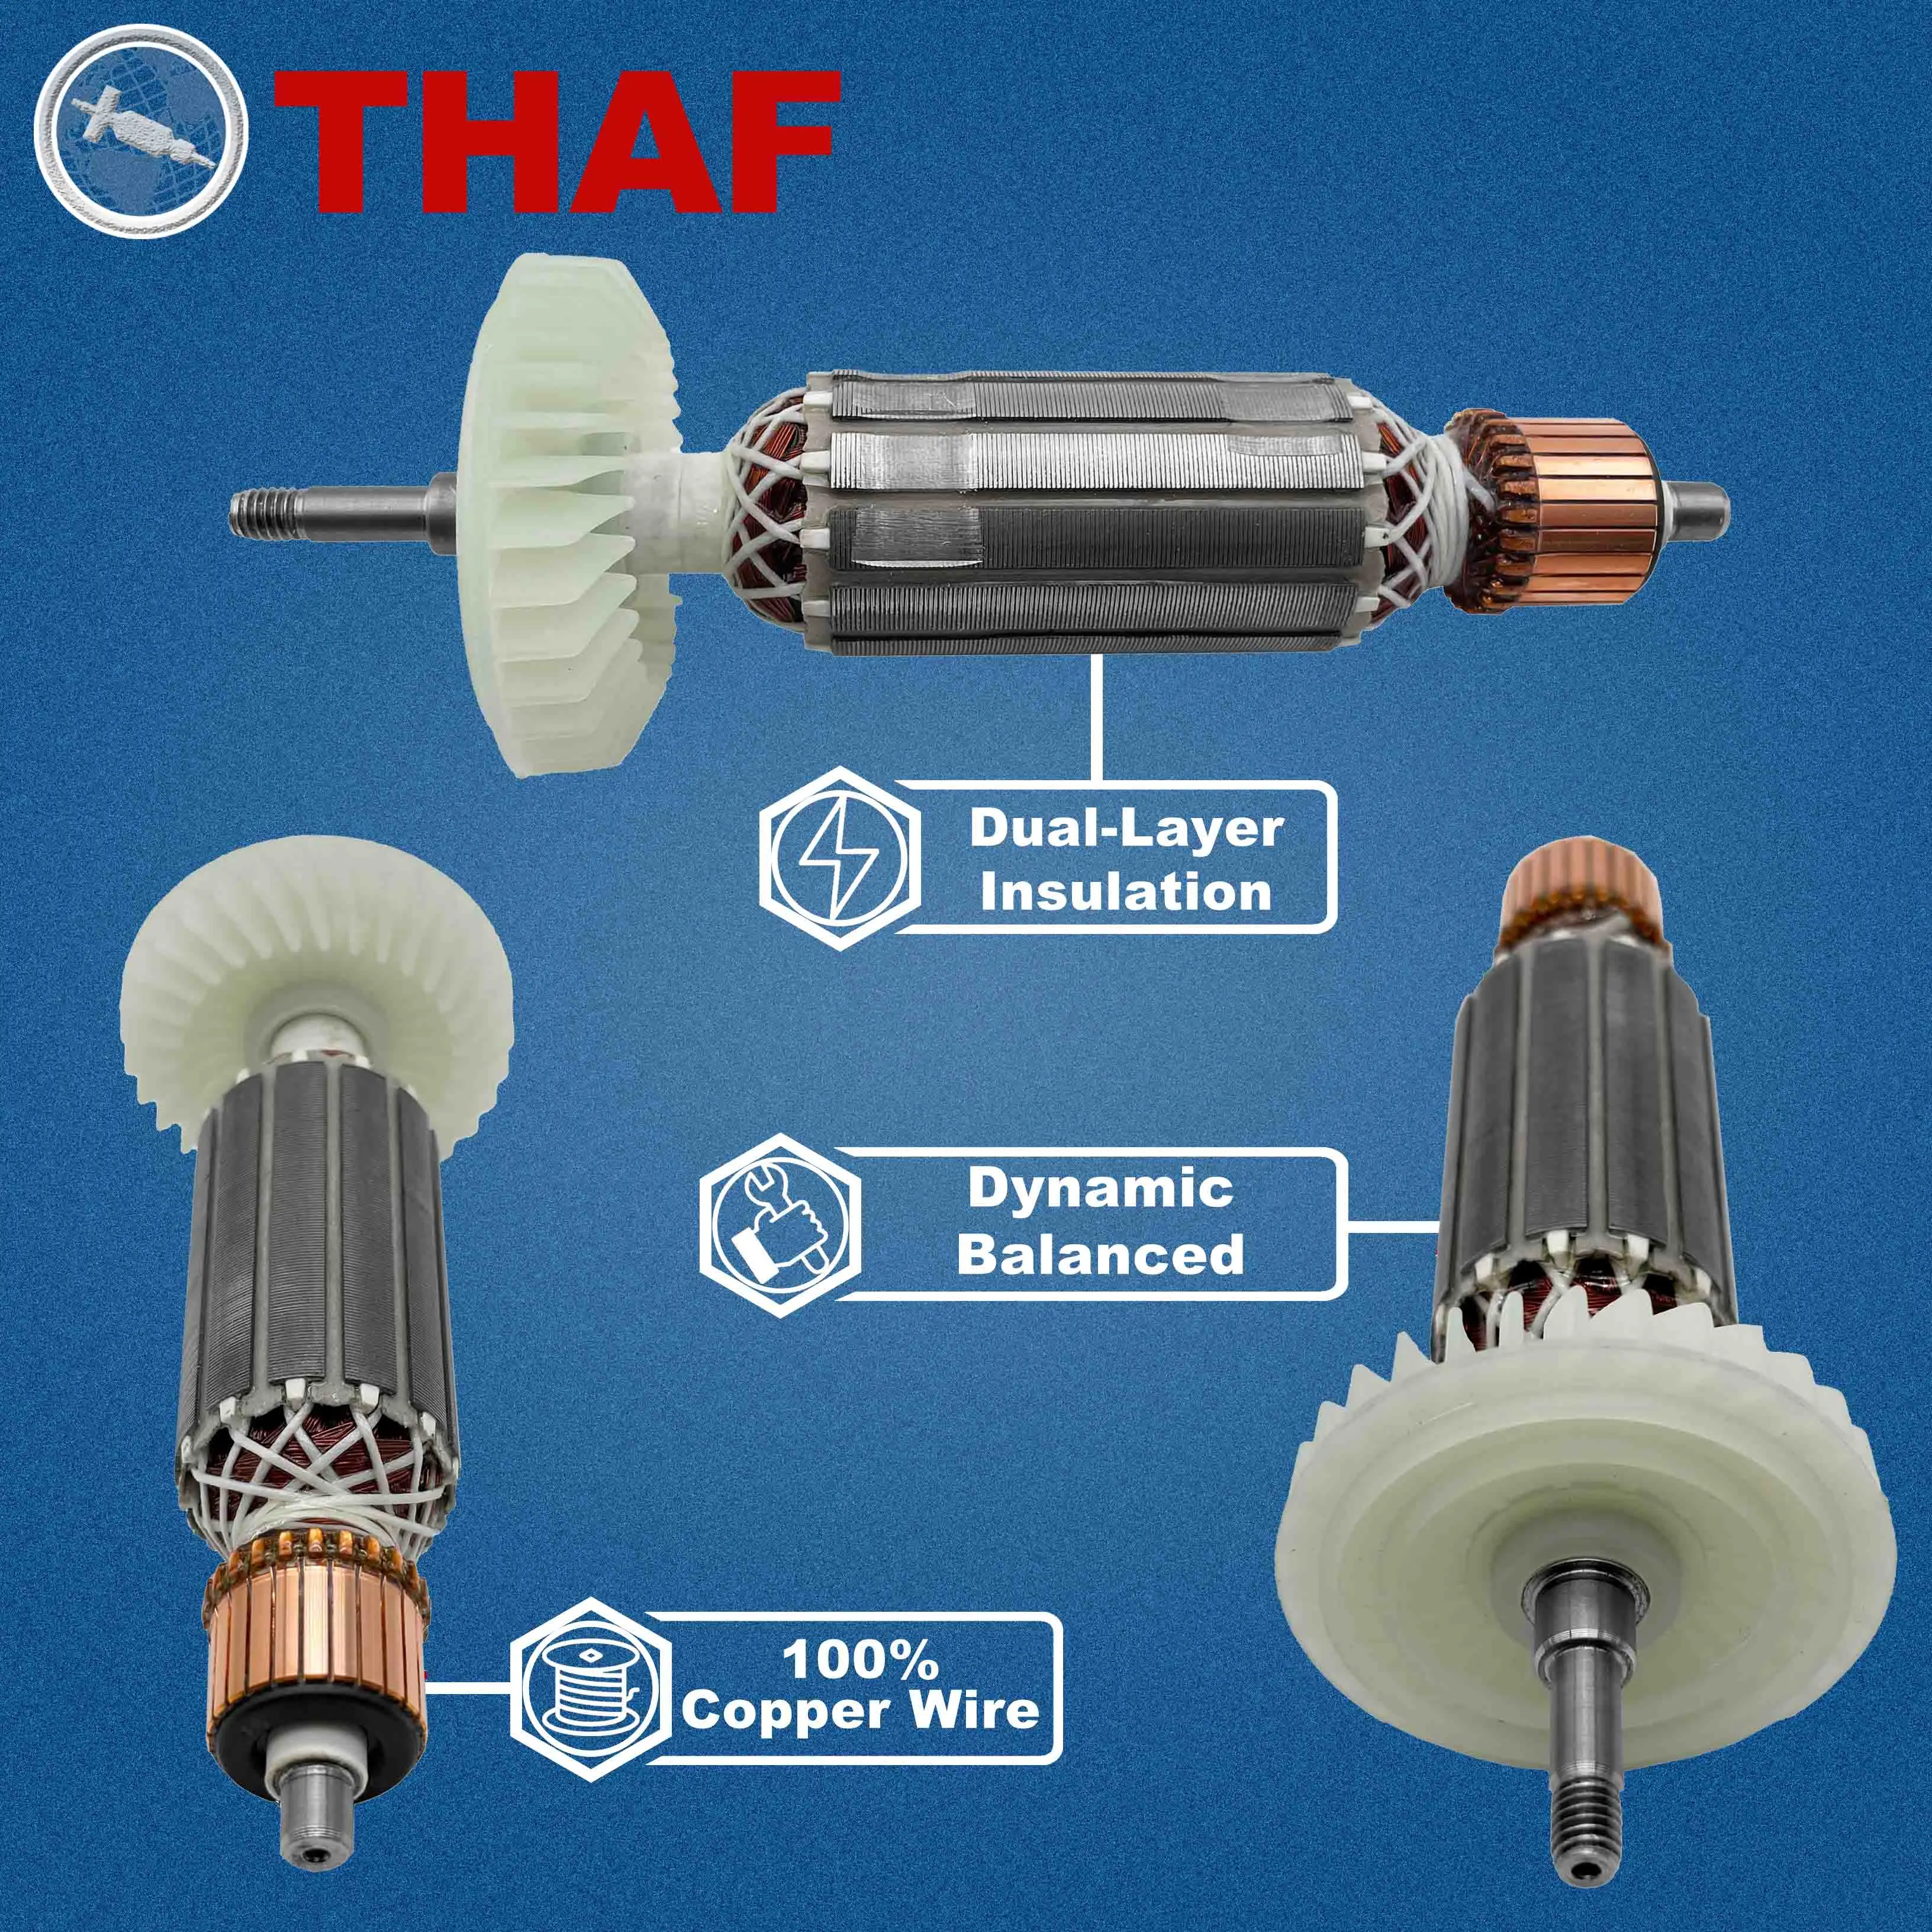
• A damaged armature or field winding
• A bad battery or charger on cordless models
• A grinding wheel that binds in the material
A grinder may also lose power because the user pushes too hard. The motor then draws more current and creates more heat. Many models have overload protection, so the tool may shut down to prevent serious damage.
In simple terms, think of the grinder as a small pump. Electricity is the fuel, the switch is the valve, and the motor is the pump. If the fuel is weak or the pump is worn, the grinder cannot keep its speed.

Safety First Before Troubleshooting
Unplug the angle grinder before removing a guard, brush cap, wheel, or housing cover. For a cordless model, remove the battery and keep it away from the tool while you inspect it.
Wear safety glasses when checking the tool. Do not test a grinder with the guard removed, and never touch a moving wheel. A wheel can break if it has been damaged, installed incorrectly, or forced into the work.
Follow these basic safety steps:
- Disconnect the power source.
- Let the grinder cool fully.
- Remove the disc only if the manual allows it.
- Check for cracks, burns, melted plastic, or loose parts.
- Use the correct replacement parts for your model.
- Stop if you smell burning insulation or see sparks near the switch.
Electrical repairs can be dangerous. If you do not know how to use a multimeter or inspect a motor safely, take the grinder to a qualified repair shop.
Check the Power Supply First
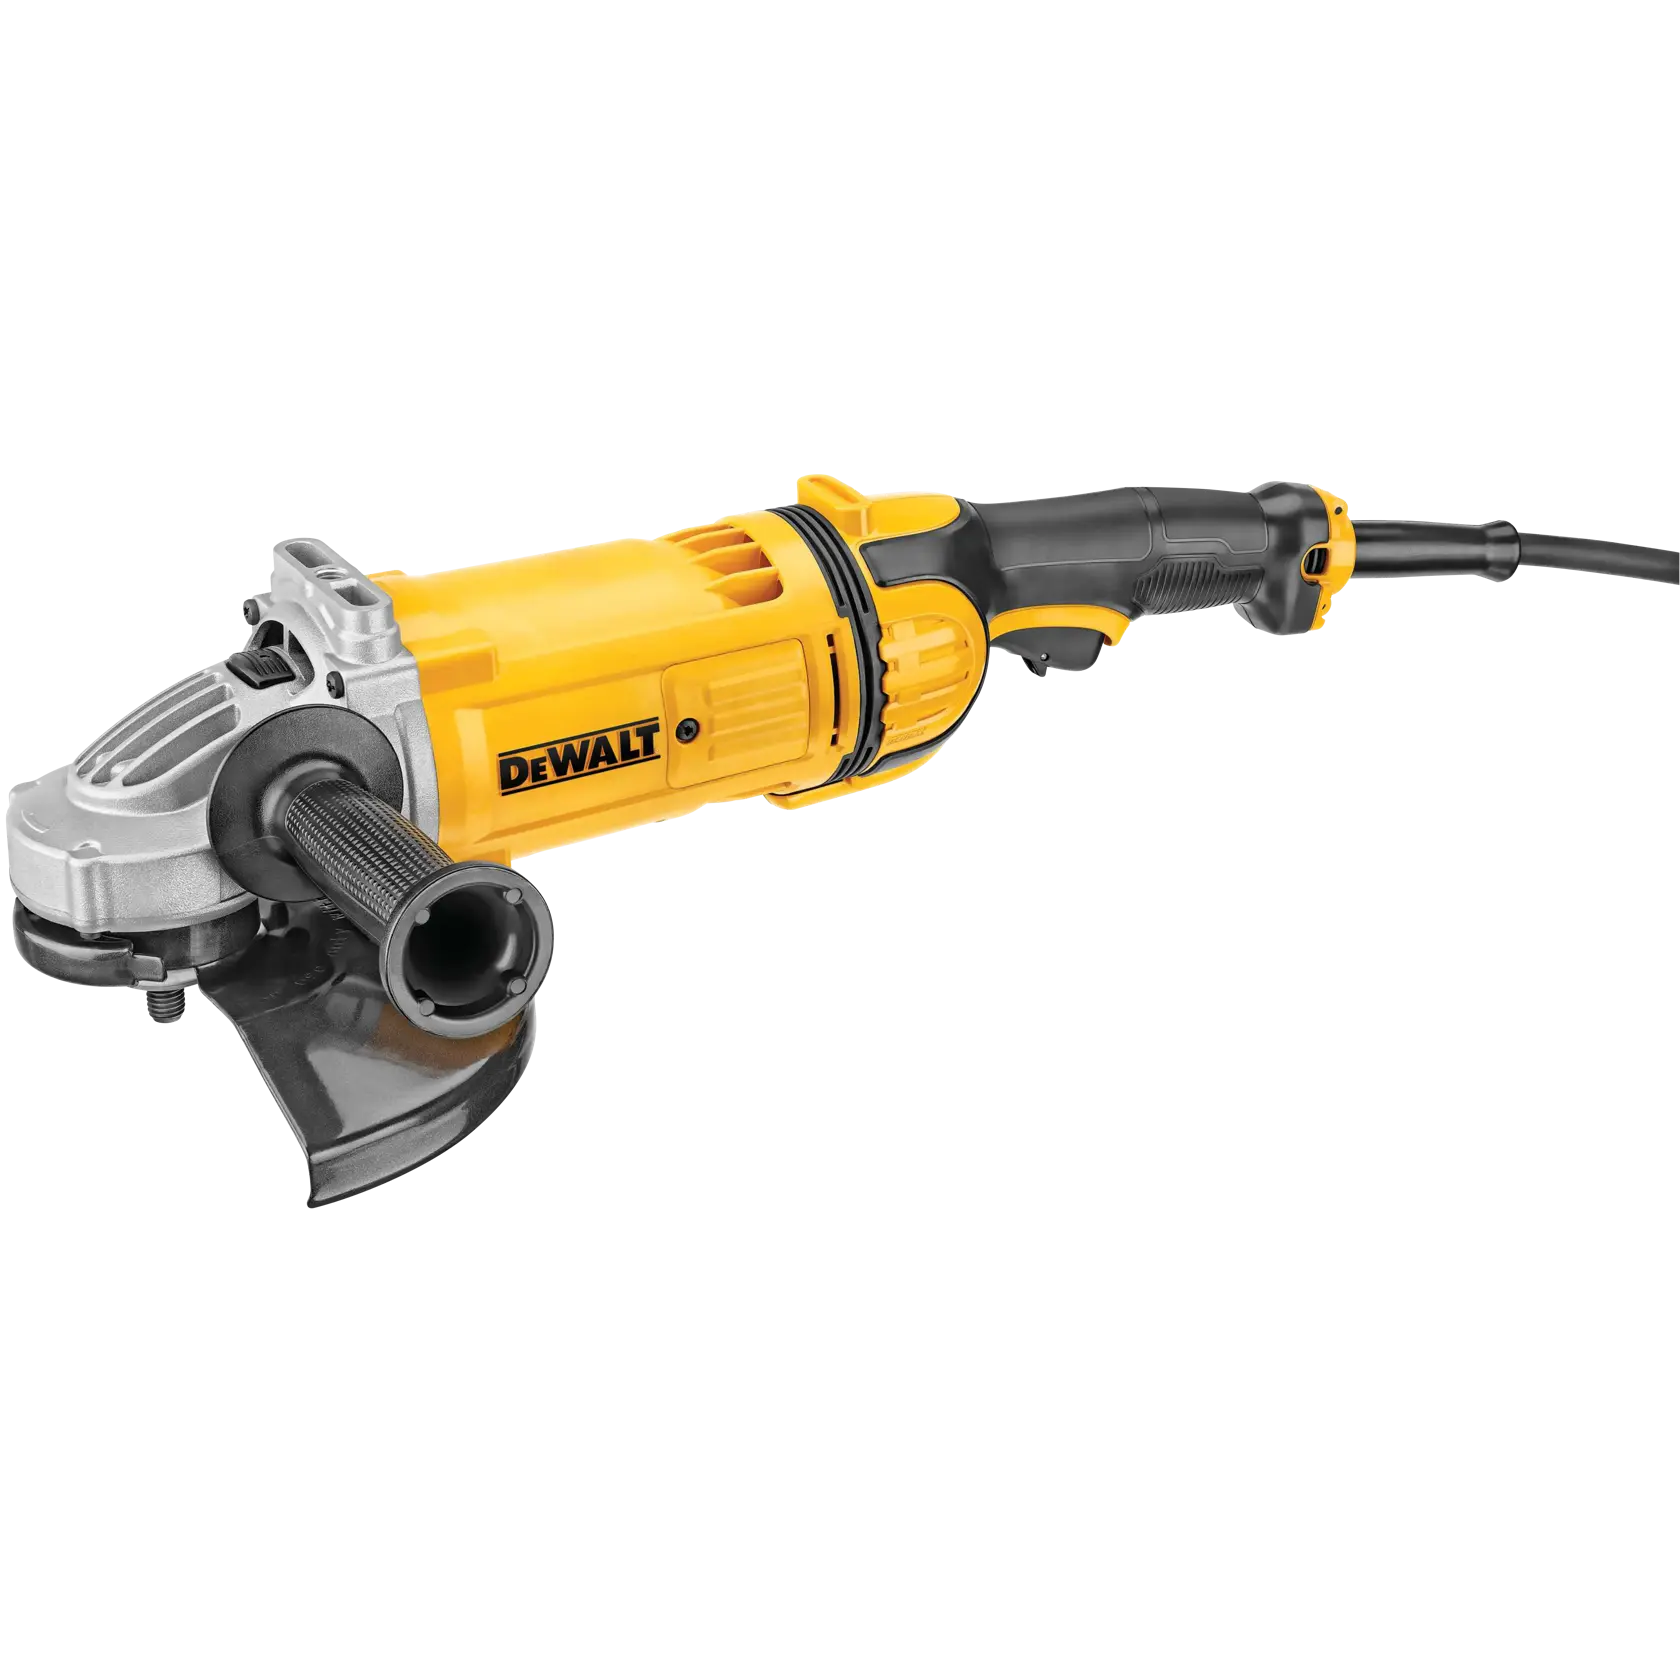
The power supply is the fastest place to start. A grinder may seem faulty when the real problem is a weak outlet, poor extension cord, or loose plug.
Plug the grinder into a known working outlet. Avoid using a long, thin extension cord during the test. Long cords can create voltage drop, especially when the grinder starts or cuts hard material.
Inspect the cord from end to end. Look for cuts, crushed areas, exposed wires, stiff sections, or heat damage near the plug and handle. Flexing the cord while the tool is unplugged may reveal a hidden break, but do not keep using the grinder if the motor starts and stops when the cord moves.
Check these power items:
• Wall outlet: Test it with another tool.
• Extension cord: Use a short, heavy-duty cord rated for the grinder.
• Plug: Look for loose or bent terminals.
• Power cord: Replace it if the insulation is damaged.
• Circuit breaker: Reset it only after finding why it tripped.
Never bypass a fuse, ground pin, or circuit breaker. A breaker that trips again may signal a short circuit or an overloaded circuit.
Inspect the Grinder’s Air Vents
Angle grinders use air movement to cool the motor. Dust from concrete, masonry, metal, and wood can block the vents. Once airflow drops, heat builds inside the housing and the grinder may slow down or shut off.
Unplug the tool and brush the vents with a dry, soft brush. You can also use low-pressure compressed air if the manufacturer permits it. Hold the tool so dust moves away from your face and avoid forcing dirt deeper into the motor.
Do not spray water, oil, or household cleaner into the vents. Liquid can damage the switch, insulation, and motor windings.
If the grinder works when cold but loses power after several minutes, overheating is a strong clue. Let it cool, clean the vents, reduce pressure, and use short work cycles. If the problem continues, the motor or thermal protector may be damaged.
Avoid Overloading the Motor
An angle grinder should remove material through steady contact, not heavy force. Pressing too hard can slow the disc, raise motor temperature, and trigger overload protection.
Use the correct wheel for the job. A thin cutting disc is made for cutting, while a grinding wheel is made for surface work. Never use a cutting disc for side grinding because it can flex and break.
Good technique helps prevent power loss:
• Let the wheel’s speed do the work.
• Use light, even pressure.
• Keep the disc at the correct angle.
• Do not twist a cutting disc in the cut.
• Let the motor reach full speed before contact.
• Take short pauses during long jobs.
I once saw a grinder stop repeatedly while cutting thick steel. The tool was not defective. The operator was leaning into the cut and pinching the disc. After switching to lighter passes and a new cutting wheel, the grinder ran normally.

Examine the Disc and Spindle
A damaged or incorrect disc can make an angle grinder lose power even when the motor is healthy. A wheel that binds in the material creates a sudden load. The motor then slows, stalls, or activates its overload system.
Remove the disc and inspect it for cracks, chips, warping, or heavy wear. Check that the disc size, speed rating, and purpose match the grinder. The maximum speed printed on the disc must meet or exceed the grinder’s rated speed.
Also check the spindle and flange:
• The spindle should turn smoothly by hand when the tool is disconnected.
• The flange should sit flat and clean.
• The disc should not wobble.
• The spindle lock should release fully.
• The disc should not be clamped at an angle.
Do not use a wheel that has been dropped. Some damage may not be easy to see but can cause a dangerous failure at high speed.
Test the Carbon Brushes
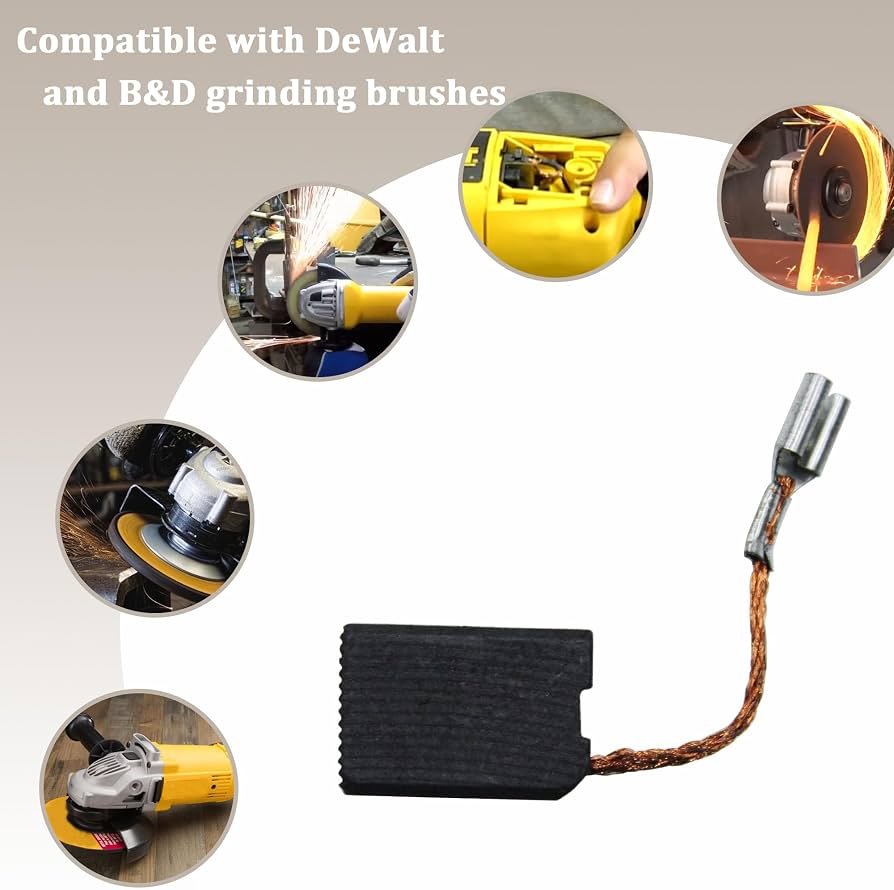
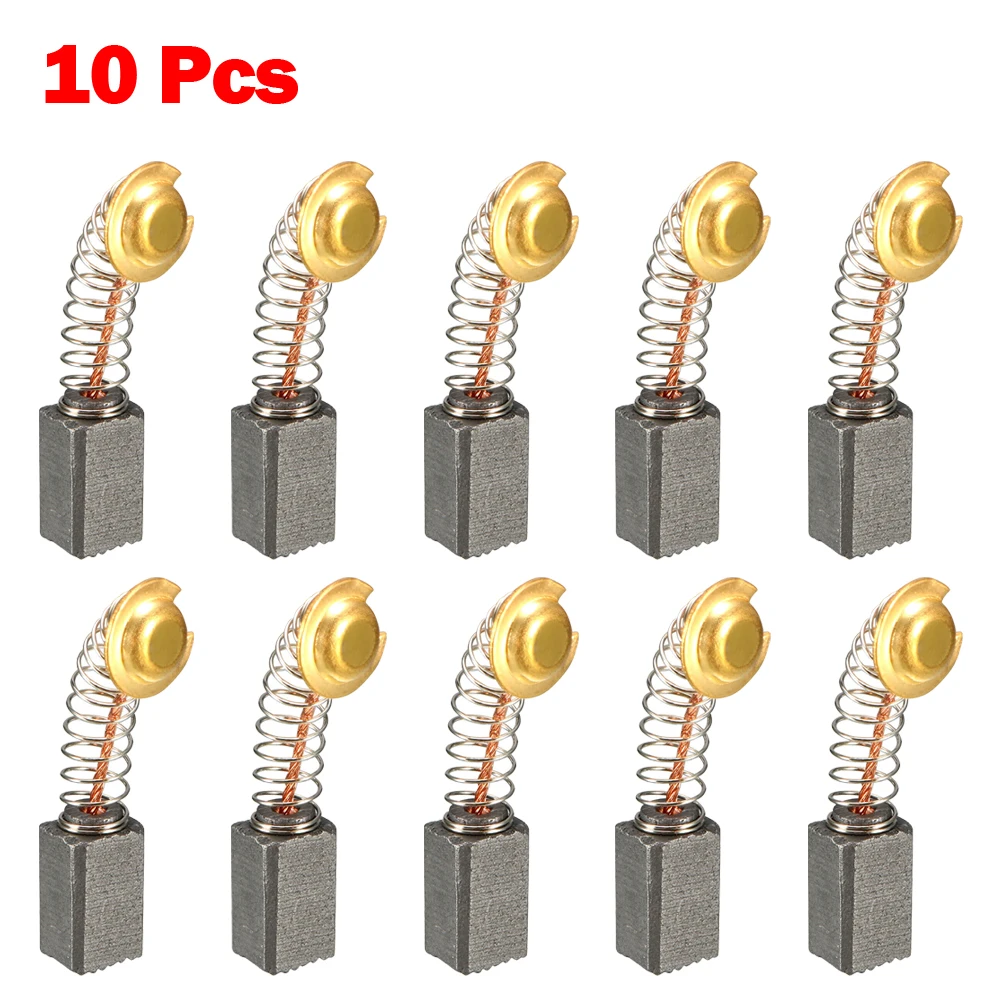
Many corded angle grinders use carbon brushes to transfer electricity to the rotating armature. Brushes wear down over time. When they become too short, dirty, cracked, or stuck in their holders, the motor may lose power or stop working.
Common signs of worn brushes include:
• Intermittent operation
• Weak motor speed
• Excessive sparking
• A burning smell
• Stopping when the tool is moved
• Failure to start after running normally
Disconnect the grinder before removing the brush caps. Check the owner’s manual for the correct brush type and minimum length. Replace both brushes as a matched pair when the design requires it.
Do not confuse a small amount of normal brush sparking with heavy sparks that fill the housing. Large sparks, smoke, or a strong burning odor can indicate armature damage. In that case, replacing brushes alone may not solve the issue.

Check the Switch and Power Cord
A worn switch can make the grinder start and stop without warning. Internal contacts may become dirty, burned, or loose. A switch may also feel soft, stick, or fail to lock in the operating position.
With the tool unplugged, press the switch several times. It should move smoothly and return correctly. Do not spray lubricant into the switch unless the manufacturer specifically approves it.
A multimeter can test continuity, but only people familiar with electrical testing should open the housing. The switch should show the expected continuity when activated and no continuity when released, based on the tool’s design.
The power cord is another common failure point. Cords often break near the plug, strain relief, or handle because these areas bend repeatedly. A repair shop can replace the cord safely, but do not join damaged wires with tape and continue working.
Diagnose Internal Motor Problems
If the outlet, cord, switch, vents, brushes, and disc are all sound, the motor may have an internal fault. Possible failures include a damaged armature, burned field winding, bad bearing, or failed thermal protector.
Internal motor problems may cause:
• A loud hum
• A grinding or rumbling sound
• Strong electrical odor
• Heavy sparking
• Slow speed with no load
• Rapid overheating
• A tool that trips the breaker
A bearing problem often creates noise and vibration. An armature problem may cause uneven running or heavy sparks at the brushes. Burned windings can create a sharp smell and may show dark or melted insulation.
At this stage, repair costs matter. On a low-cost grinder, a new motor assembly may cost close to a replacement tool. On a professional grinder, replacing brushes, a switch, or a bearing may be worthwhile. Use the manufacturer’s service information for parts and test values because motor designs vary.
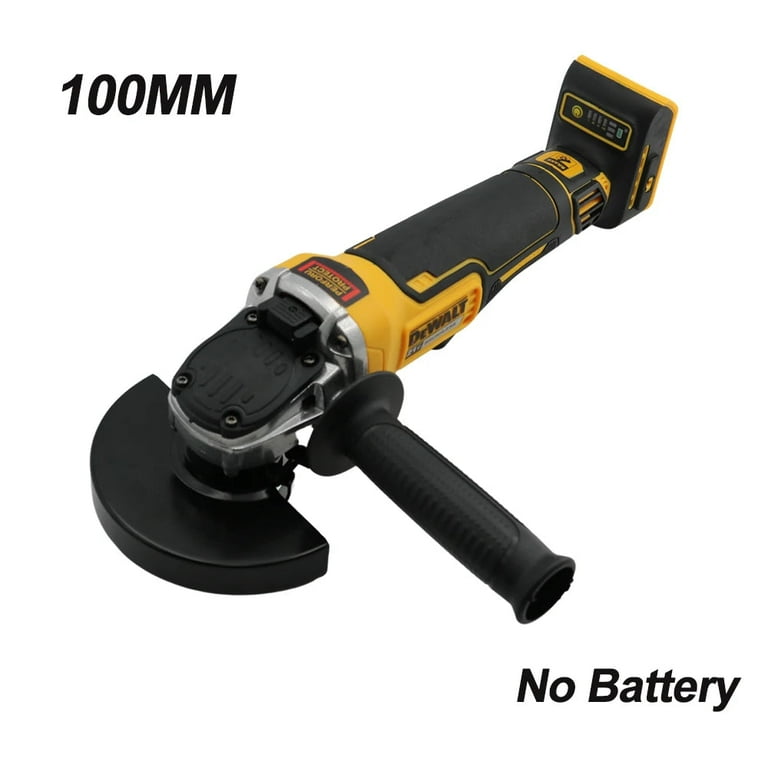
Troubleshoot a Cordless Angle Grinder
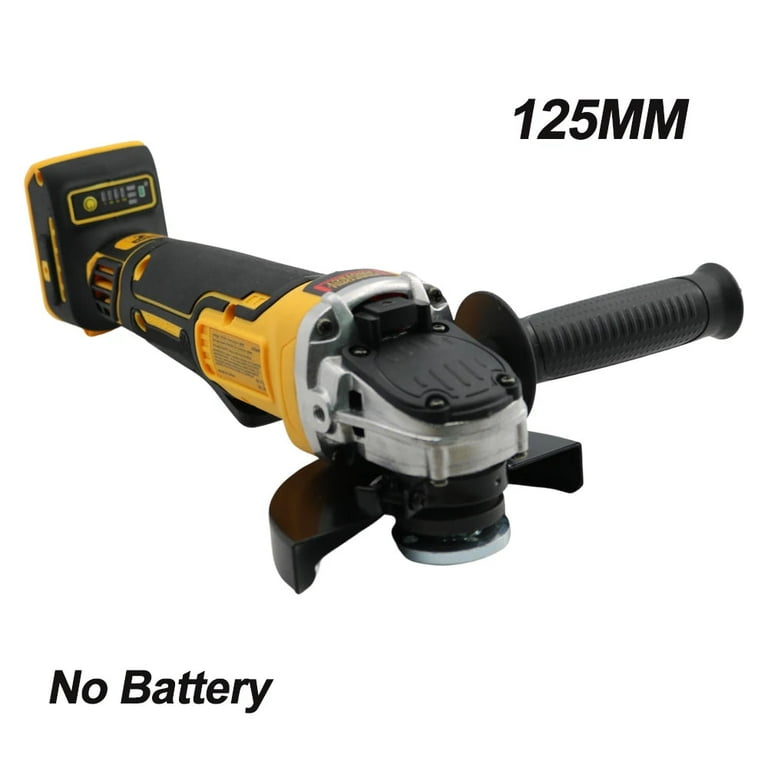
A cordless angle grinder has different failure points. Start with the battery, charger, contacts, and control system.
Try a fully charged battery that works in another compatible tool. If the grinder runs normally with the second battery, the first battery may be weak or damaged. Lithium-ion batteries can lose capacity with age, heat, deep discharge, and heavy use.
Clean the battery contacts with a dry cloth. Do not scrape them aggressively or apply grease. Check for swelling, cracks, leaks, or unusual heat. Stop using a battery with physical damage.
Other cordless causes include:
• A charger that does not fully charge the pack
• Battery contacts that do not connect firmly
• Electronic overload protection
• A failed speed controller
• Motor or brush wear
• A battery that cannot supply enough current under load
Do not open a lithium-ion battery pack. Damaged cells can cause fire. Replace the pack with an approved model.
A Simple Step-by-Step Fix
Use this order to find why an angle grinder loses power:
- Disconnect the grinder and let it cool.
- Inspect the disc, guard, spindle, and flange.
- Check the air vents for dust.
- Test the wall outlet with another tool.
- Try a suitable extension cord, or avoid one.
- Inspect the plug and power cord.
- Check the carbon brushes if the tool has them.
- Test the grinder with light pressure and the correct wheel.
- Watch for sparks, smoke, noise, or burning odor.
- Send the tool for service if the fault remains.
This order saves time because it starts with simple external causes. It also reduces the risk of opening a tool that only needed a clean vent or new extension cord.
Mistakes That Can Make the Problem Worse
One common mistake is continuing to use the grinder after it loses speed. A slow motor may draw more current and create more heat. Repeated stalls can turn a small brush or switch problem into expensive motor damage.
Another mistake is installing a higher-rated fuse or bypassing a safety device. These parts protect the tool and the user. Removing that protection can lead to melted wiring, fire, or electric shock.
Avoid these habits:
• Do not force the grinder through a cut.
• Do not use a damaged disc.
• Do not block the cooling vents.
• Do not spray cleaner into the housing.
• Do not use the wrong battery or charger.
• Do not replace only one brush when both should be replaced.
• Do not test a repaired tool without its guard.
A grinder is not a tool to “wait and see” when it smells hot or throws large sparks. Stop early and inspect it.
When to Repair or Replace the Grinder
Repair the grinder when the fault is simple and parts are available. A new cord, switch, brush set, or bearing may restore a quality tool at a reasonable cost.
Replacement may be better when the housing is cracked, the motor windings are burned, or the repair cost approaches the price of a new grinder. Age also matters. Older tools may lack modern overload protection, improved guards, or electronic braking.
Before choosing, compare:
• Repair part cost
• Labor cost
• Tool age
• Brand reliability
• Warranty coverage
• Availability of service parts
• Your need for safety features
A professional repair center can test current draw, insulation, switches, and motor components. This is safer than guessing when the tool has electrical damage.
Frequently Asked Questions About Angle Grinder Loses Power
Why does my angle grinder lose power when cutting?
The disc may be binding, the material may be too thick, or you may be applying too much pressure. Use the correct disc, allow the grinder to reach full speed, and make light passes.
Why does my angle grinder stop after it gets hot?
The motor may be triggering thermal or overload protection. Clean the vents, let the tool cool, reduce pressure, and use shorter work cycles; continued overheating may indicate motor damage.
Can worn brushes cause an angle grinder to lose power?
Yes. Worn or stuck carbon brushes can reduce current flow and cause weak speed, intermittent operation, or heavy sparking. Replace them with the correct matched set for the model.
Why does my cordless angle grinder lose power quickly?
A weak battery, poor battery contact, overload protection, or a damaged motor can cause the problem. Test the grinder with a known-good compatible battery and inspect the contacts.
Is it safe to use an angle grinder that keeps losing power?
No. Repeated power loss can signal overheating, damaged wiring, a failing switch, or motor trouble. Stop using it until you identify the cause or have it inspected.
Can an extension cord cause power loss?
Yes. A long or undersized extension cord can cause voltage drop and make the motor slow under load. Use a short, heavy-duty cord that matches the grinder’s power needs.
Why does my grinder spark more than usual?
Some brush sparking can be normal, but heavy sparks, smoke, or a burning smell may mean worn brushes or a damaged armature. Disconnect the tool and arrange a proper inspection.
Conclusion
When an angle grinder loses power, begin with the simple causes: the outlet, extension cord, plug, vents, disc, and work pressure. Then inspect the brushes, switch, battery, and motor only when the basic checks do not solve the issue.
Use light pressure, the correct wheel, clean airflow, and safe work habits to prevent future problems. If you notice smoke, strong sparks, burning odor, damaged wiring, or repeated shutdowns, stop using the tool and seek qualified service. Apply these checks before your next project, and share your repair experience or questions in the comments.